
Pongratz Development works out of Phoenix, Arizona. Follow this Phoenix ADU project from the first plans and underground work through framing, inspections, finishes and the details that make a casita feel like home.
Planning and groundwork
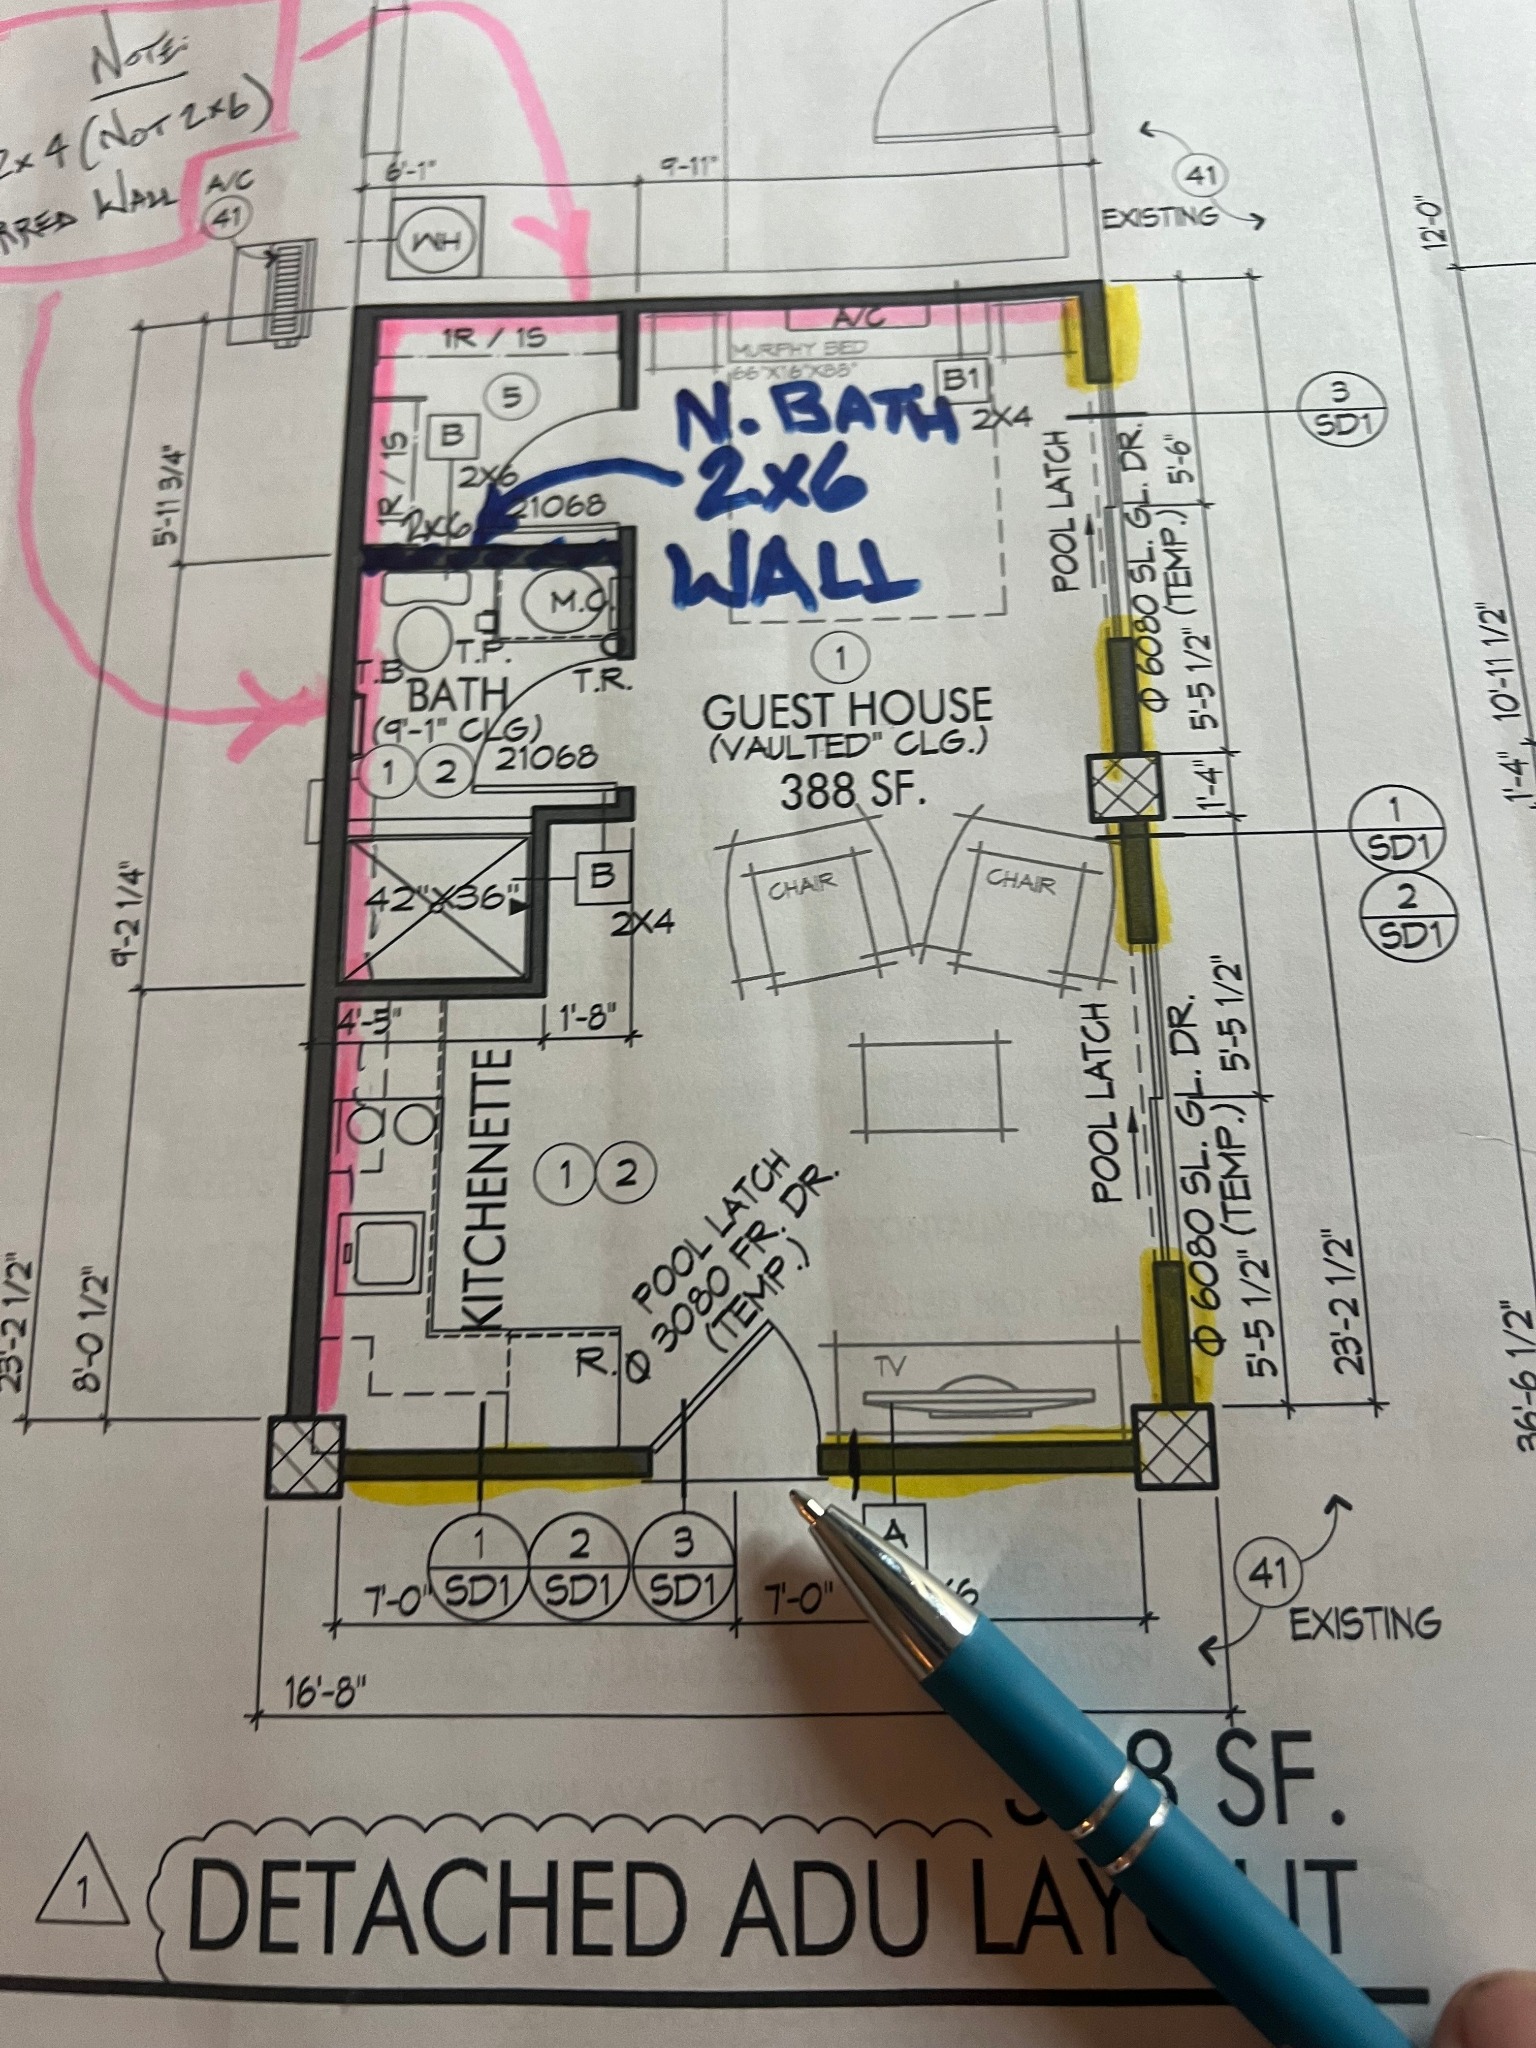
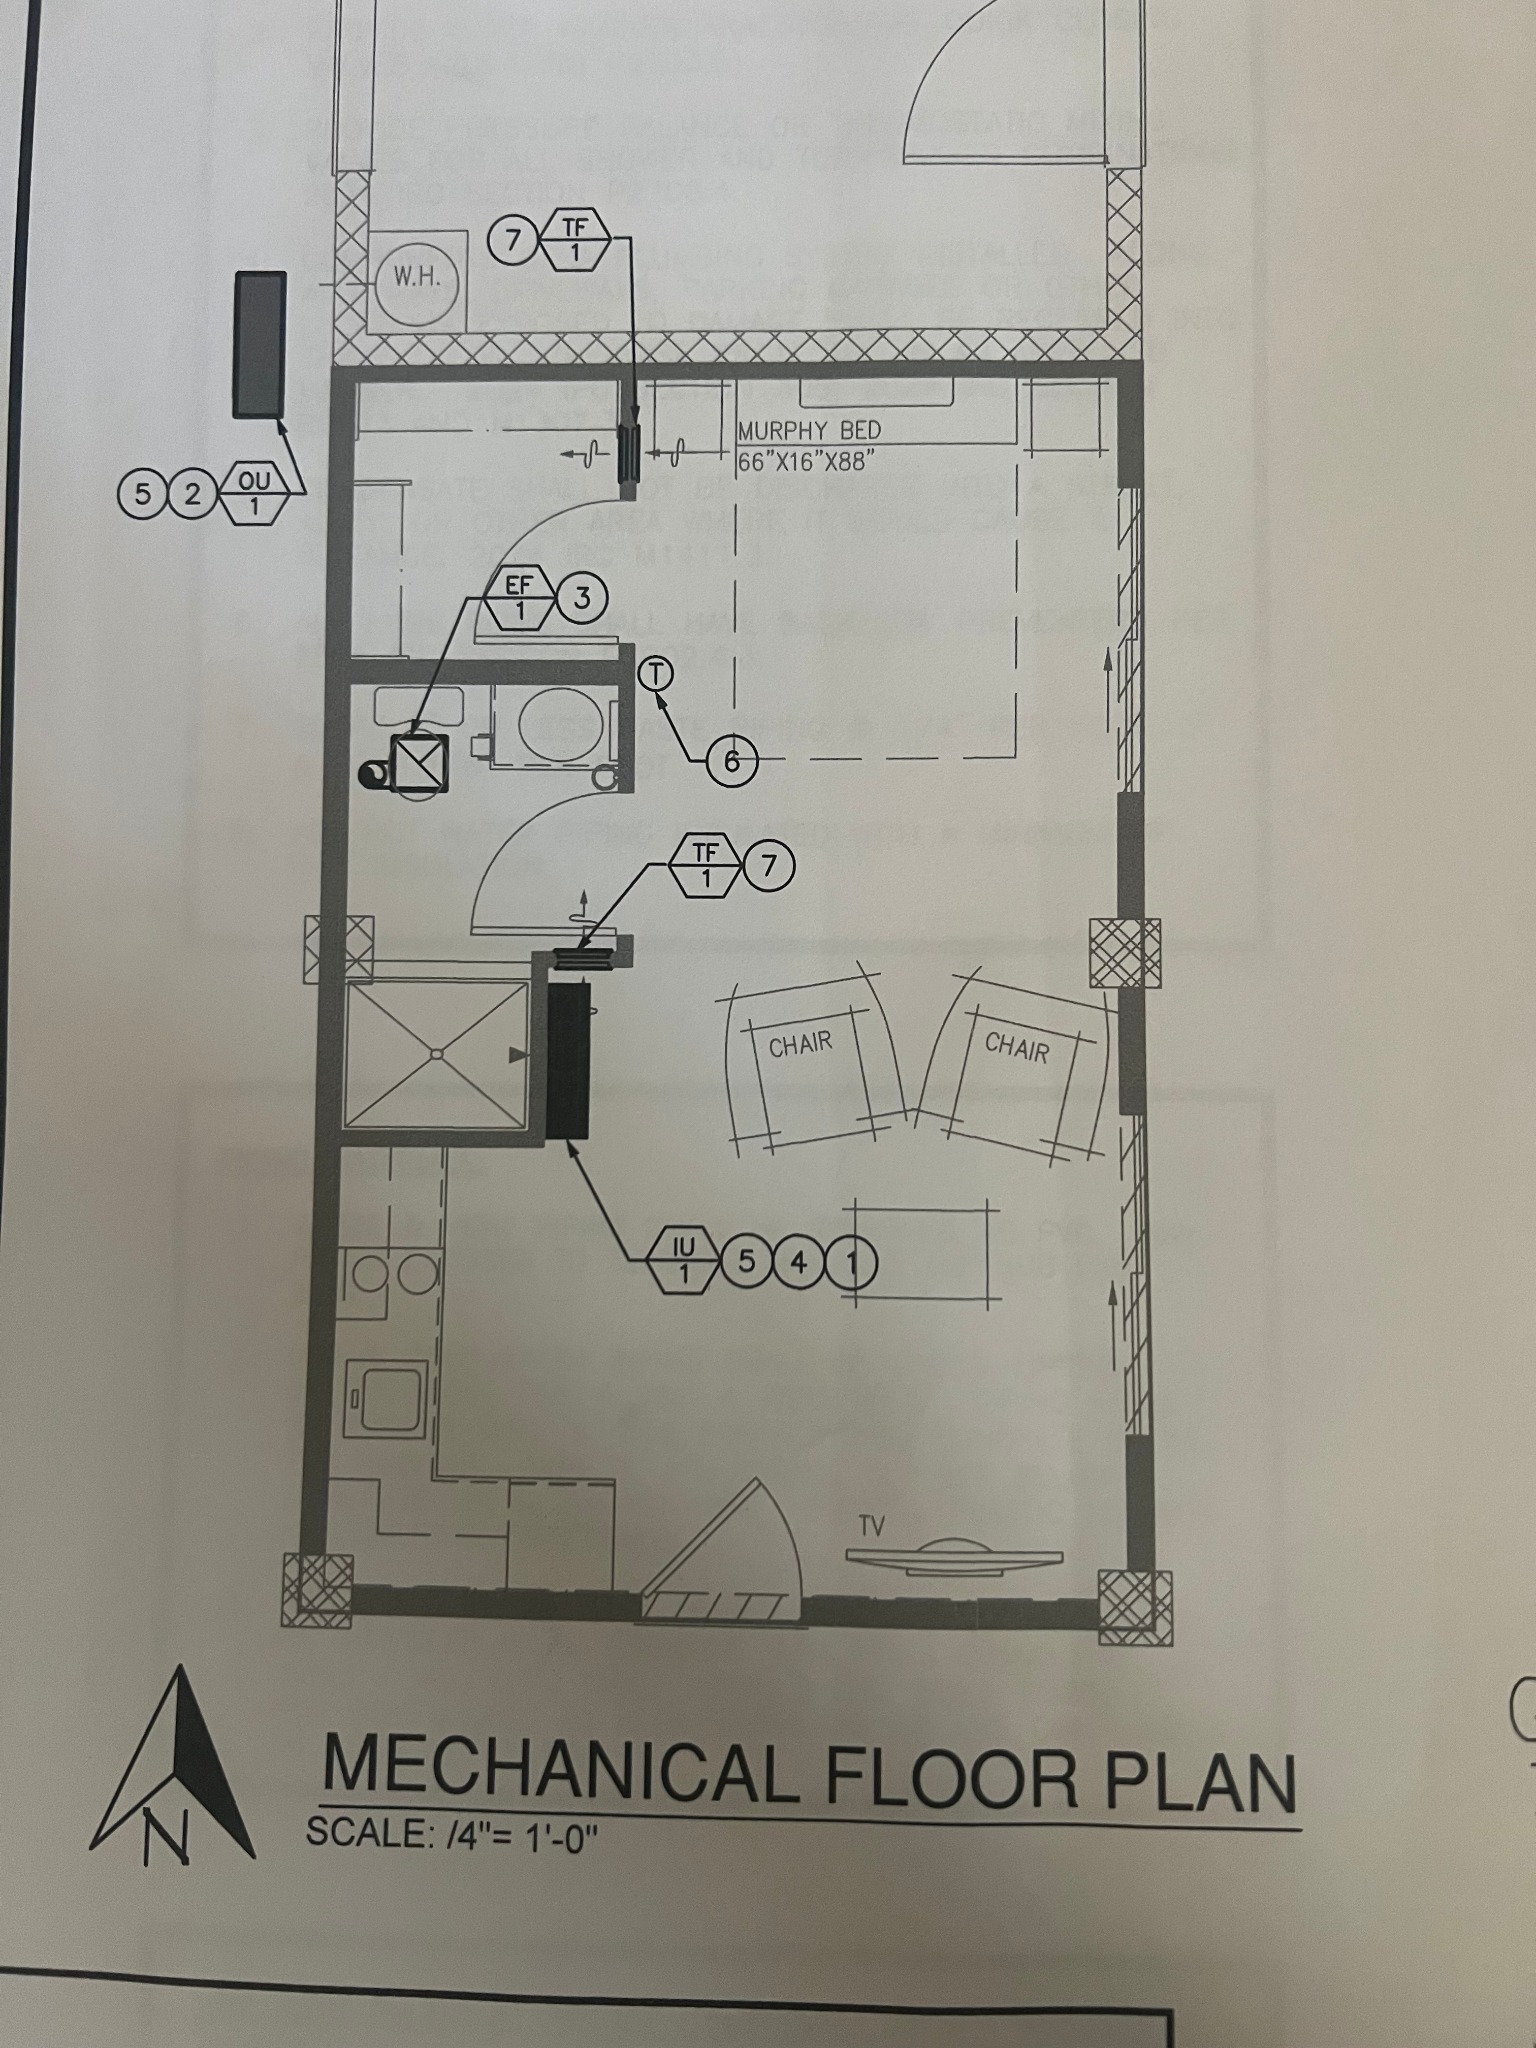
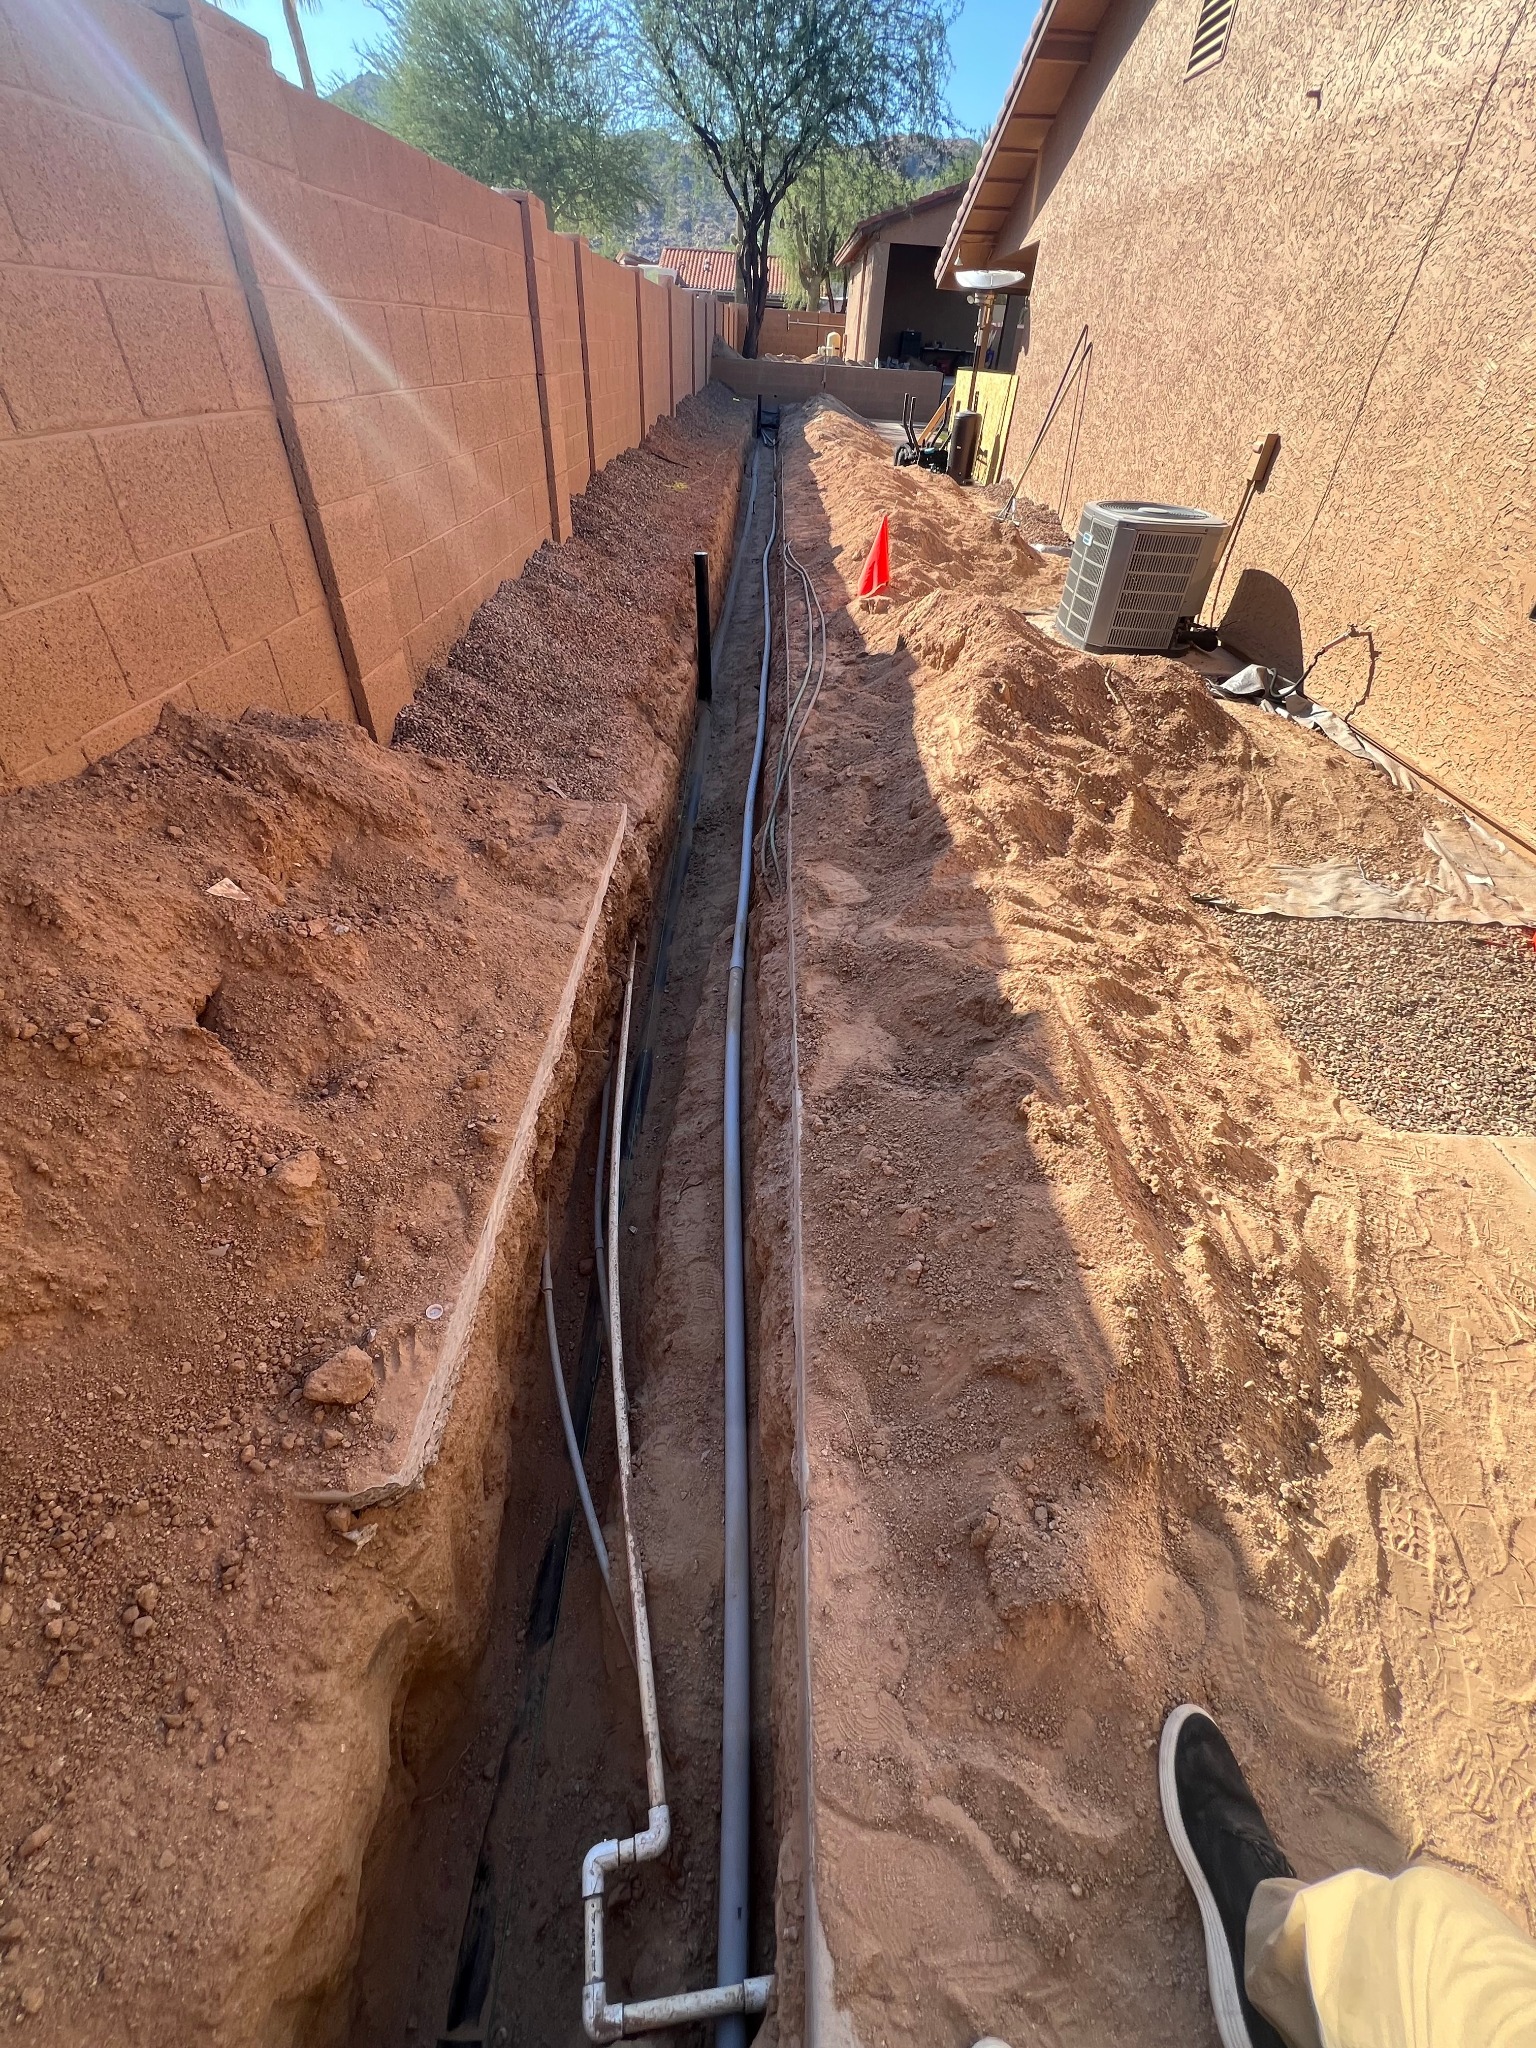
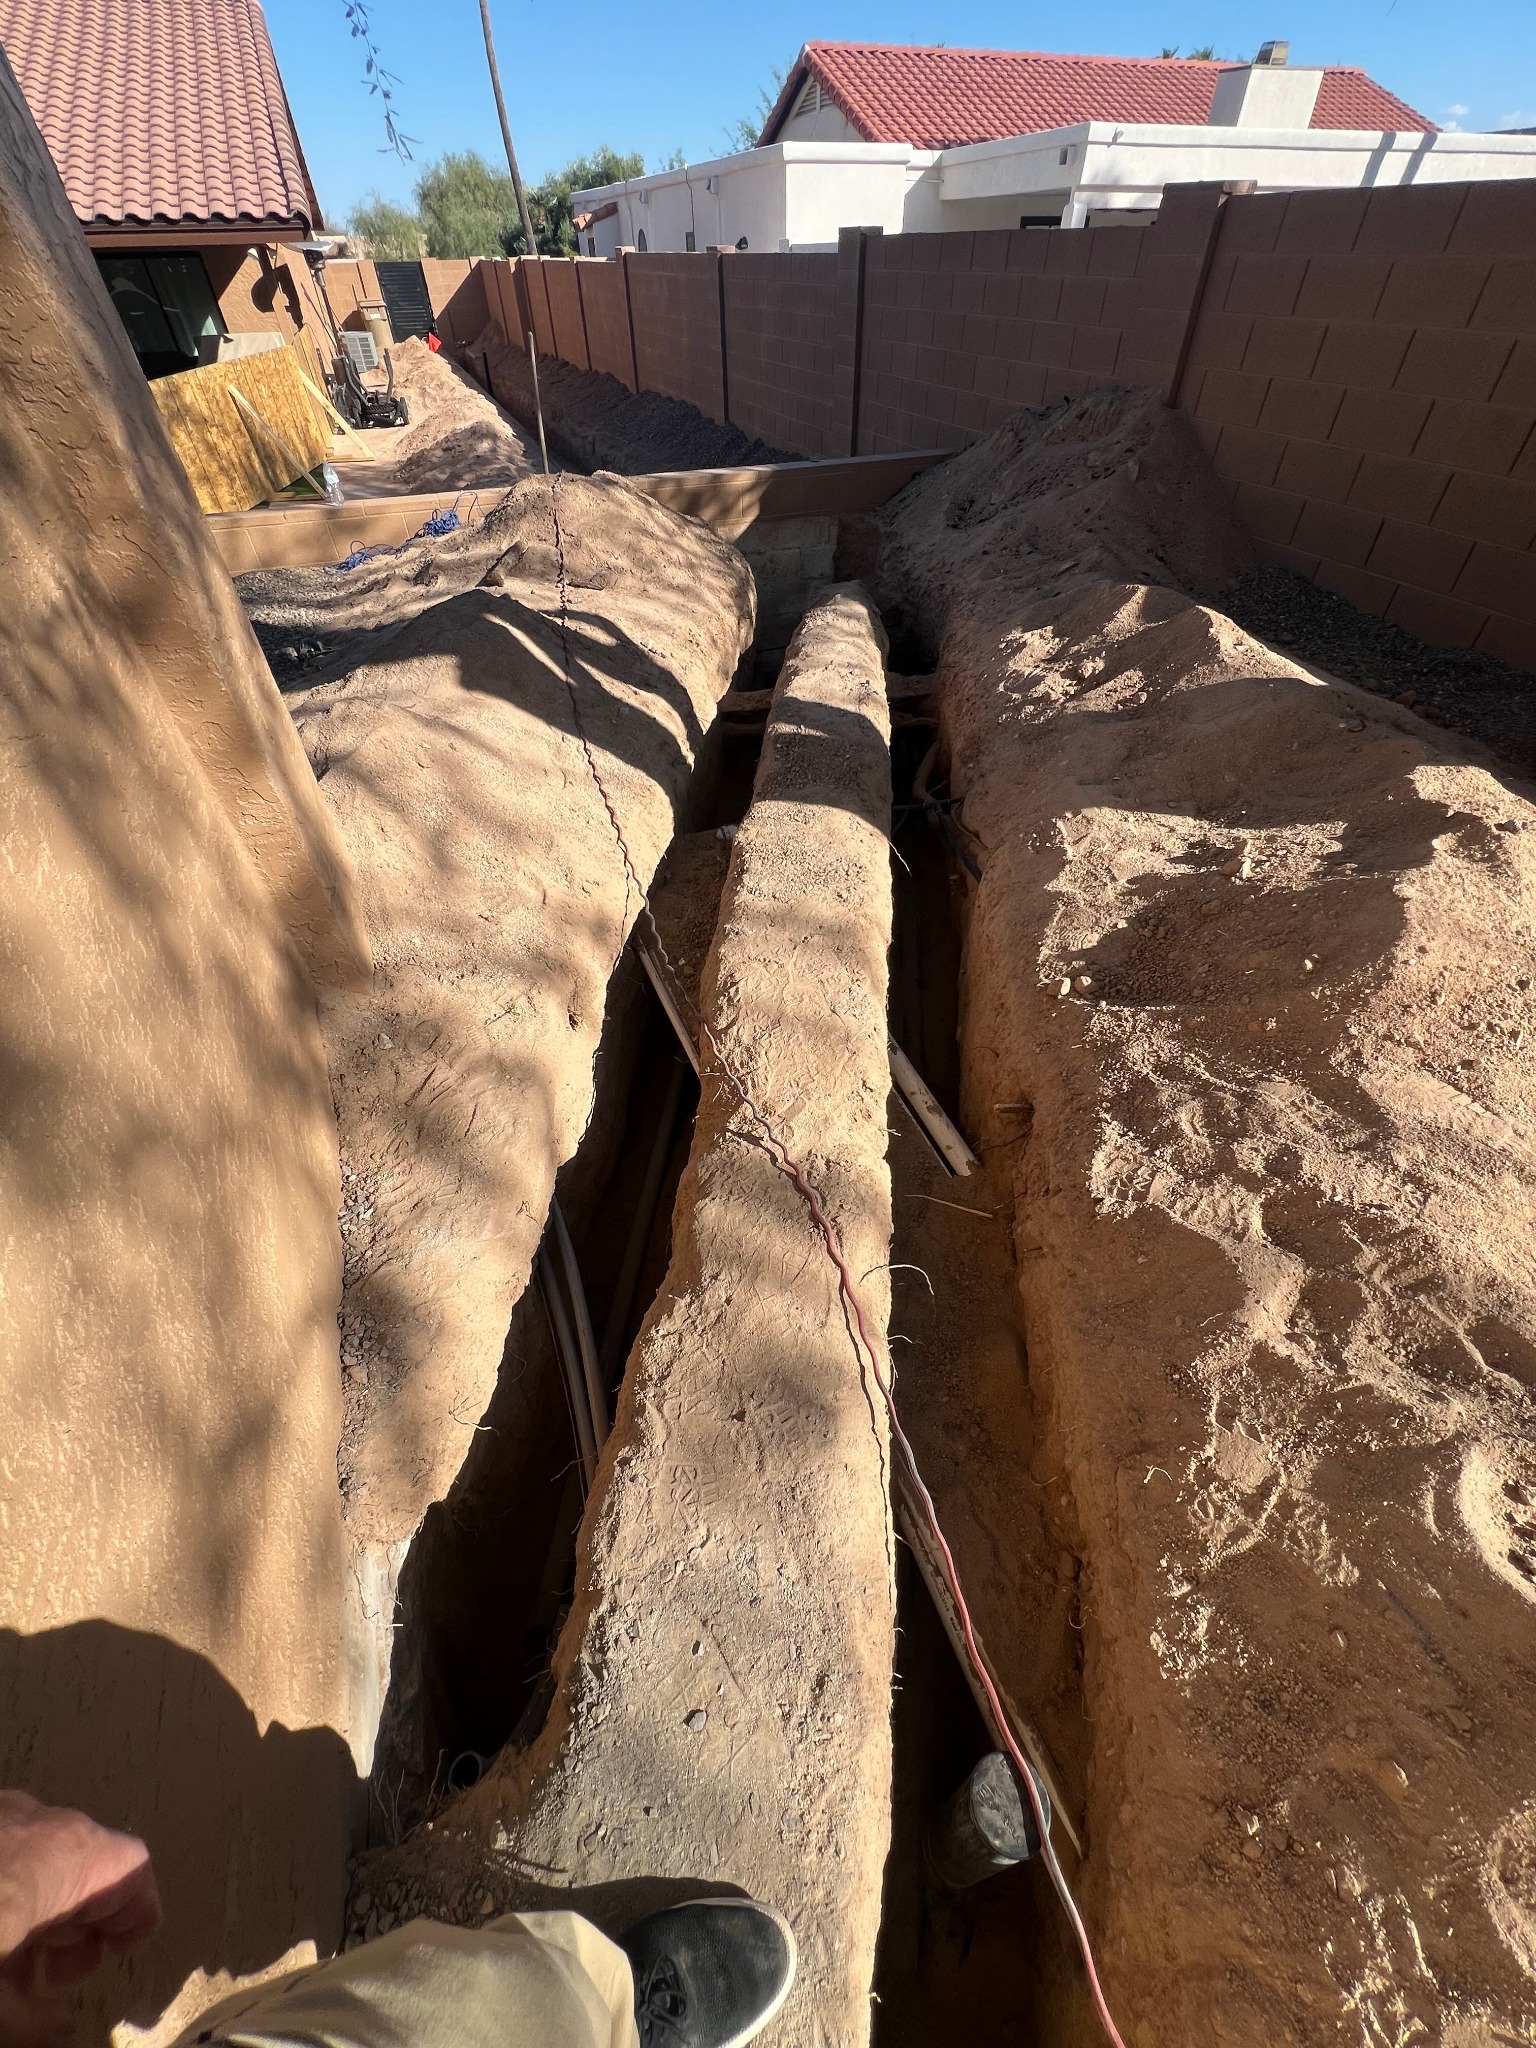
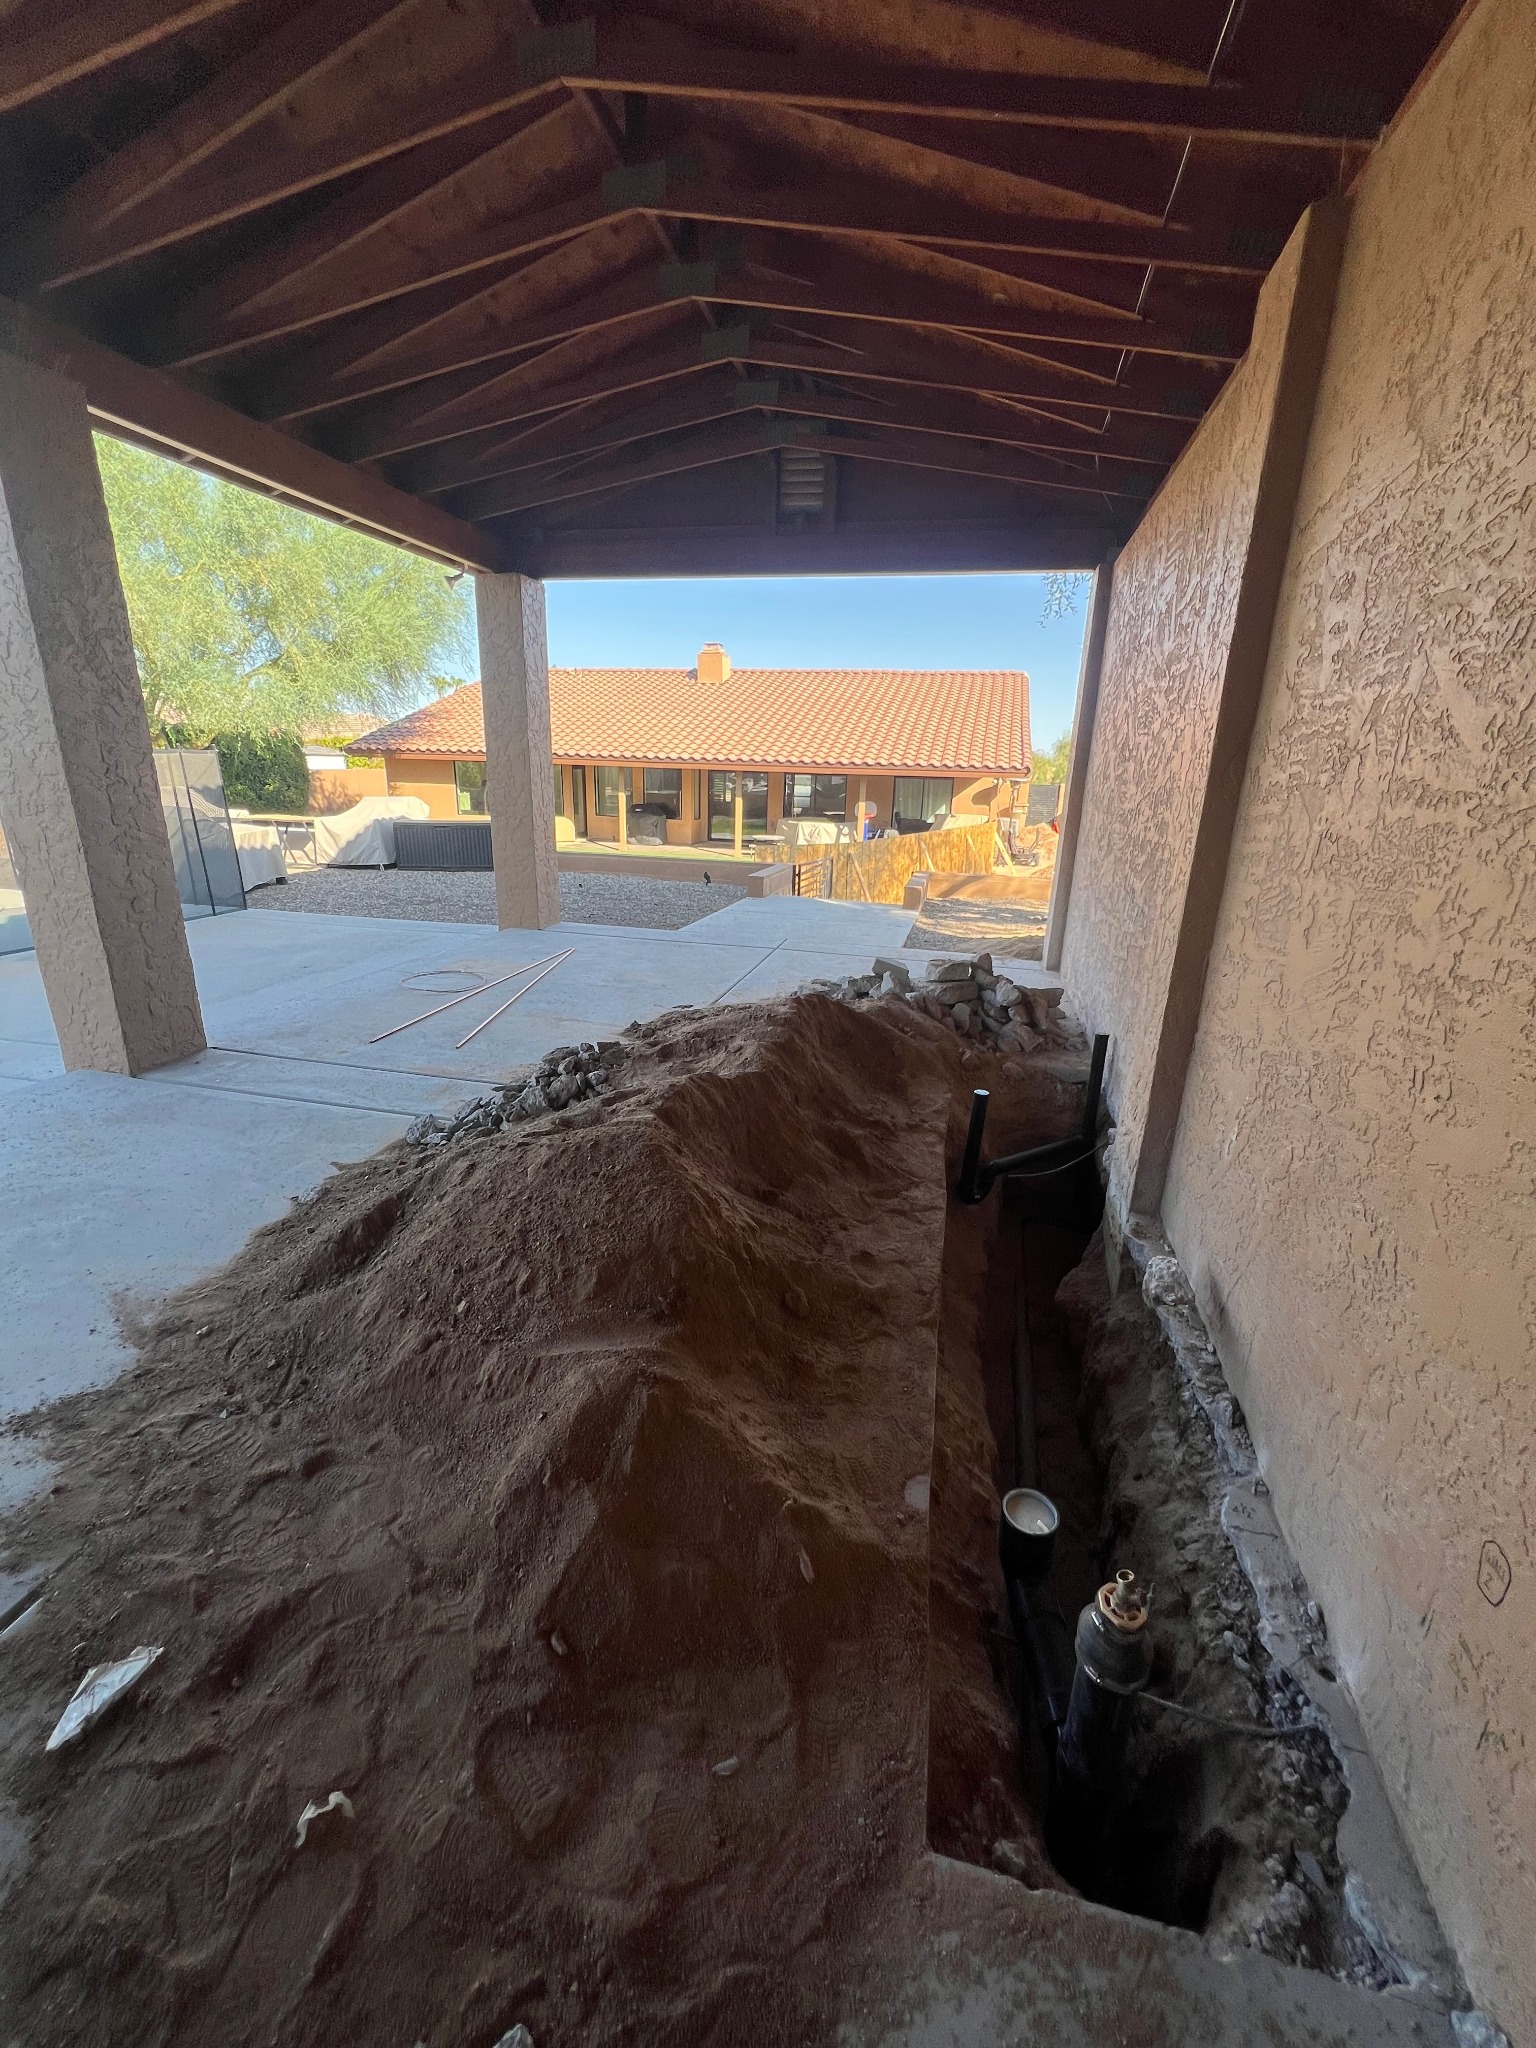
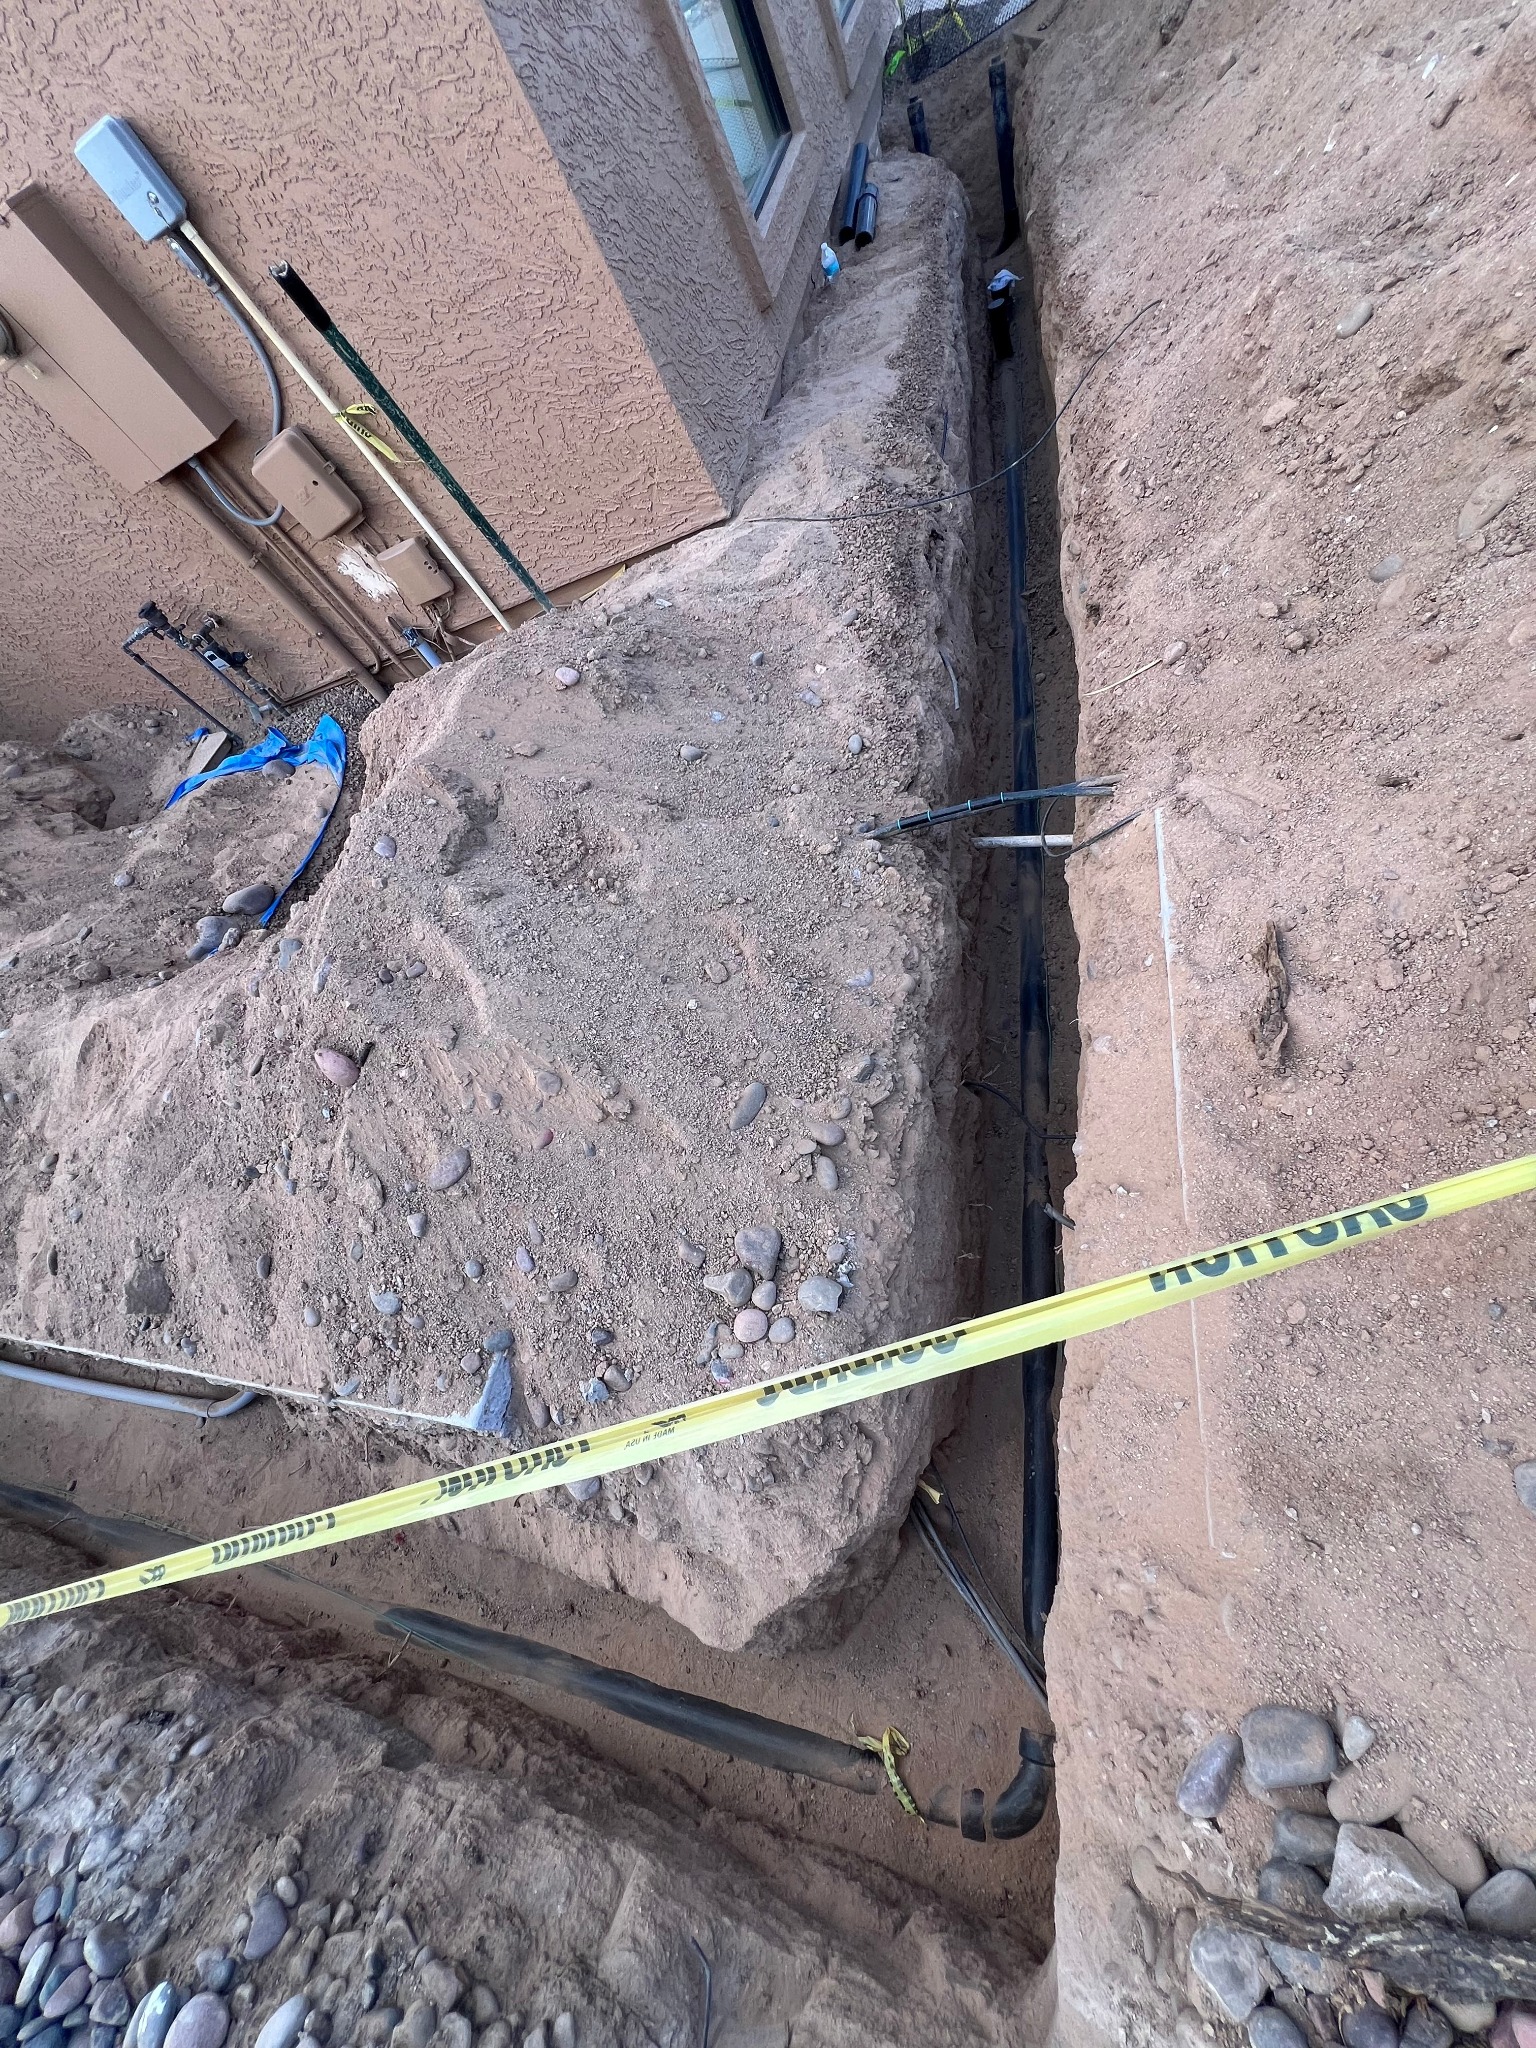
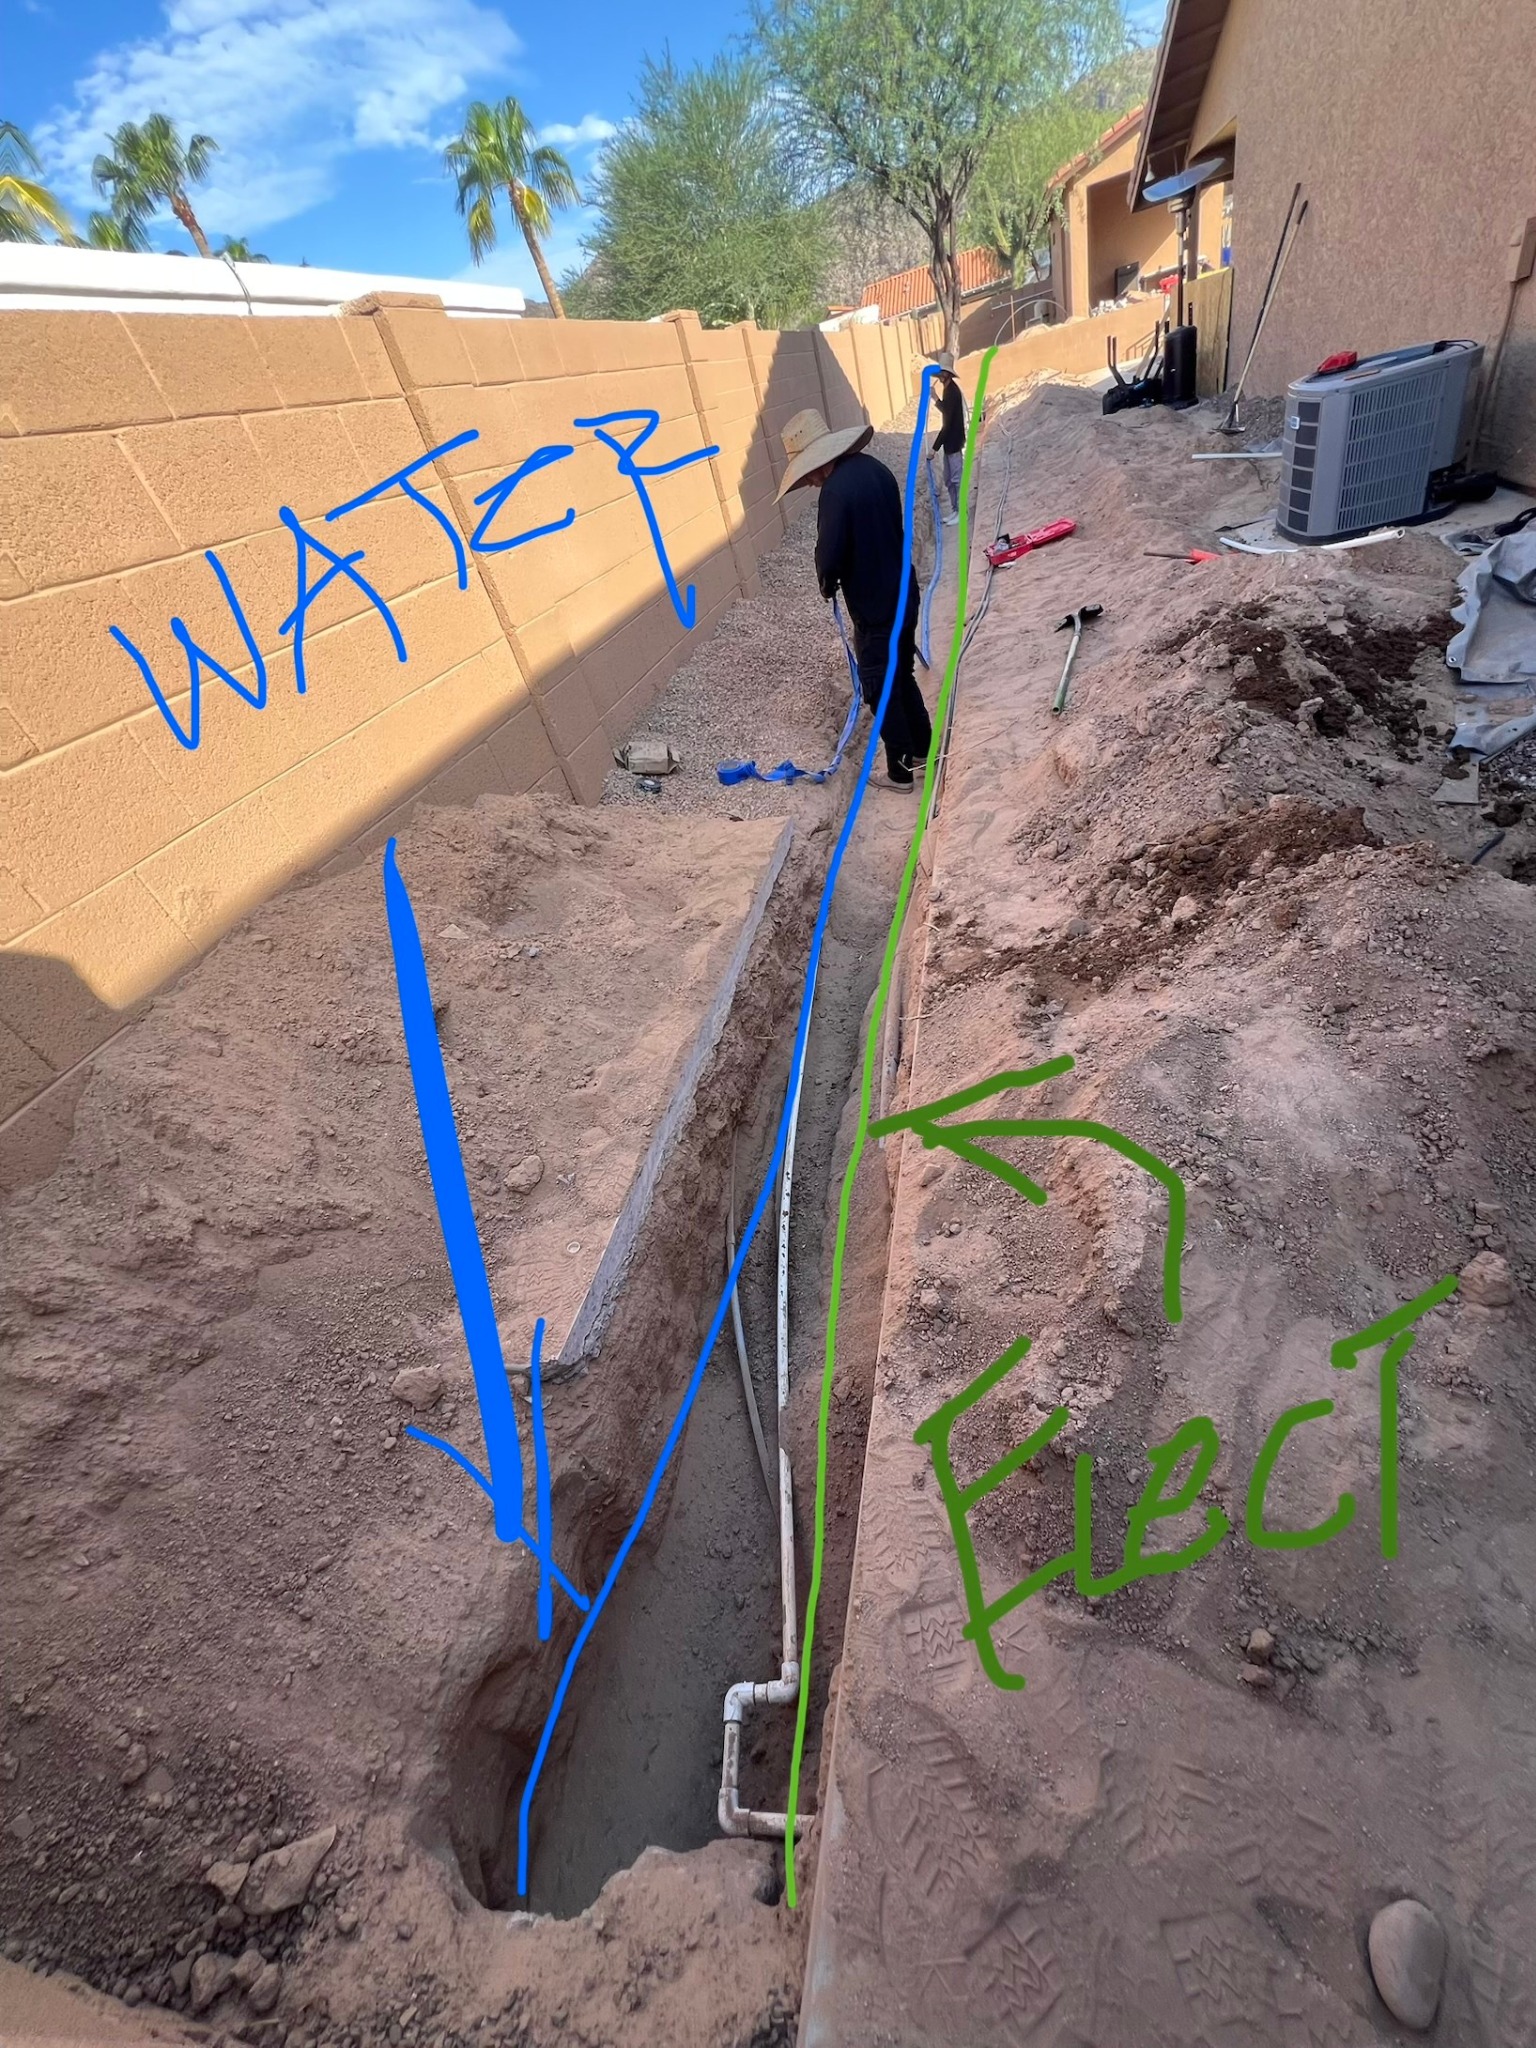
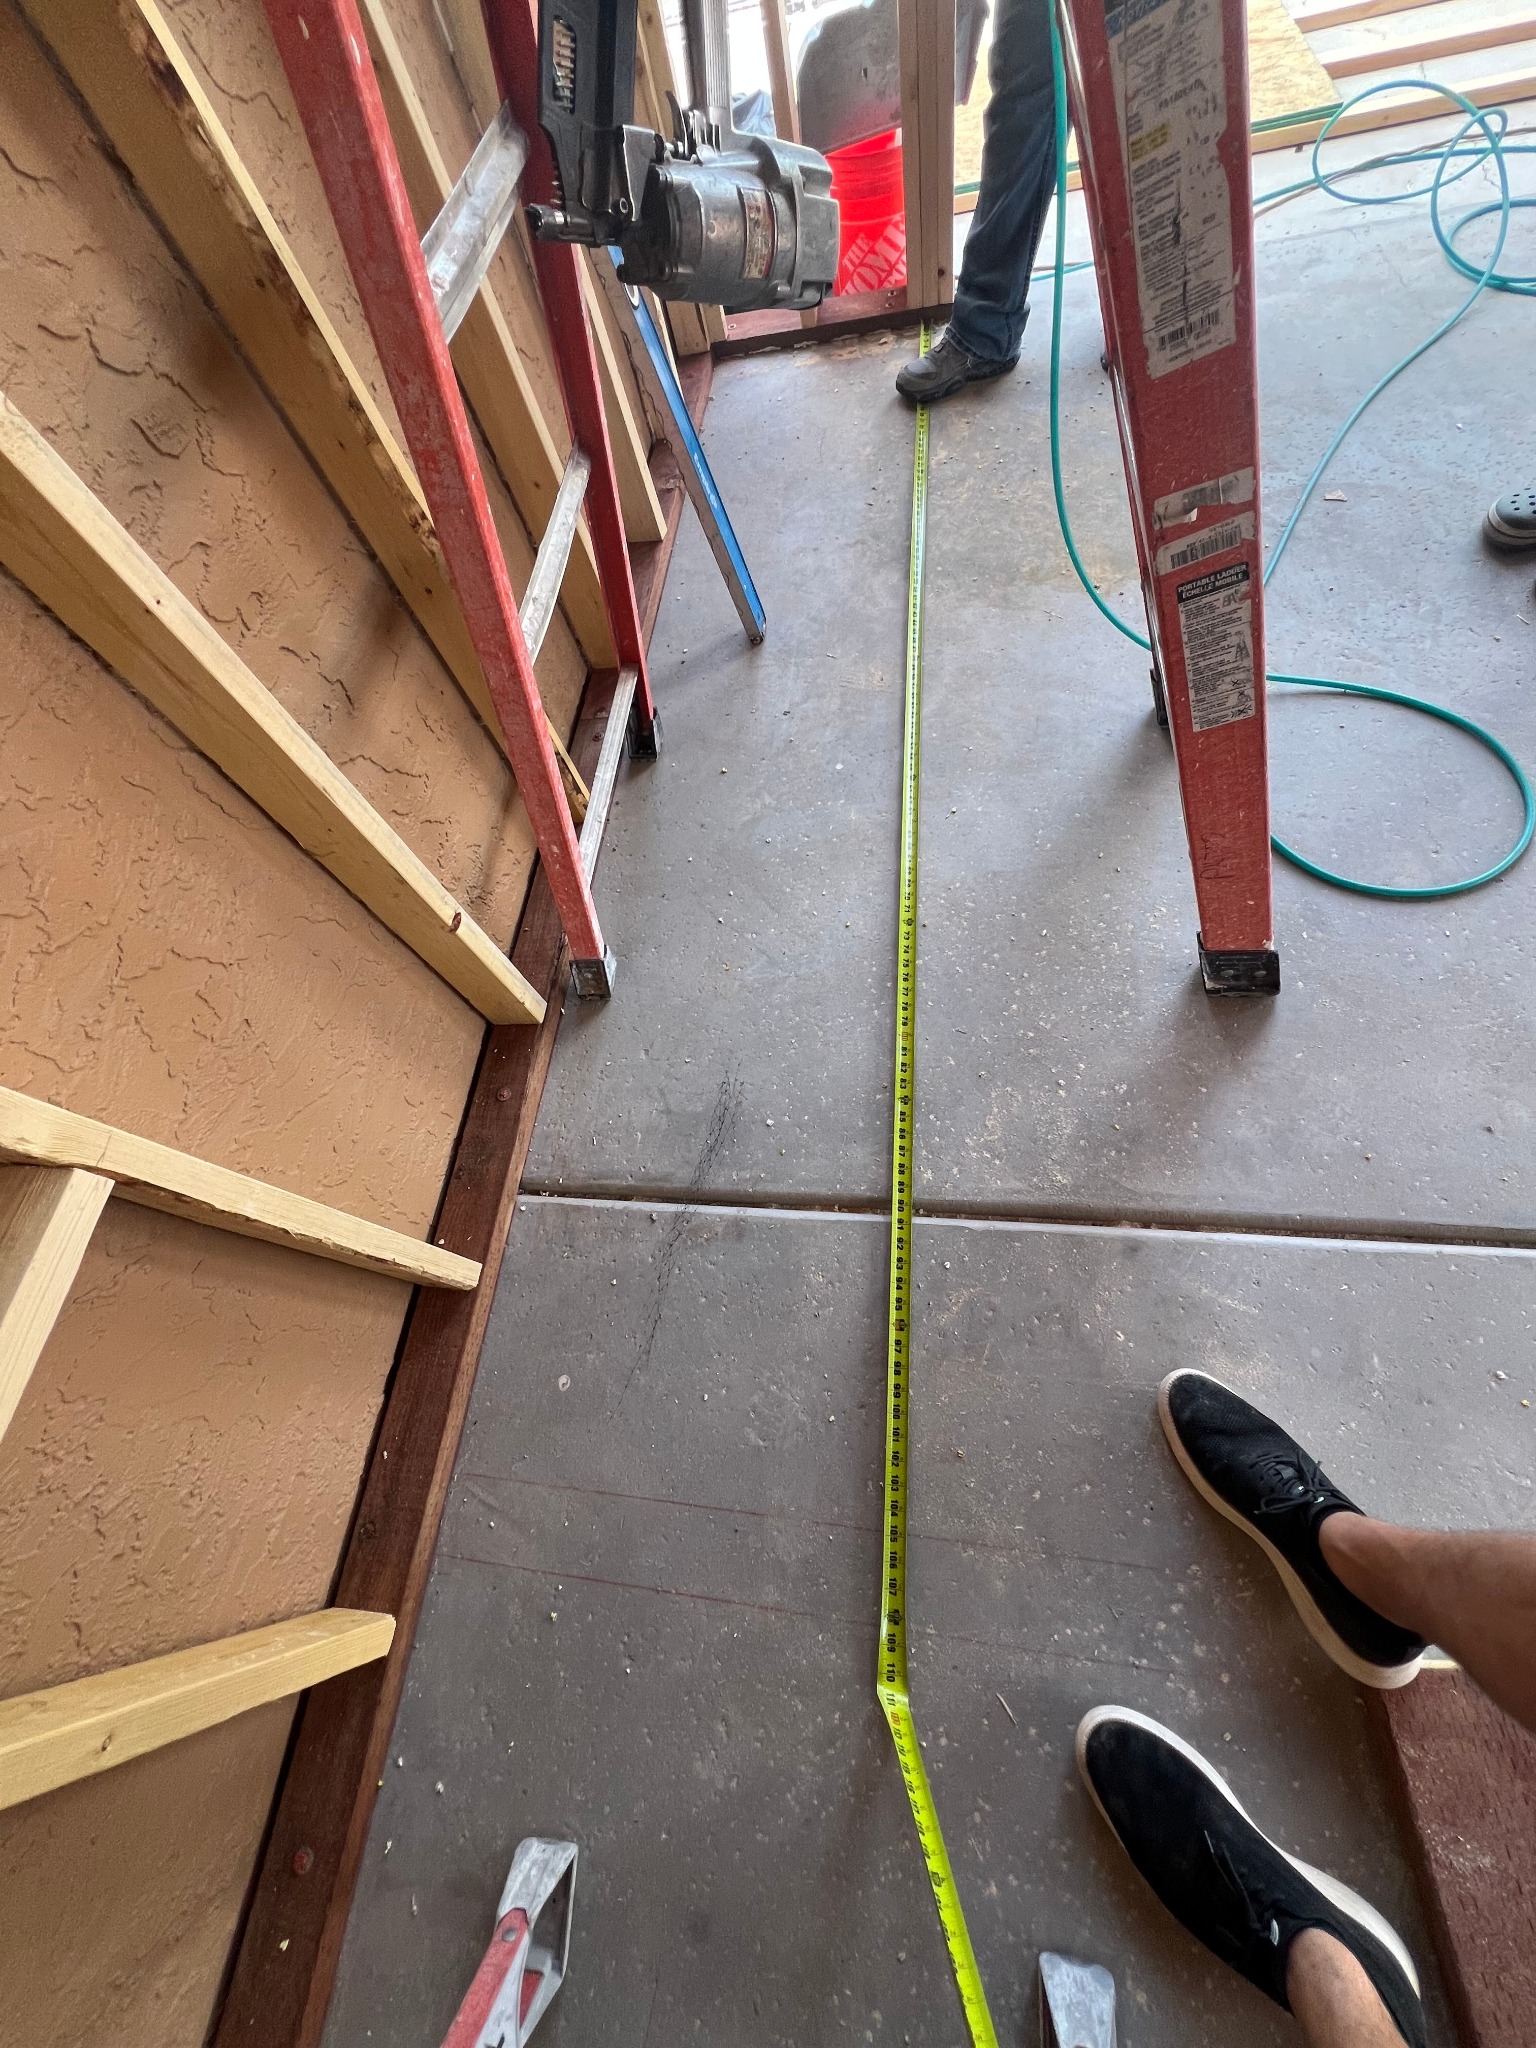
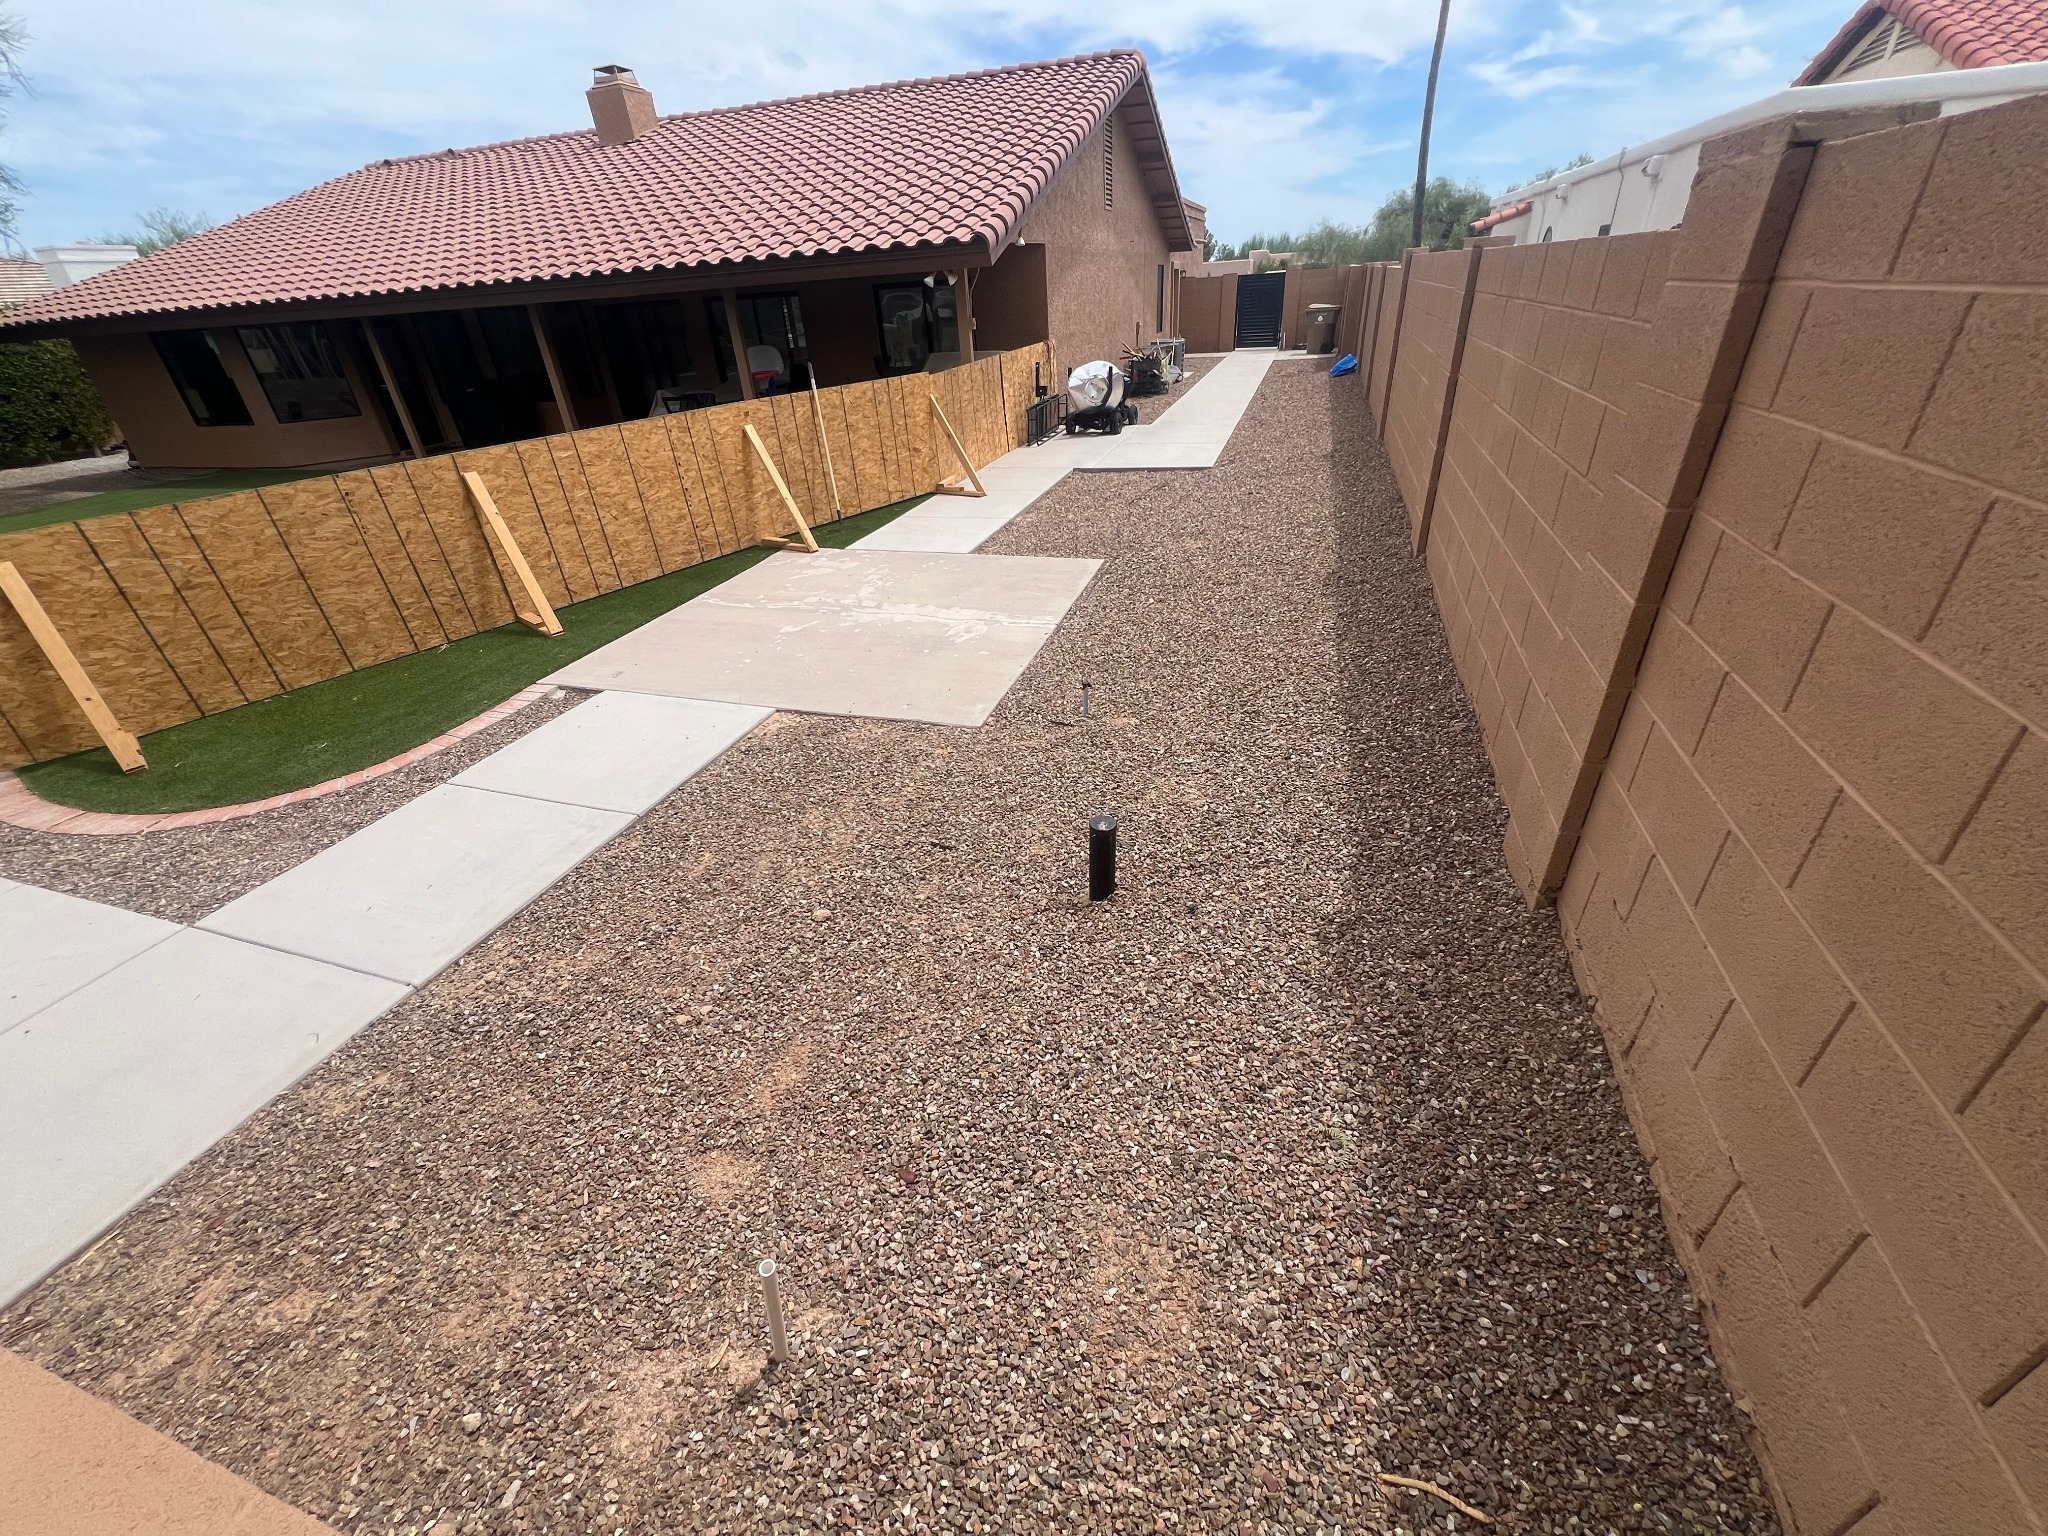
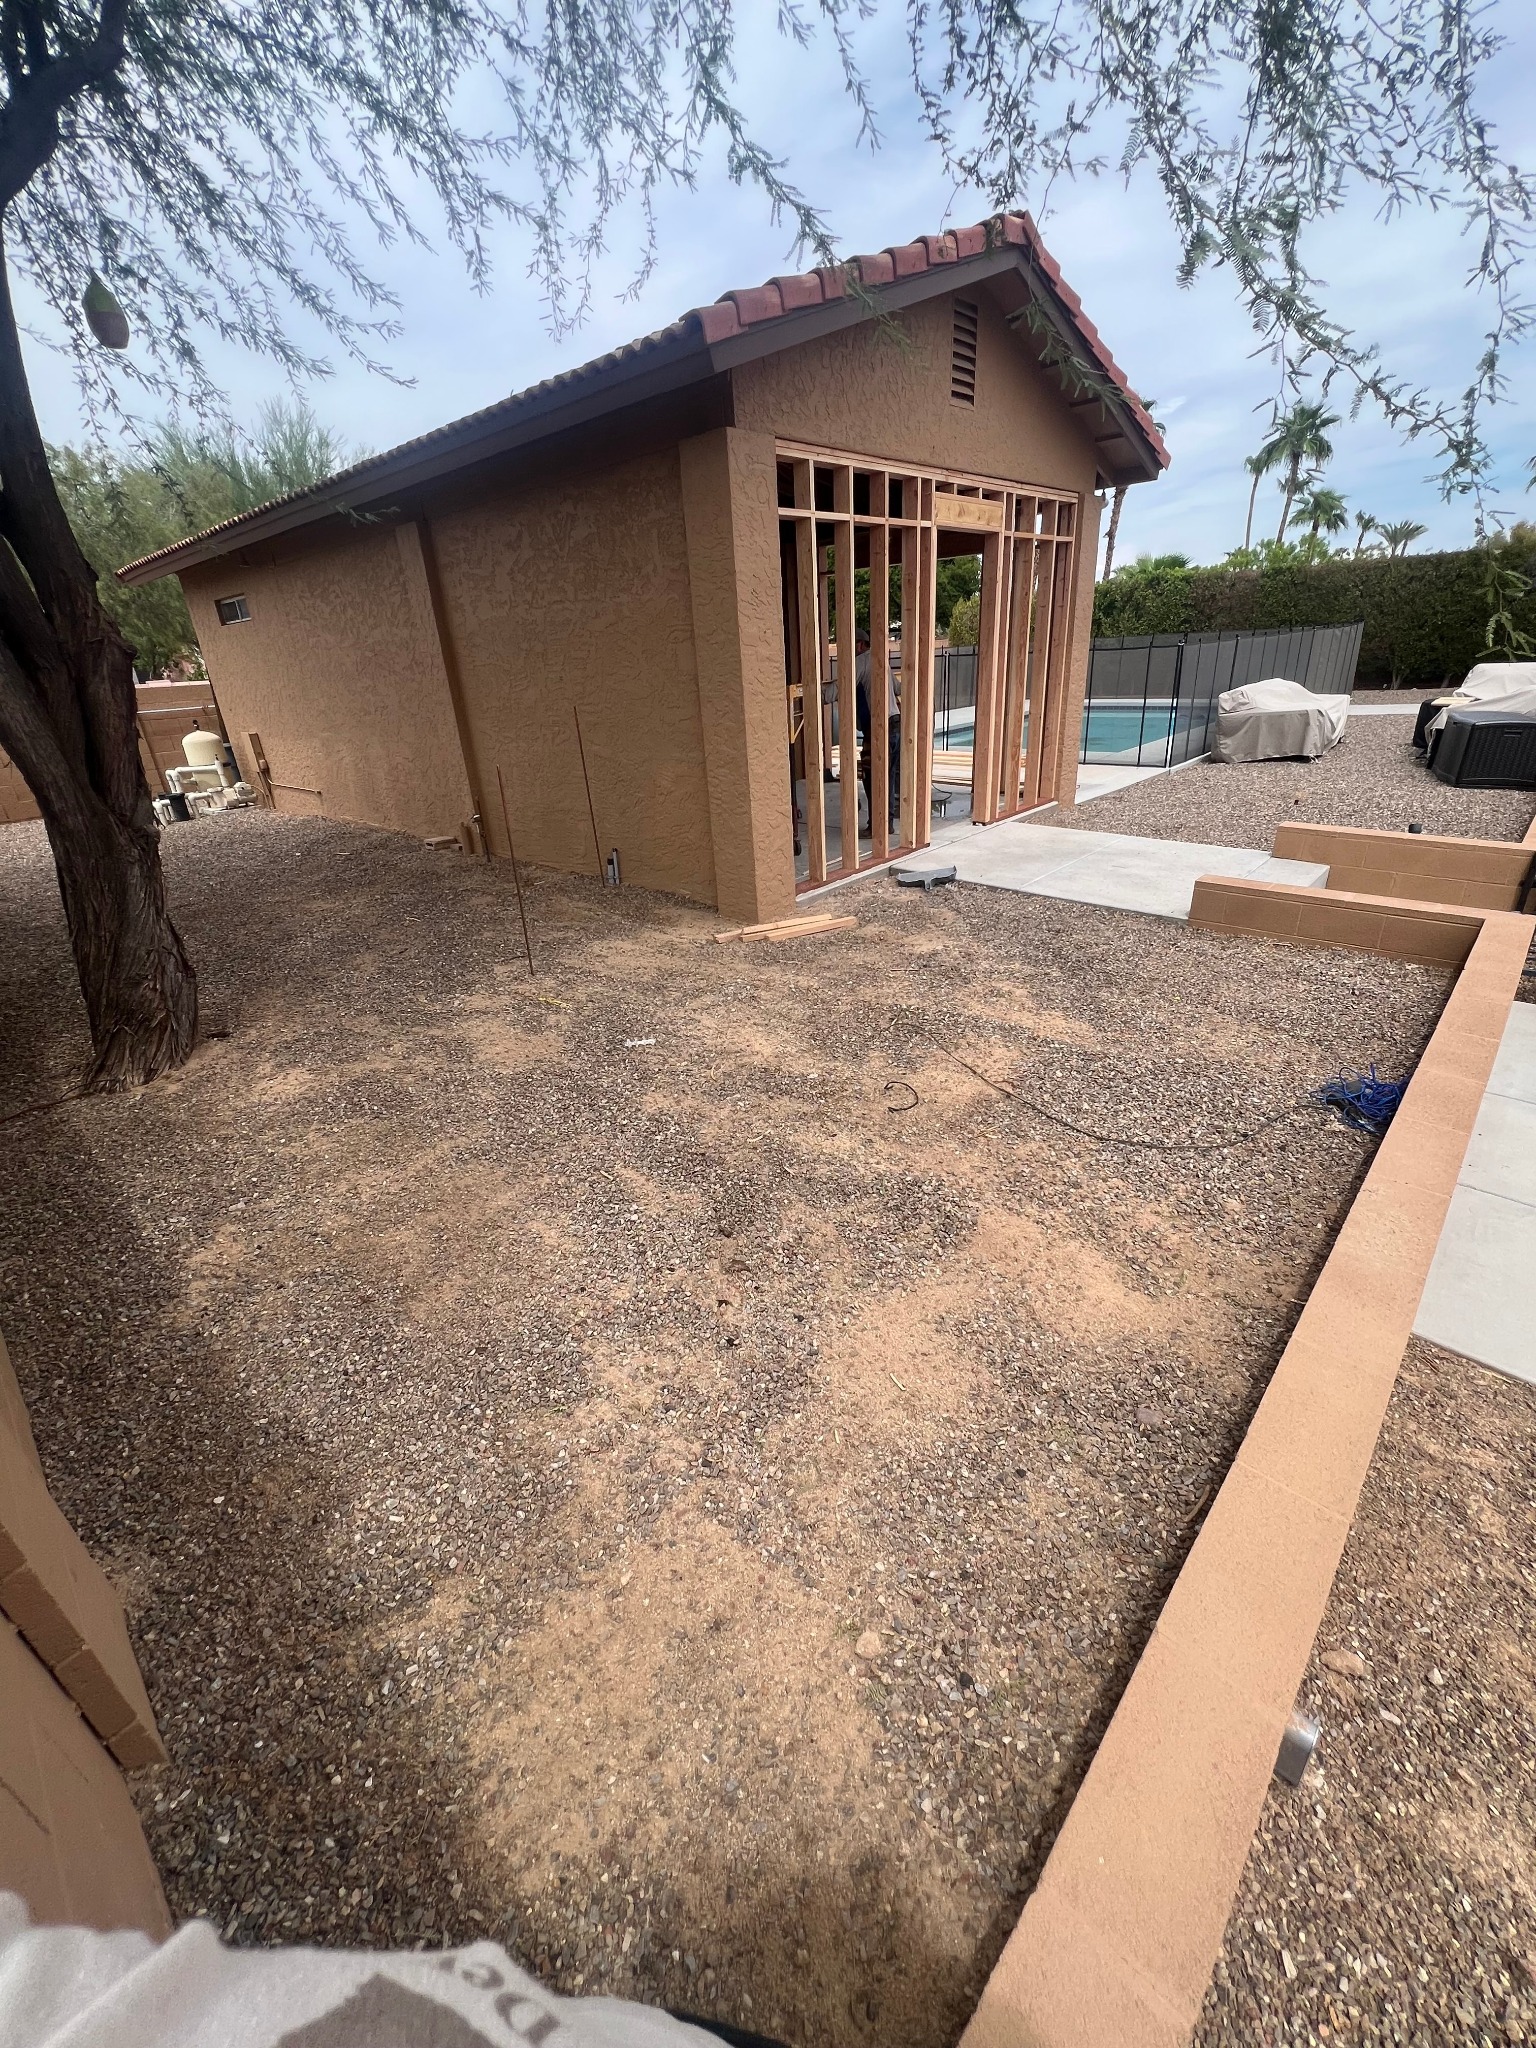
Every ADU begins with planning, budgeting, design and City of Phoenix permitting. We mapped the layout for trenching and underground electrical, water, sewer and plumbing, then marked interior walls and prepared slab saw cuts. Aggregate base installation, soil and water testing, and city inspections brought the project to its first green tag.
Concrete, soil and framing
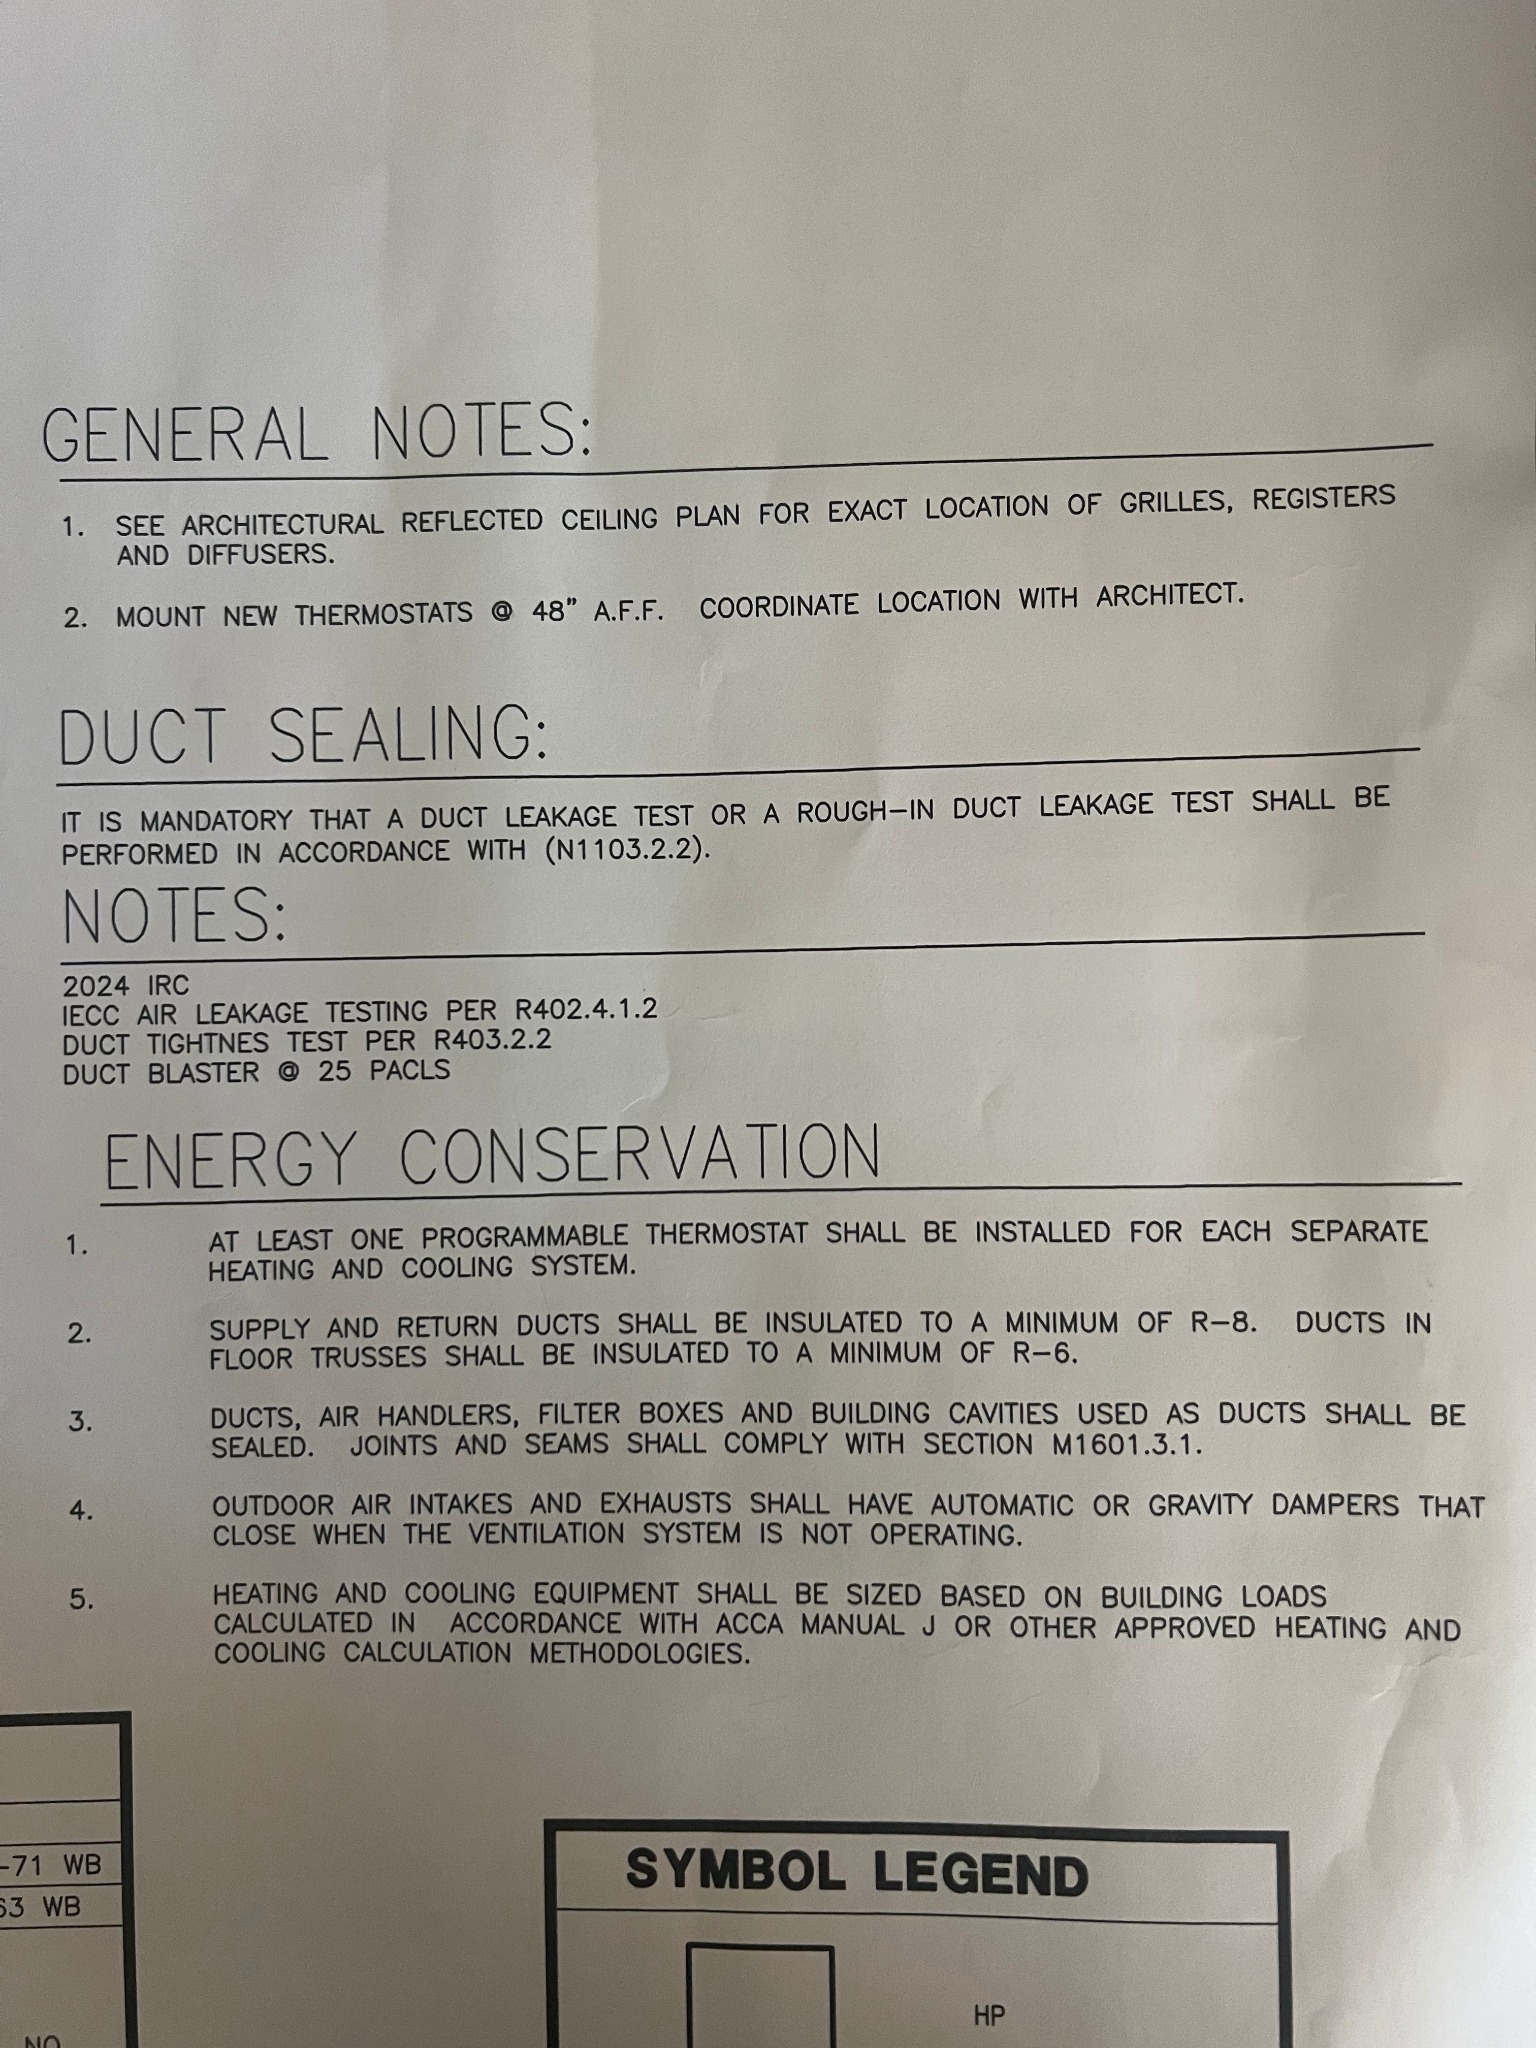
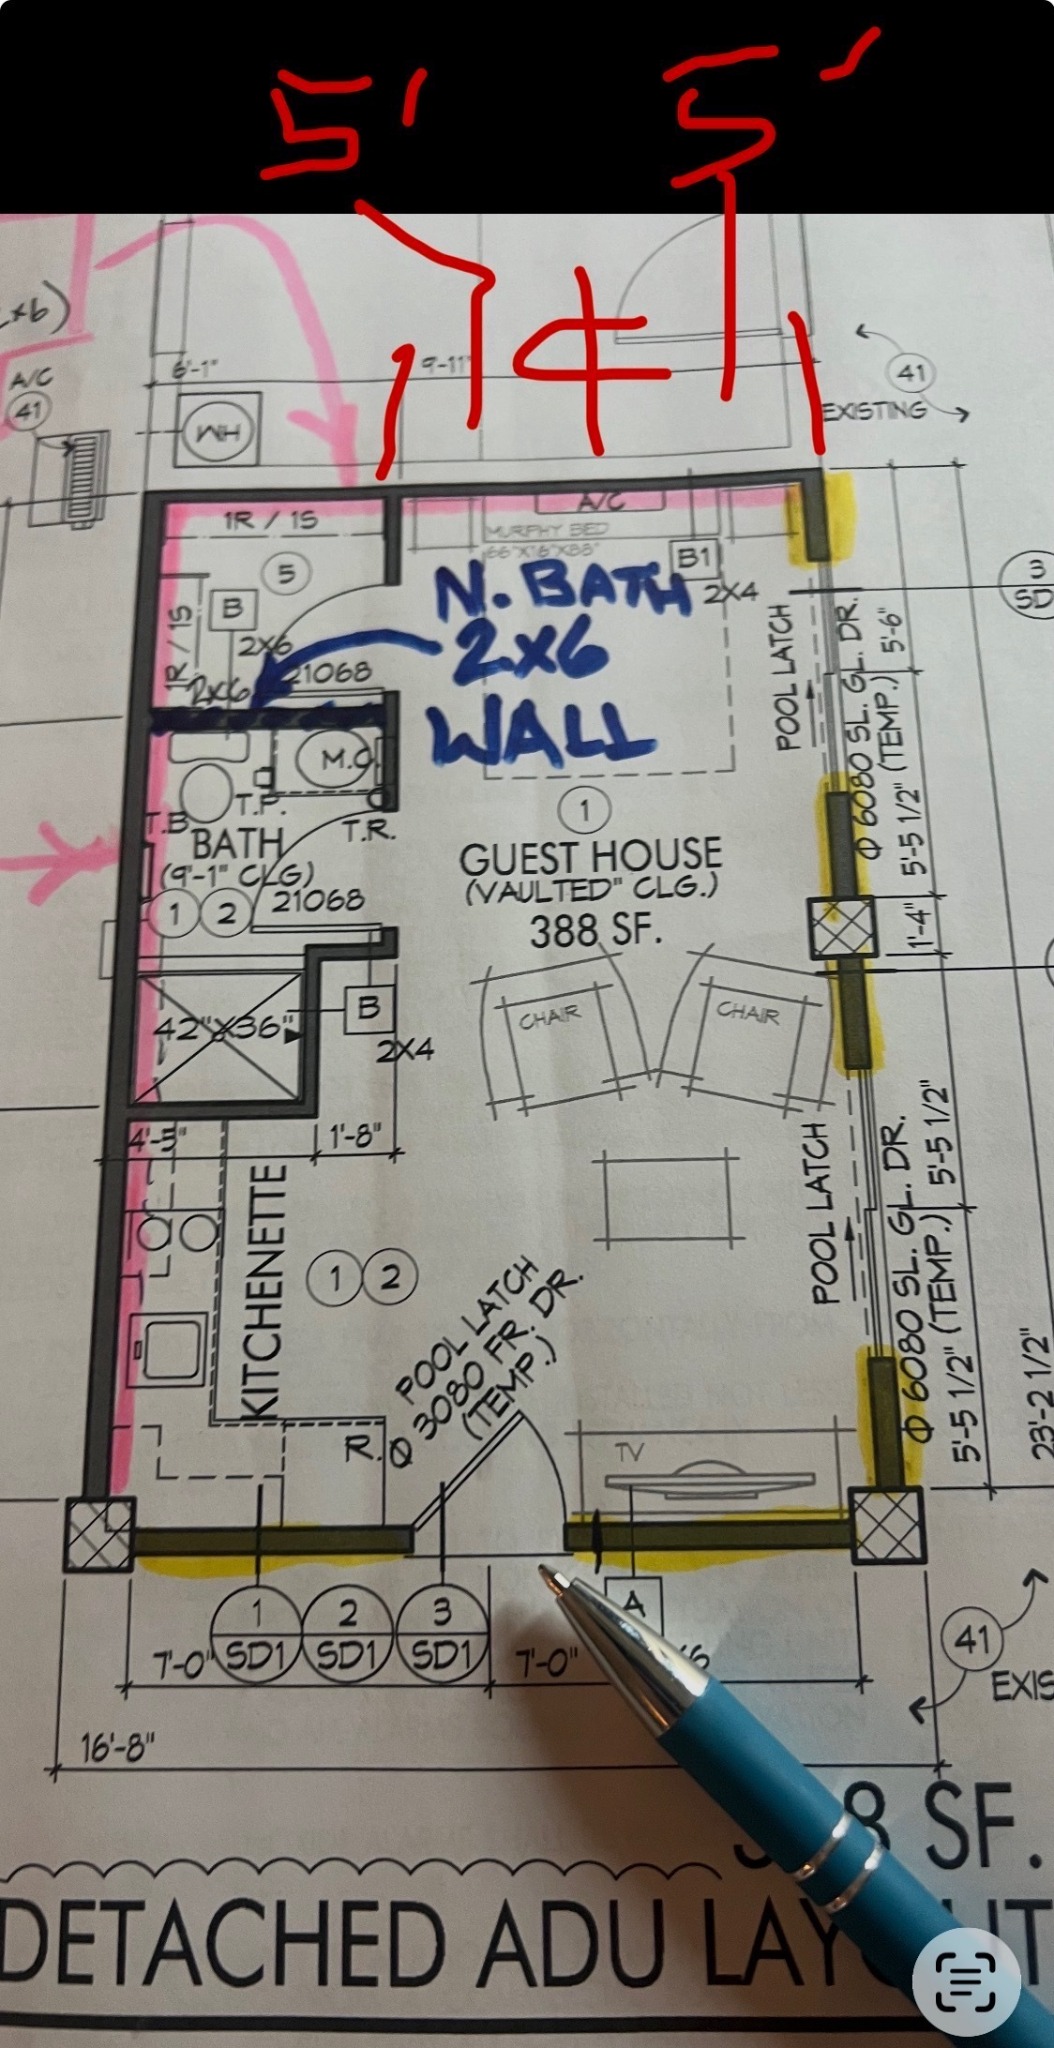
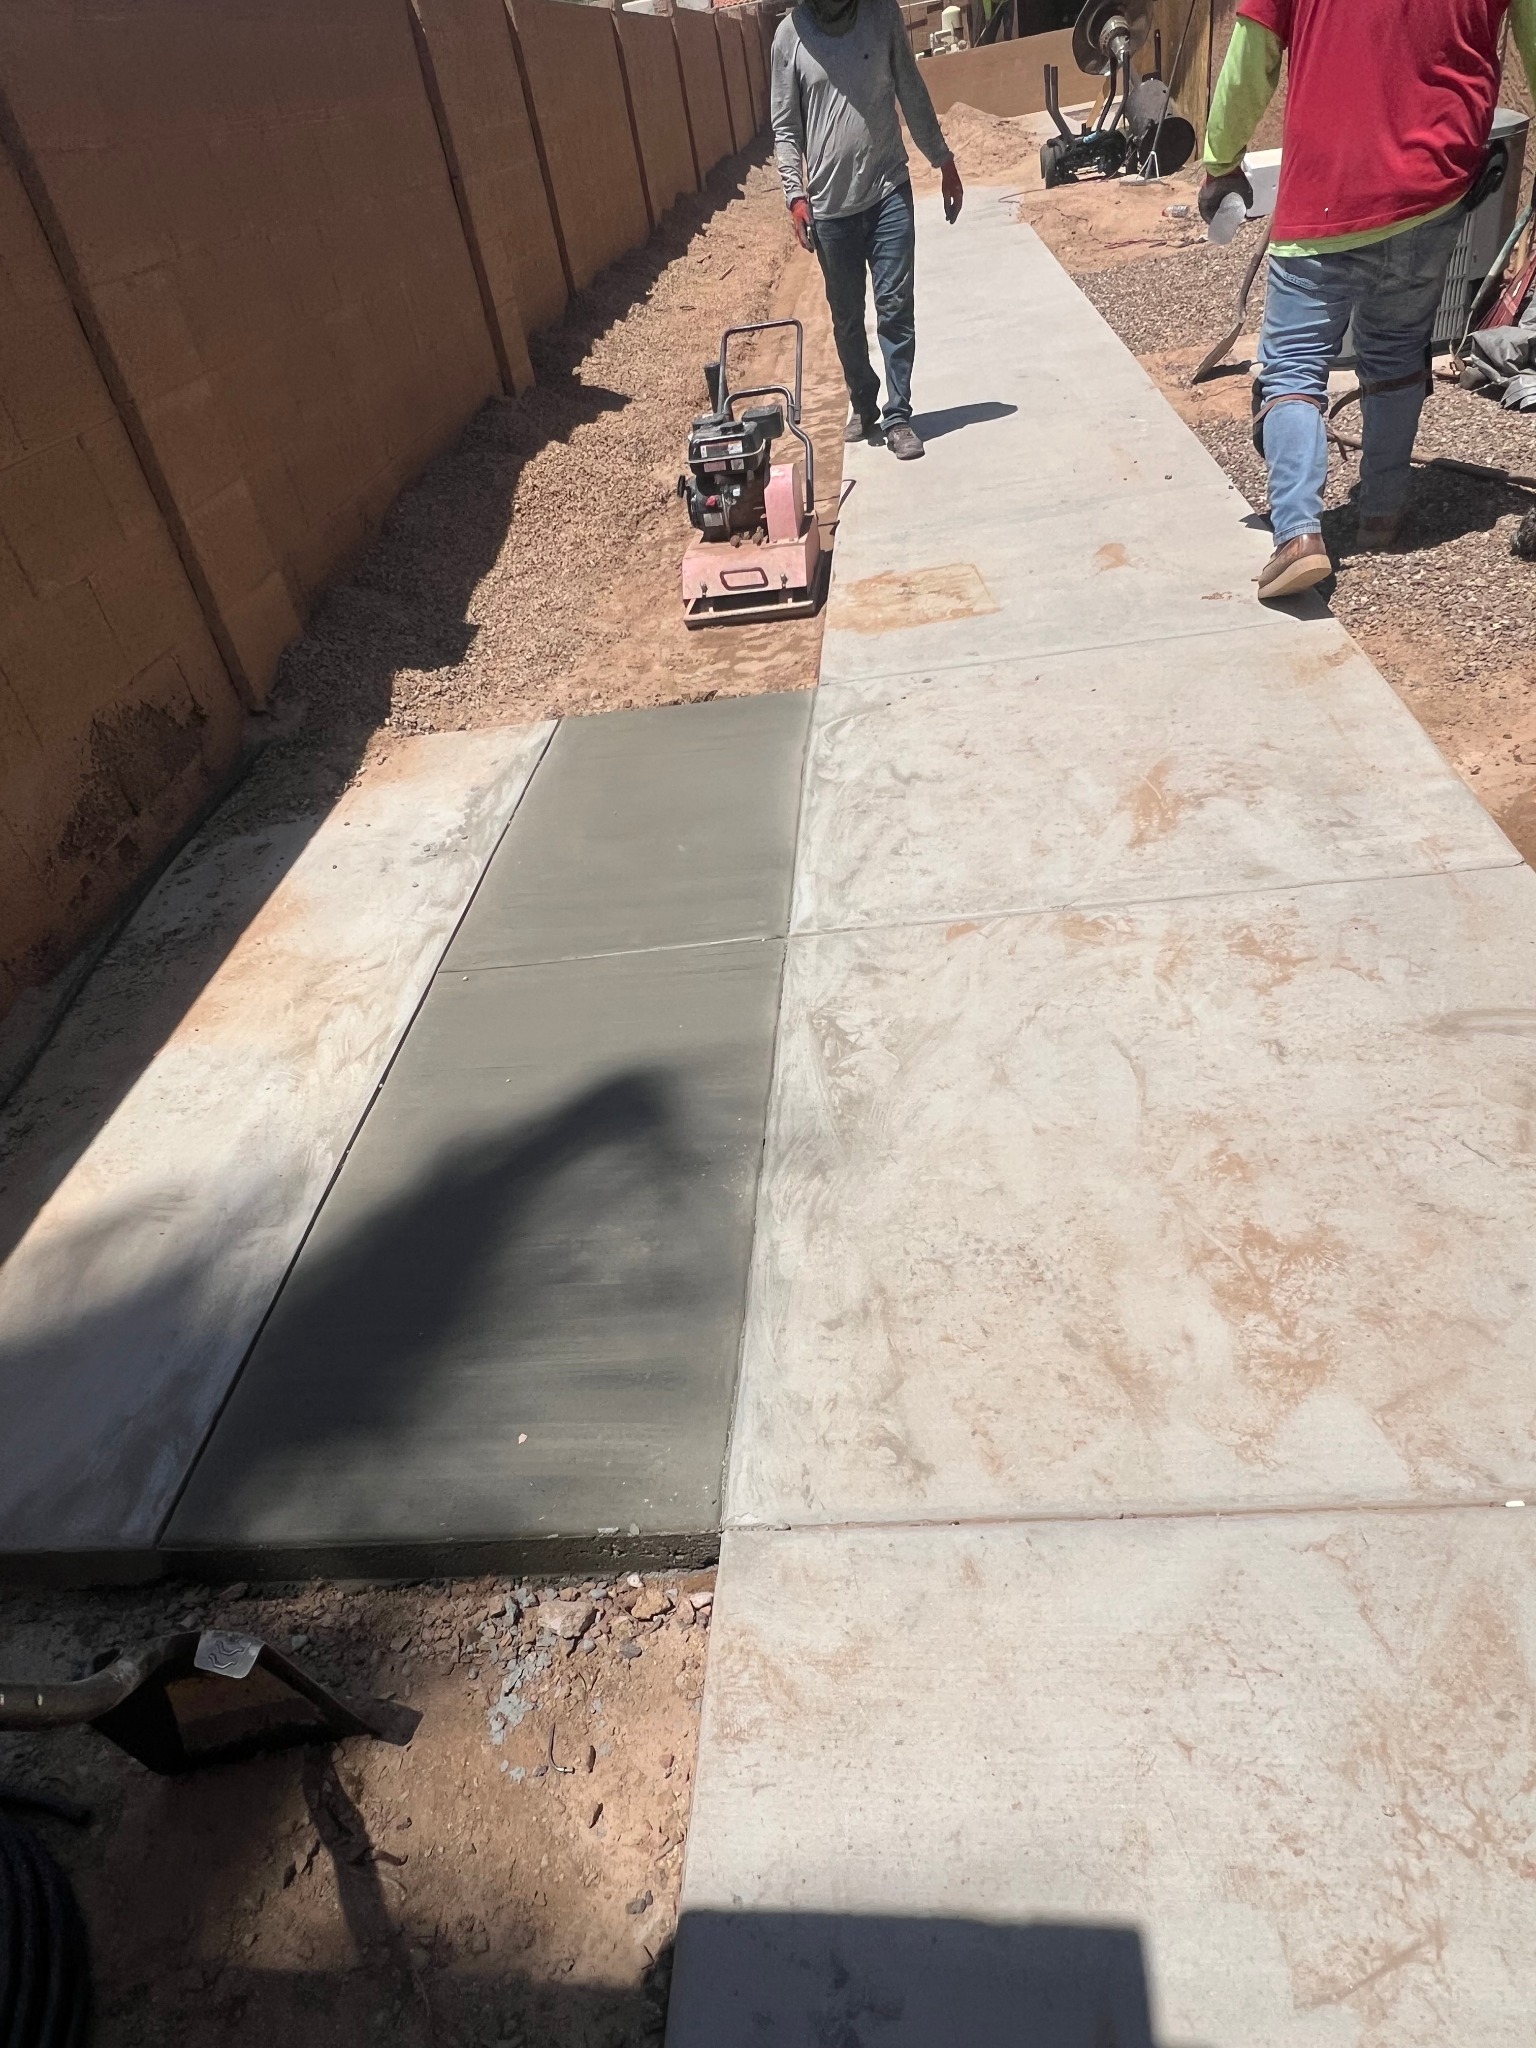
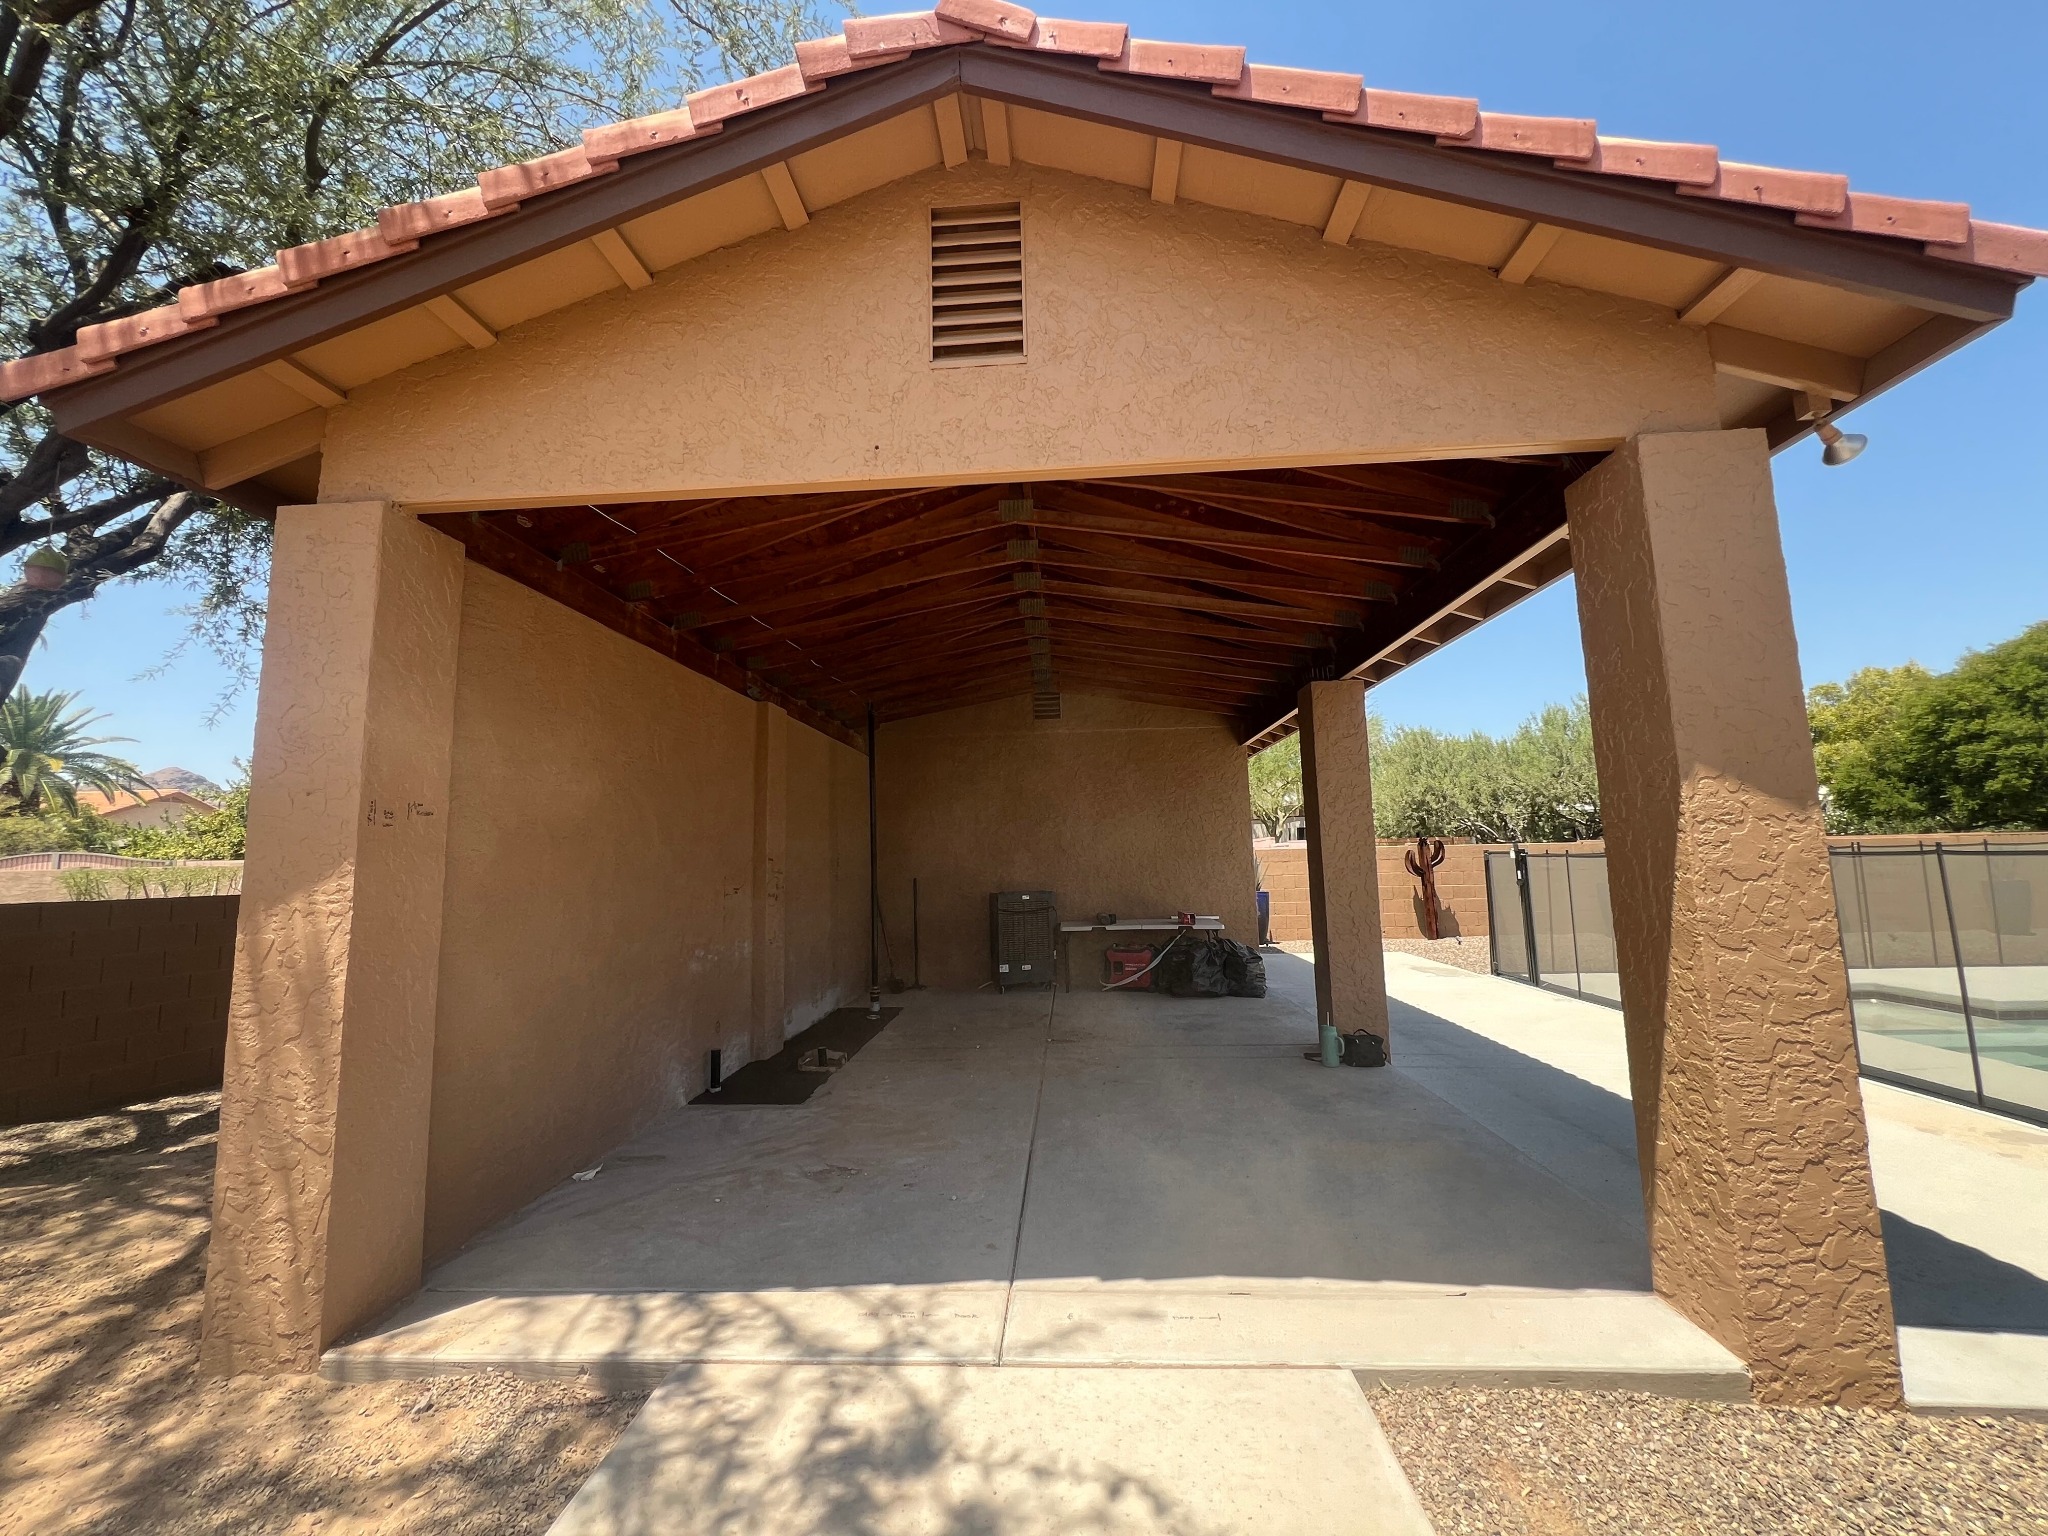
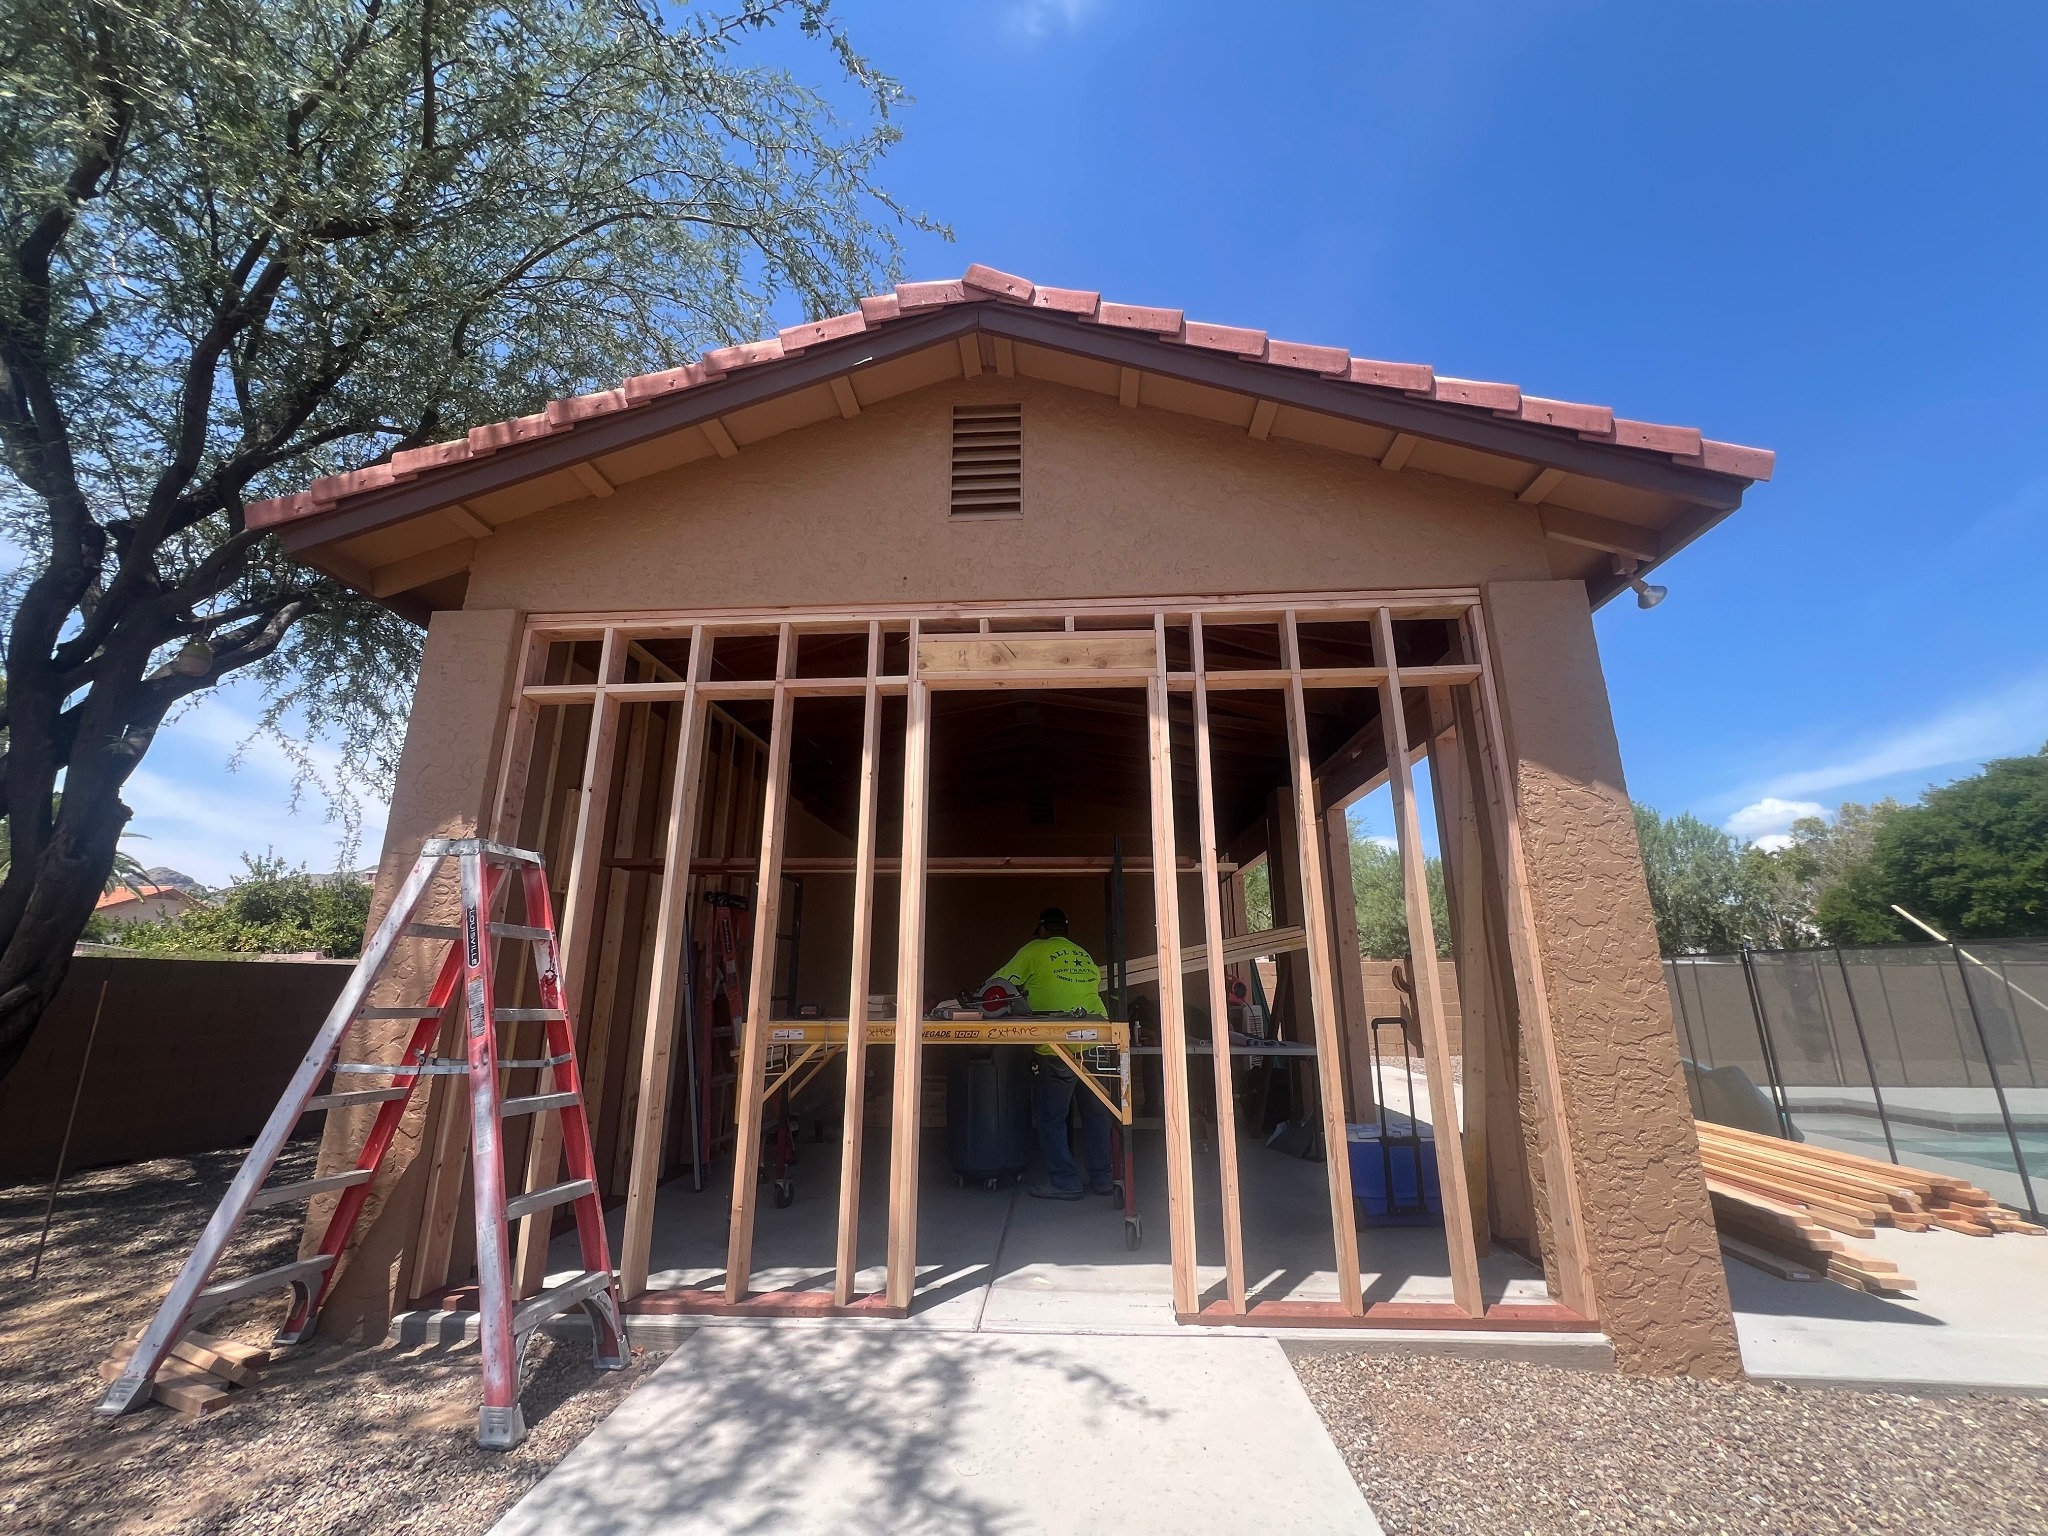
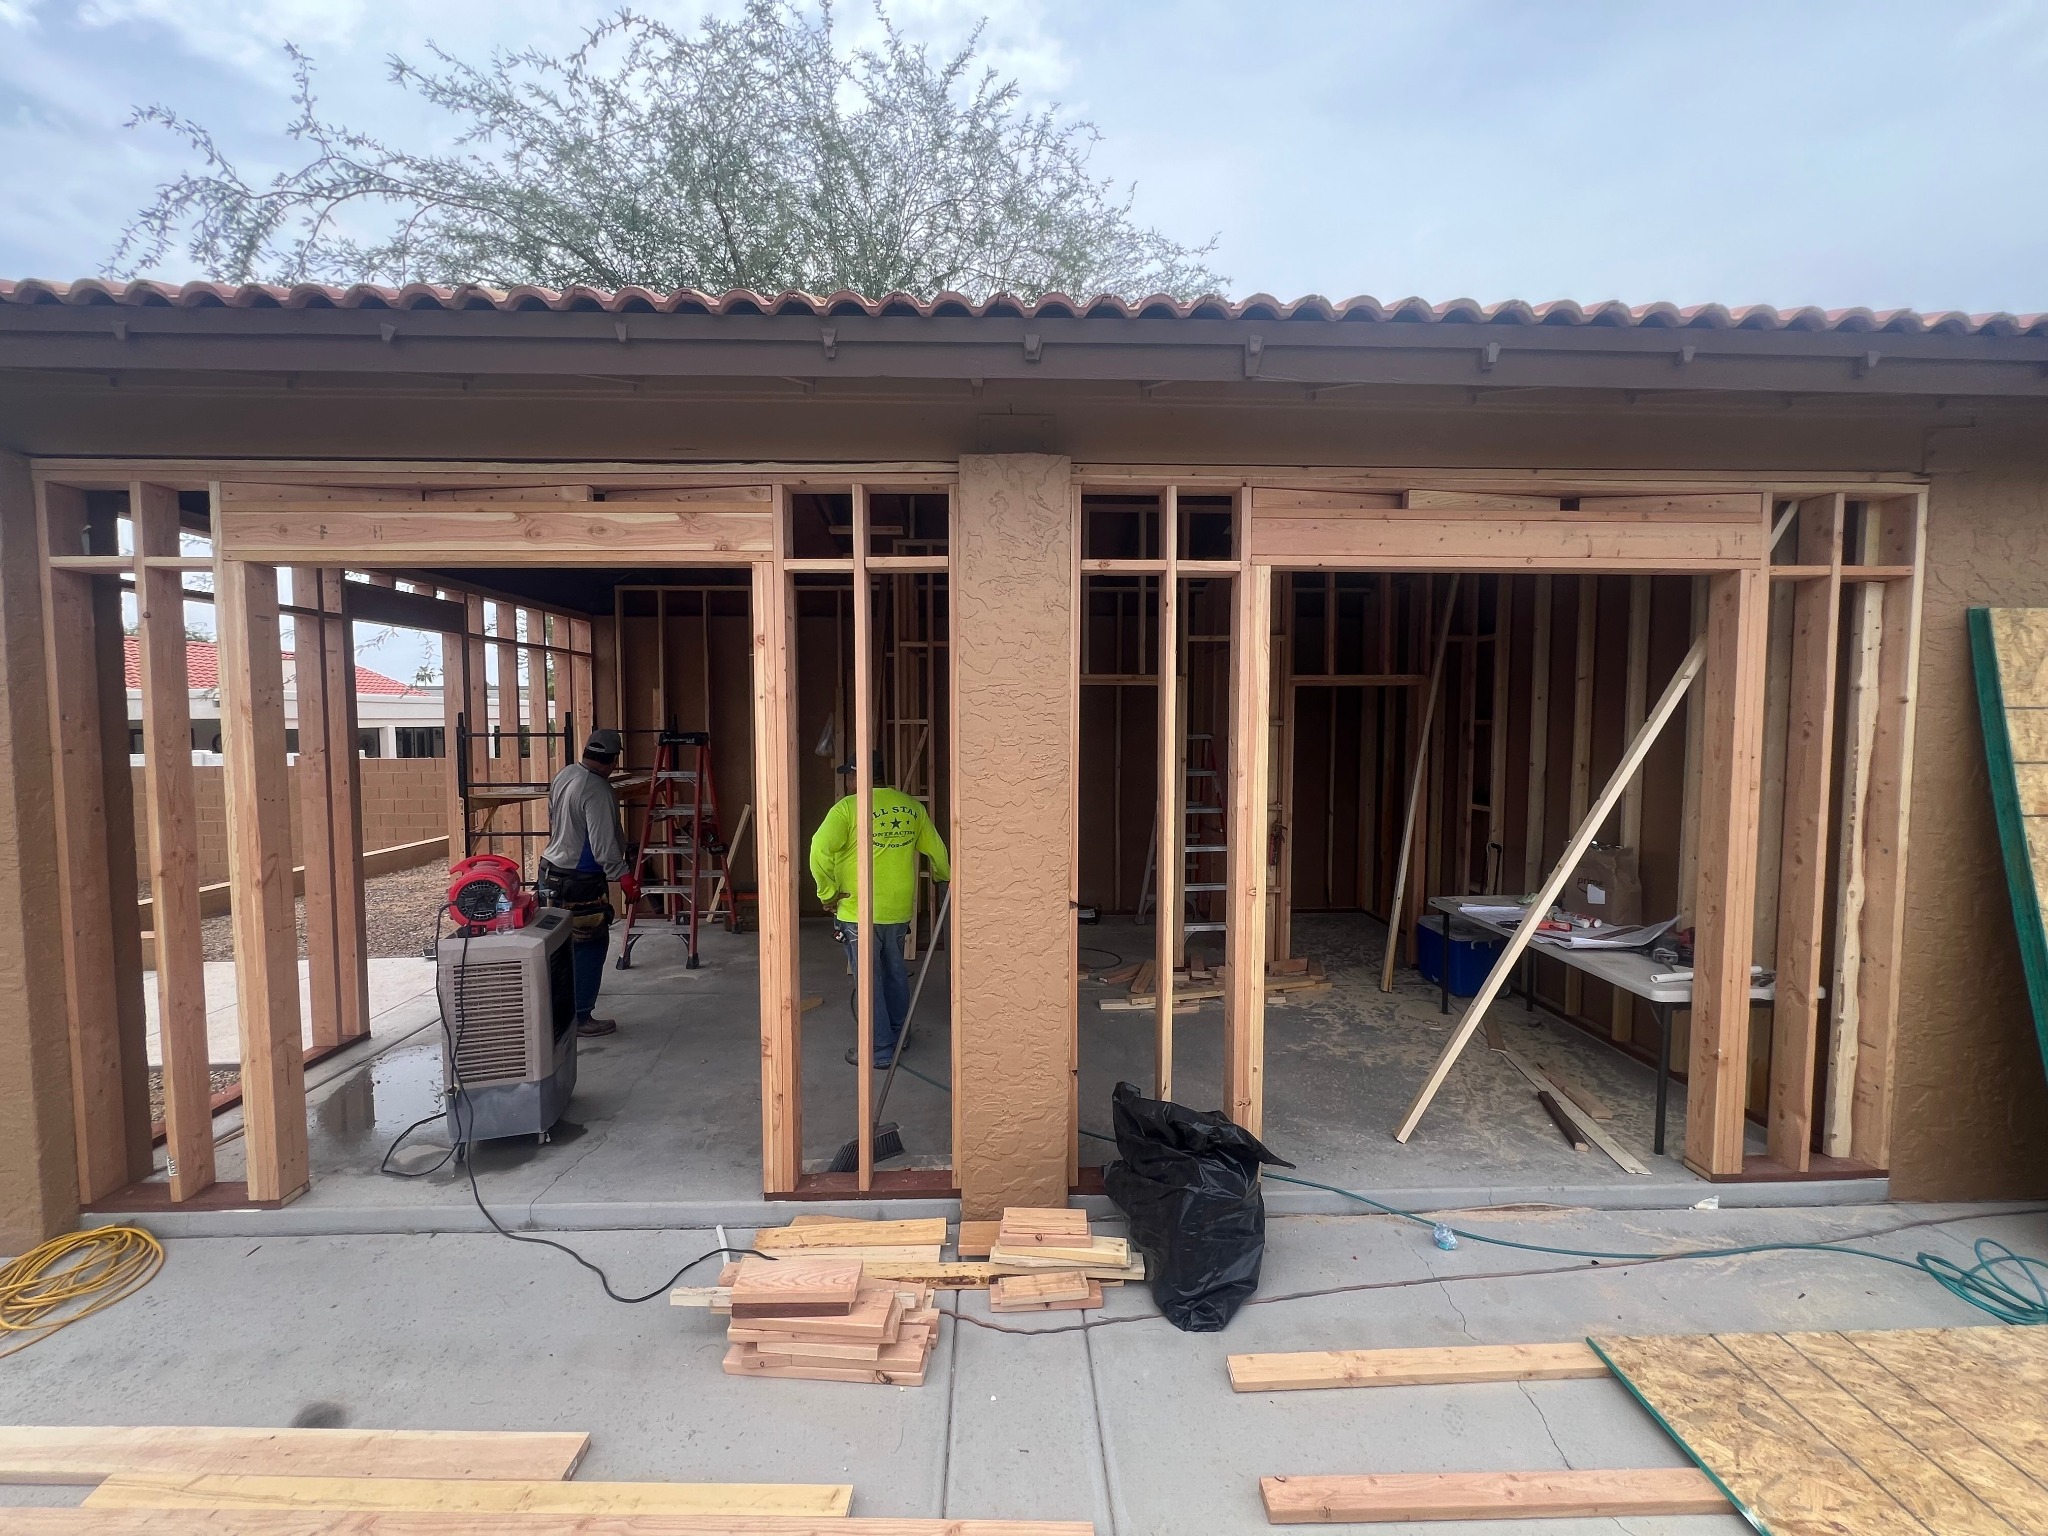
After underground work, we re-poured concrete walks and compacted the soil for inspection before landscaping was reinstalled. We triple-checked the calculations before framing. With those checks complete, our crew moved into the walls and interior layout.
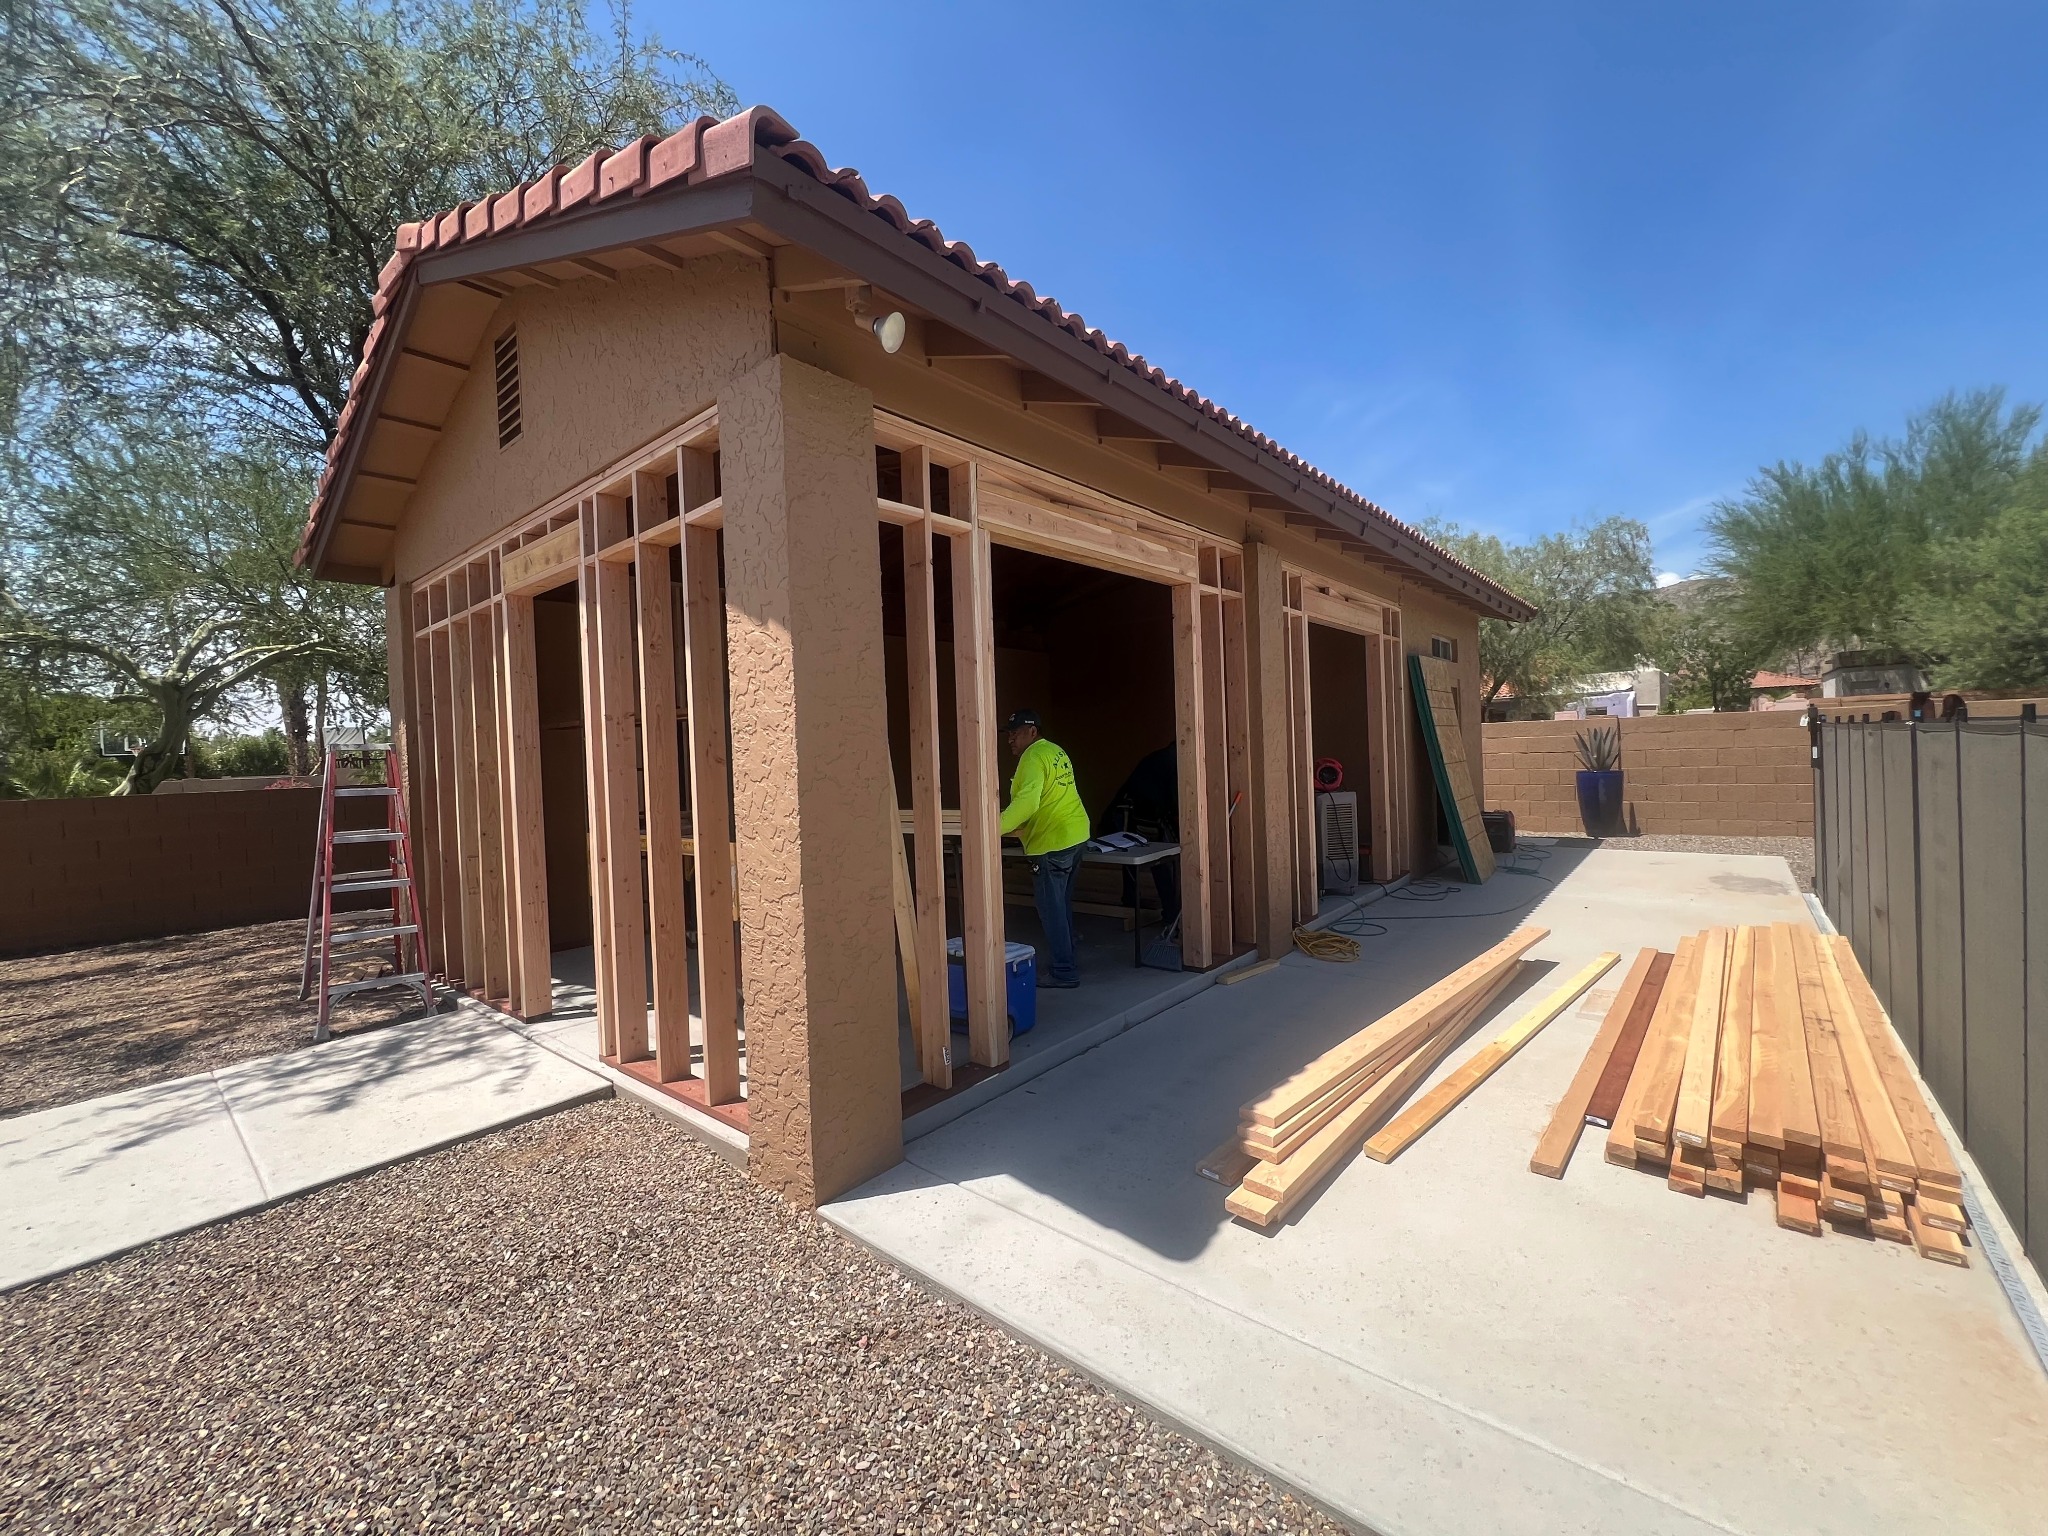
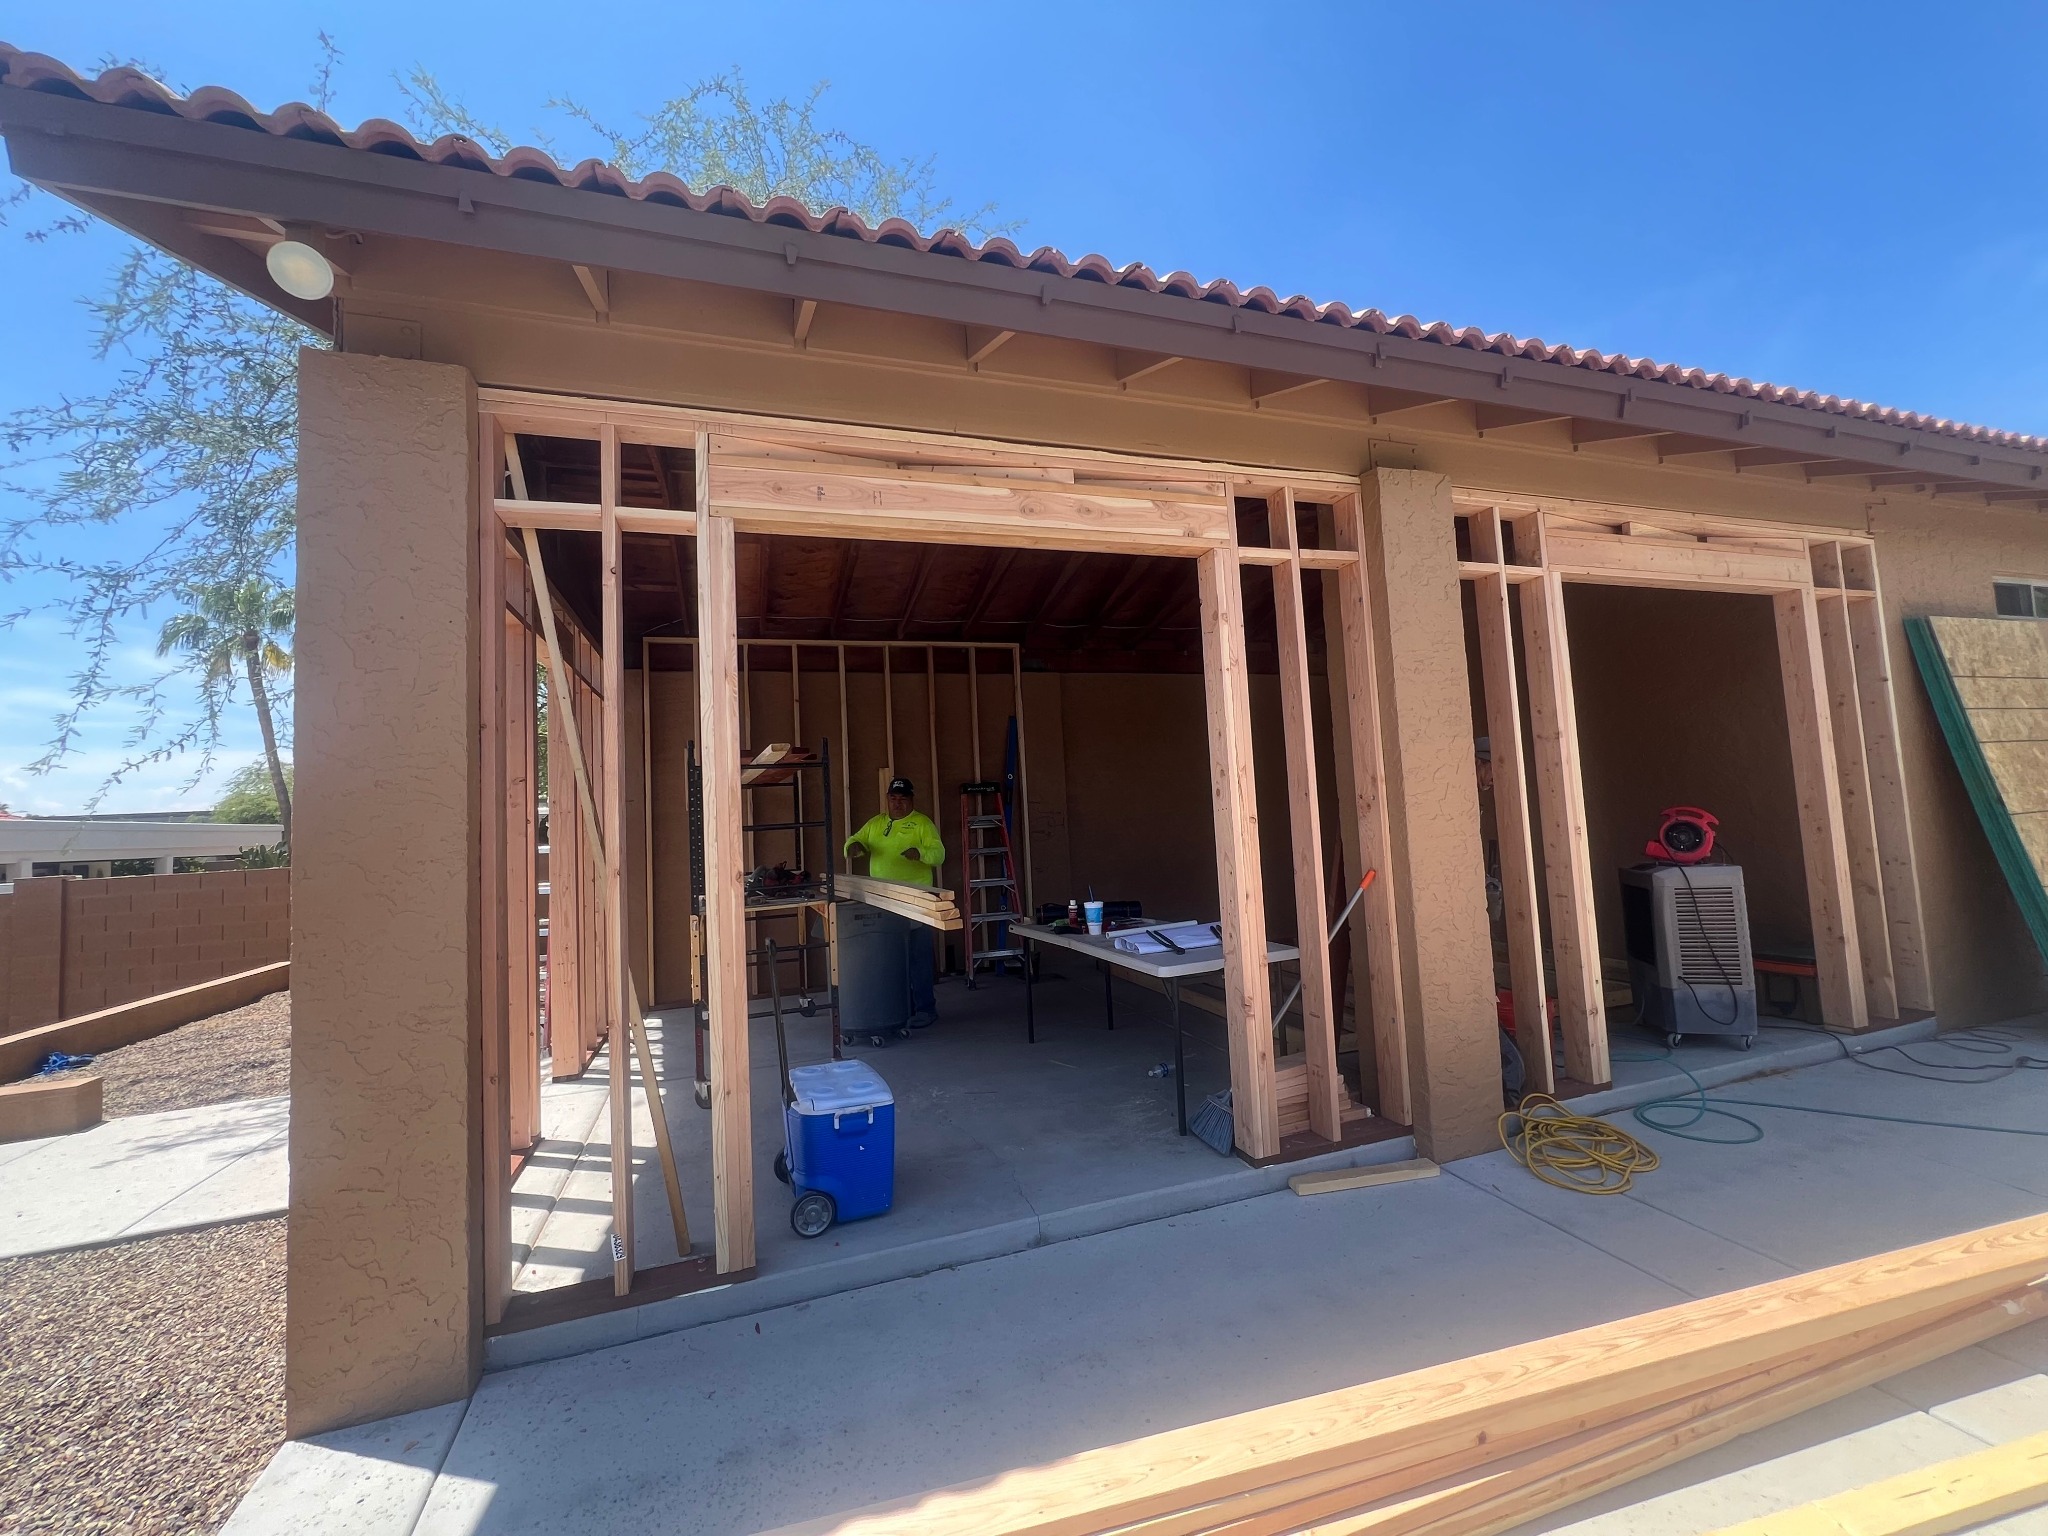
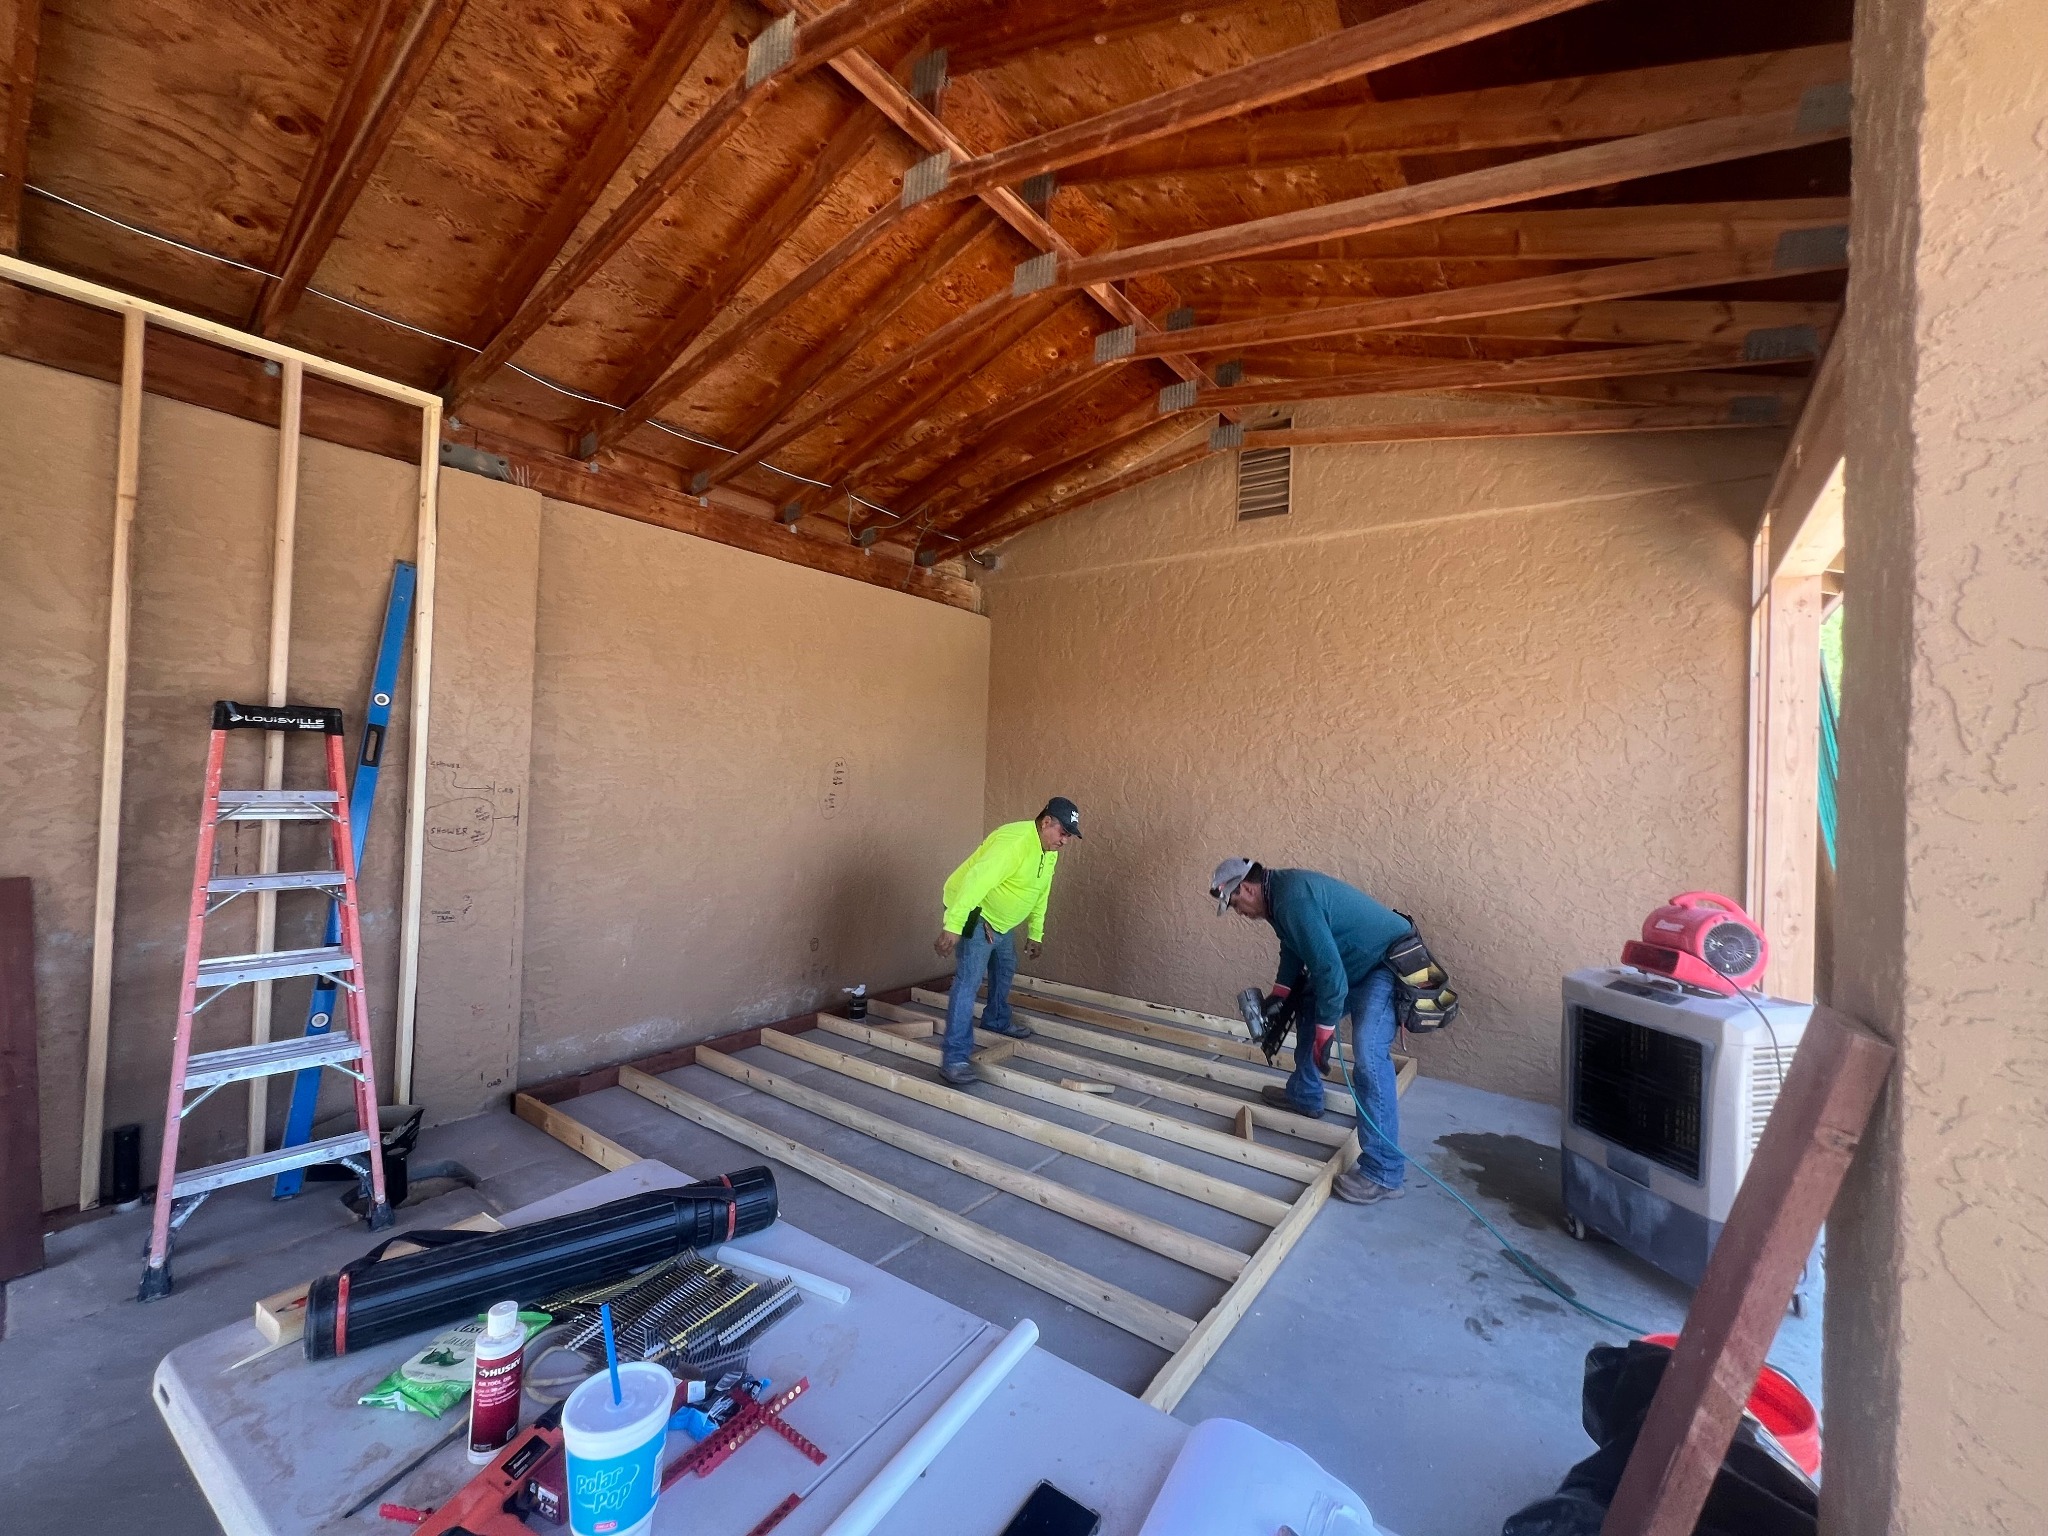
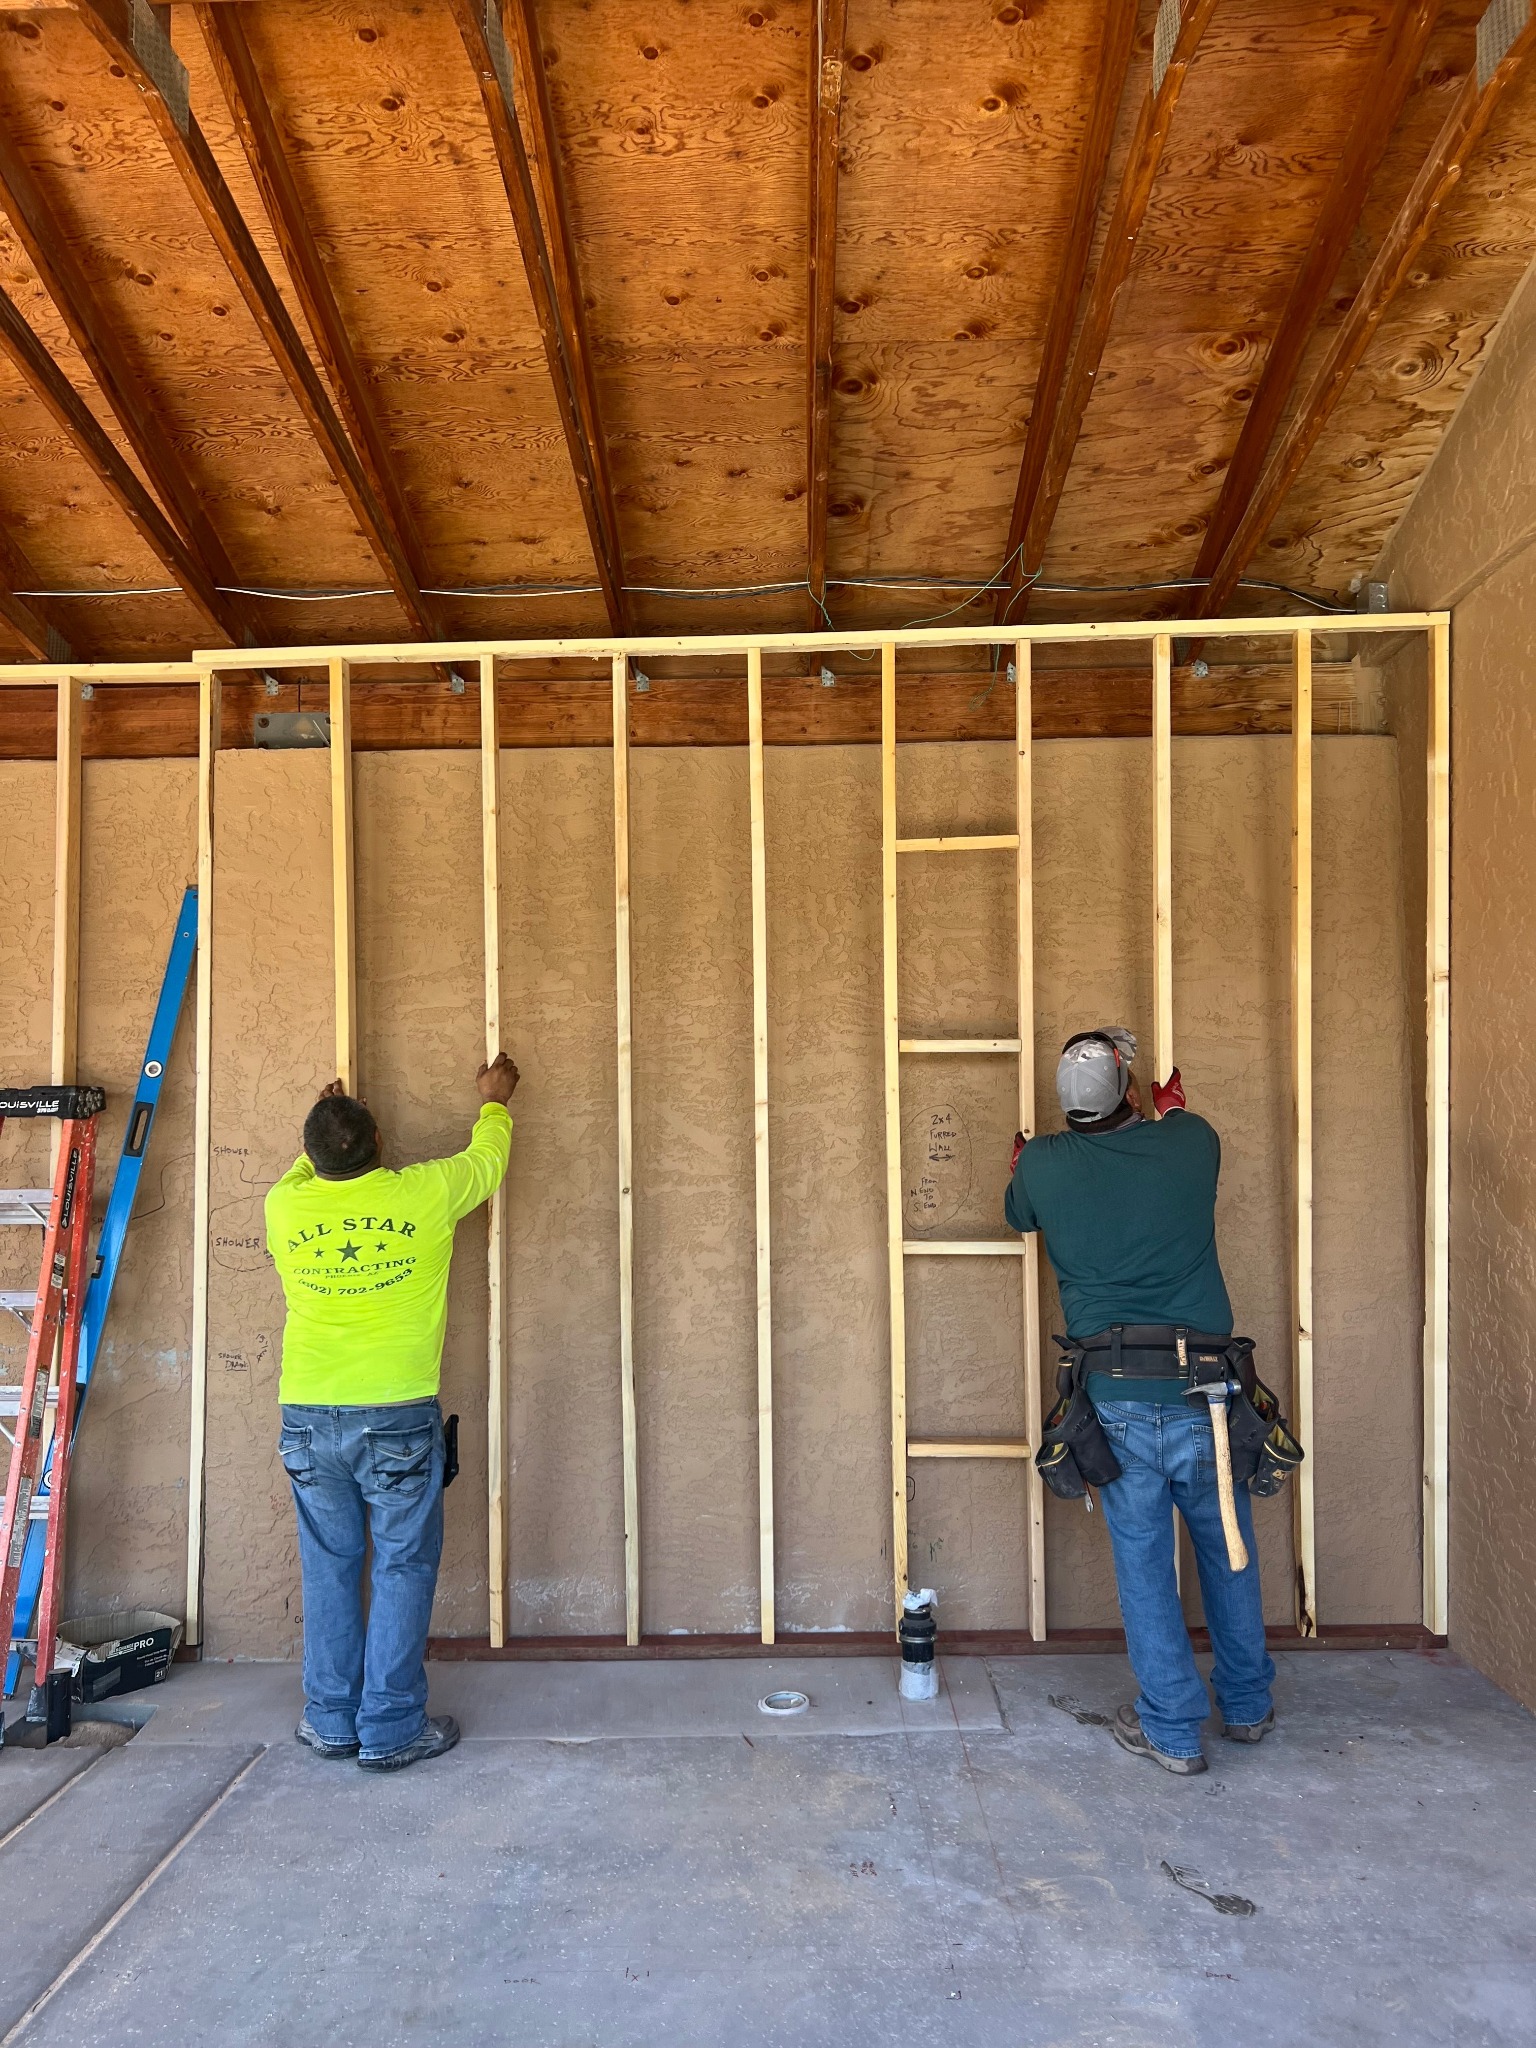
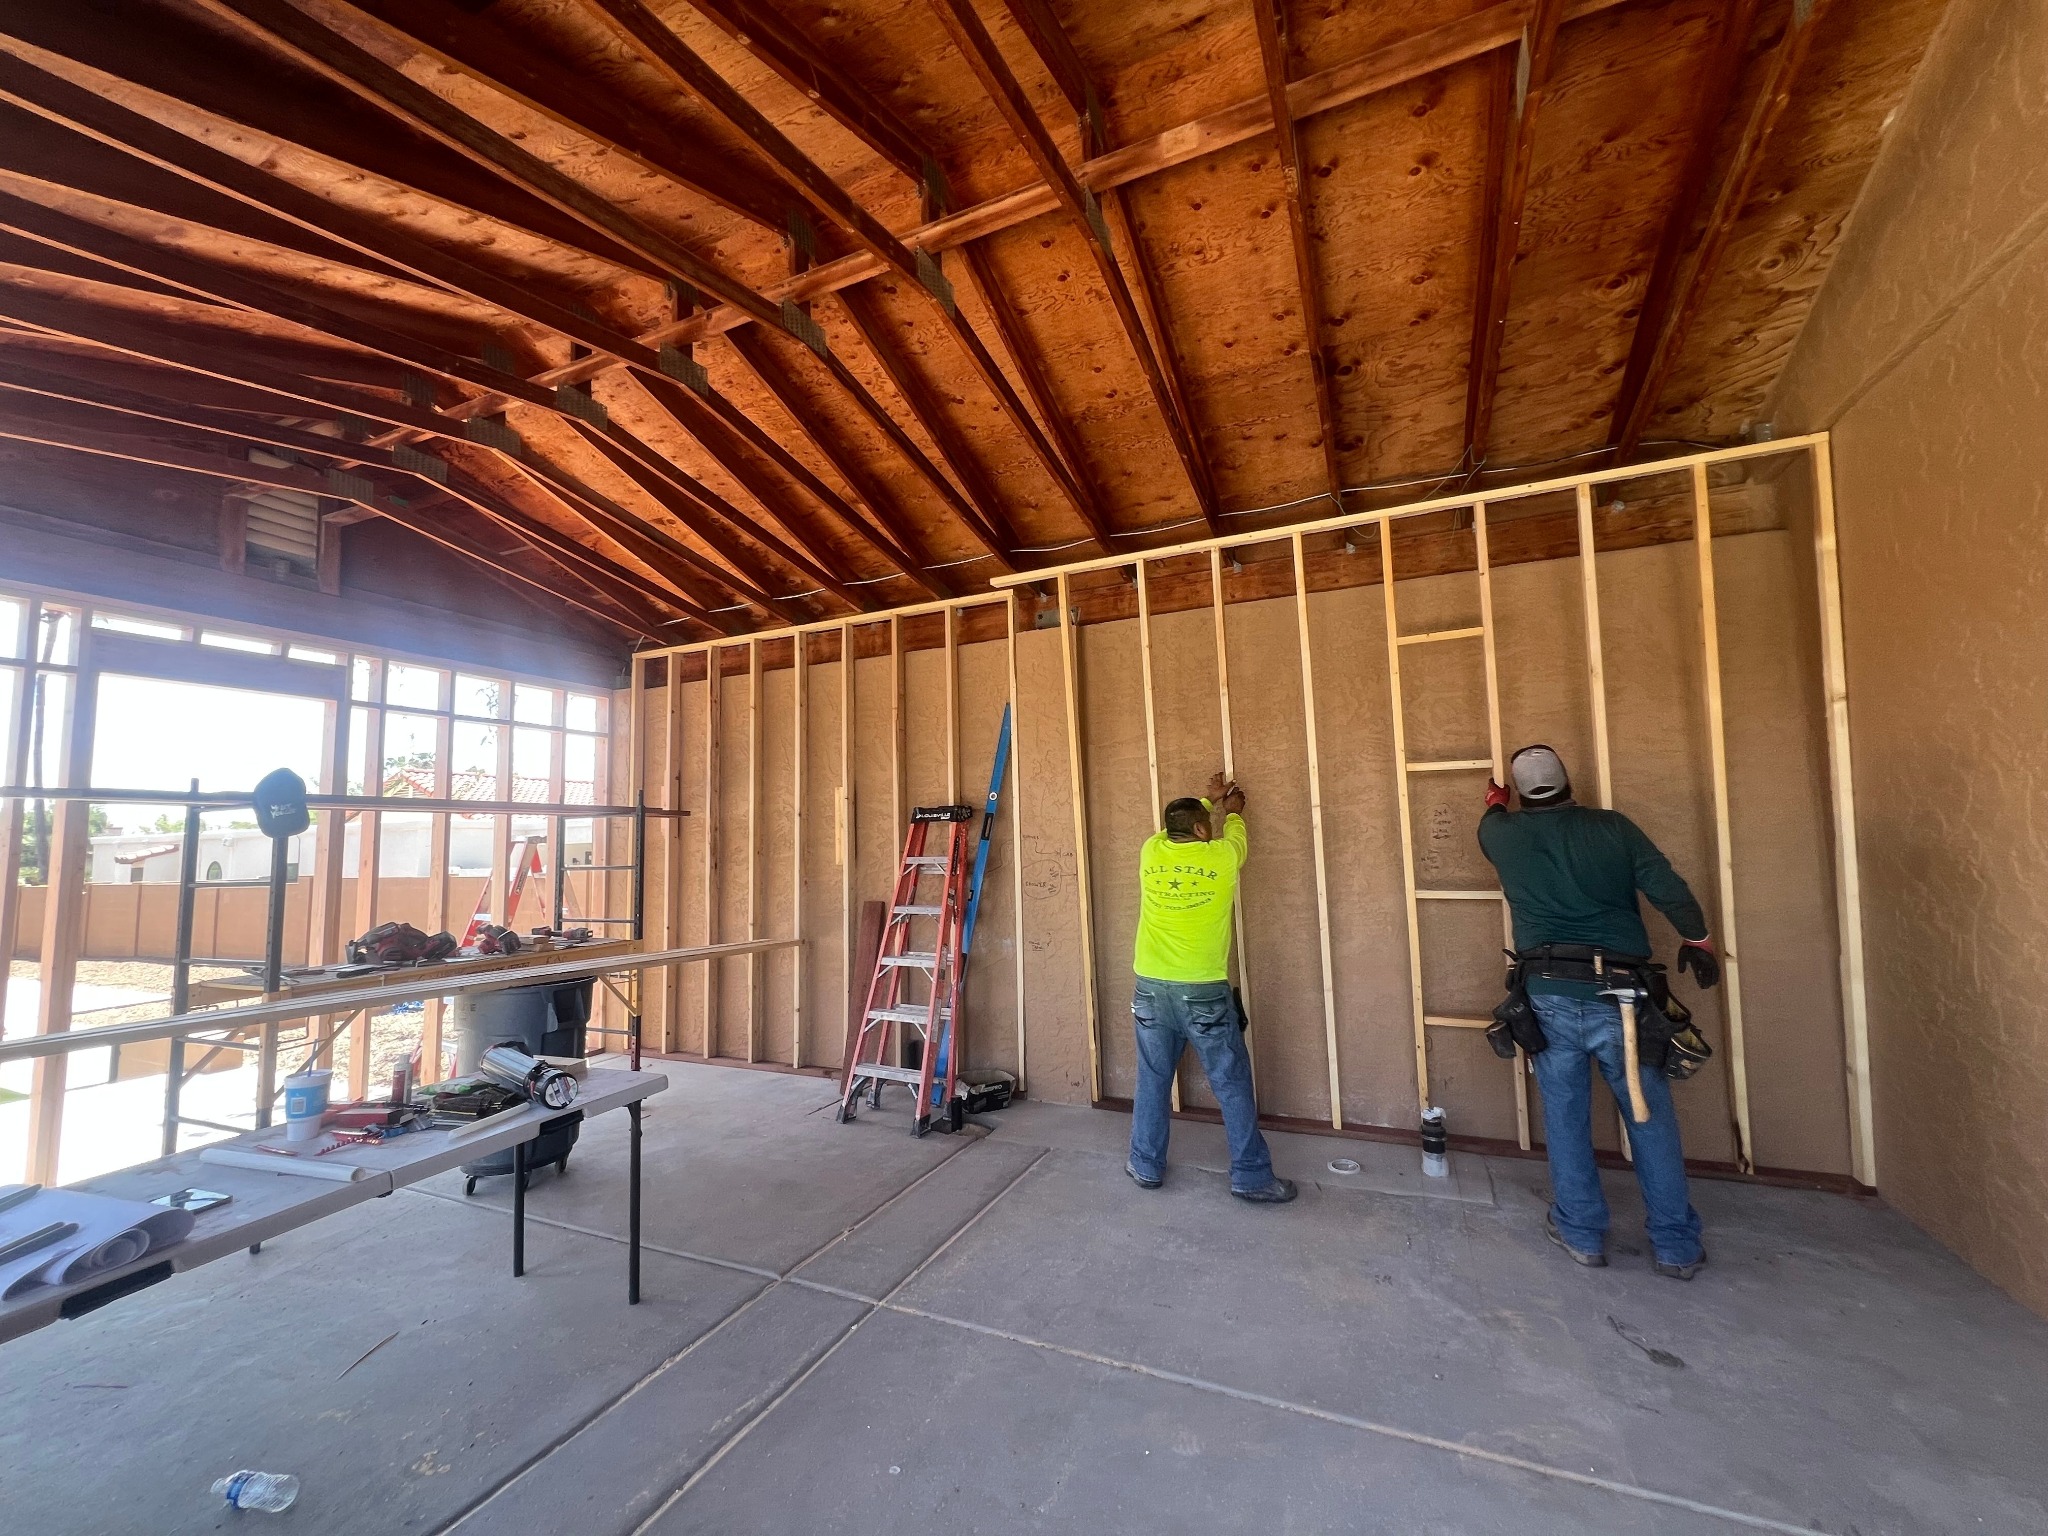
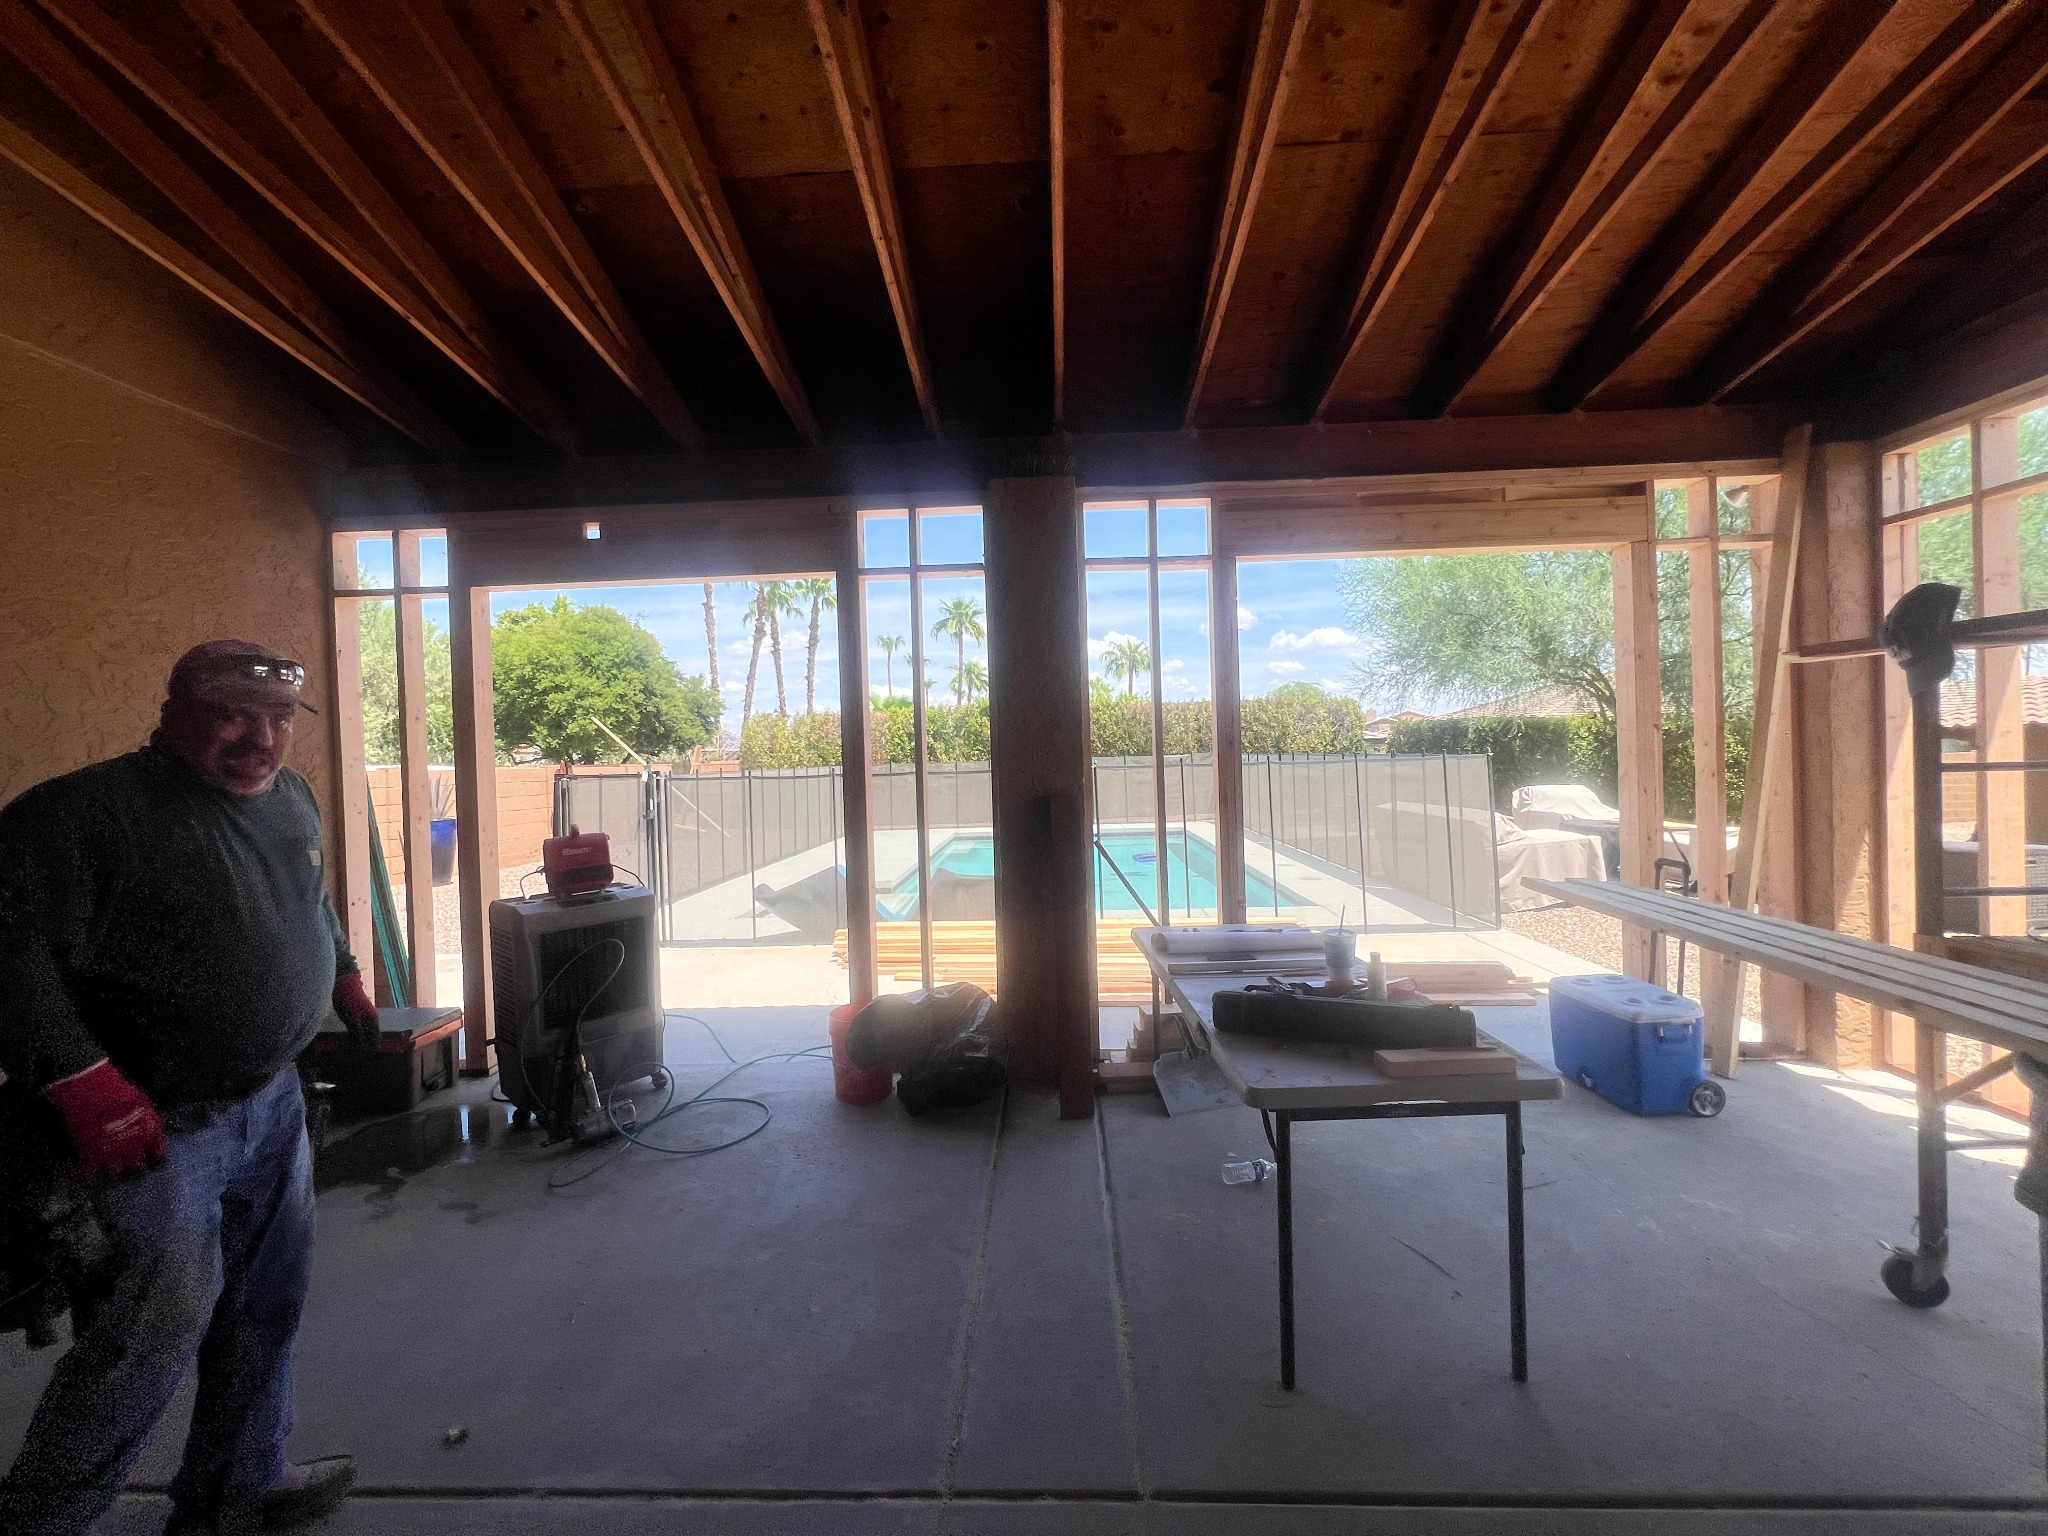
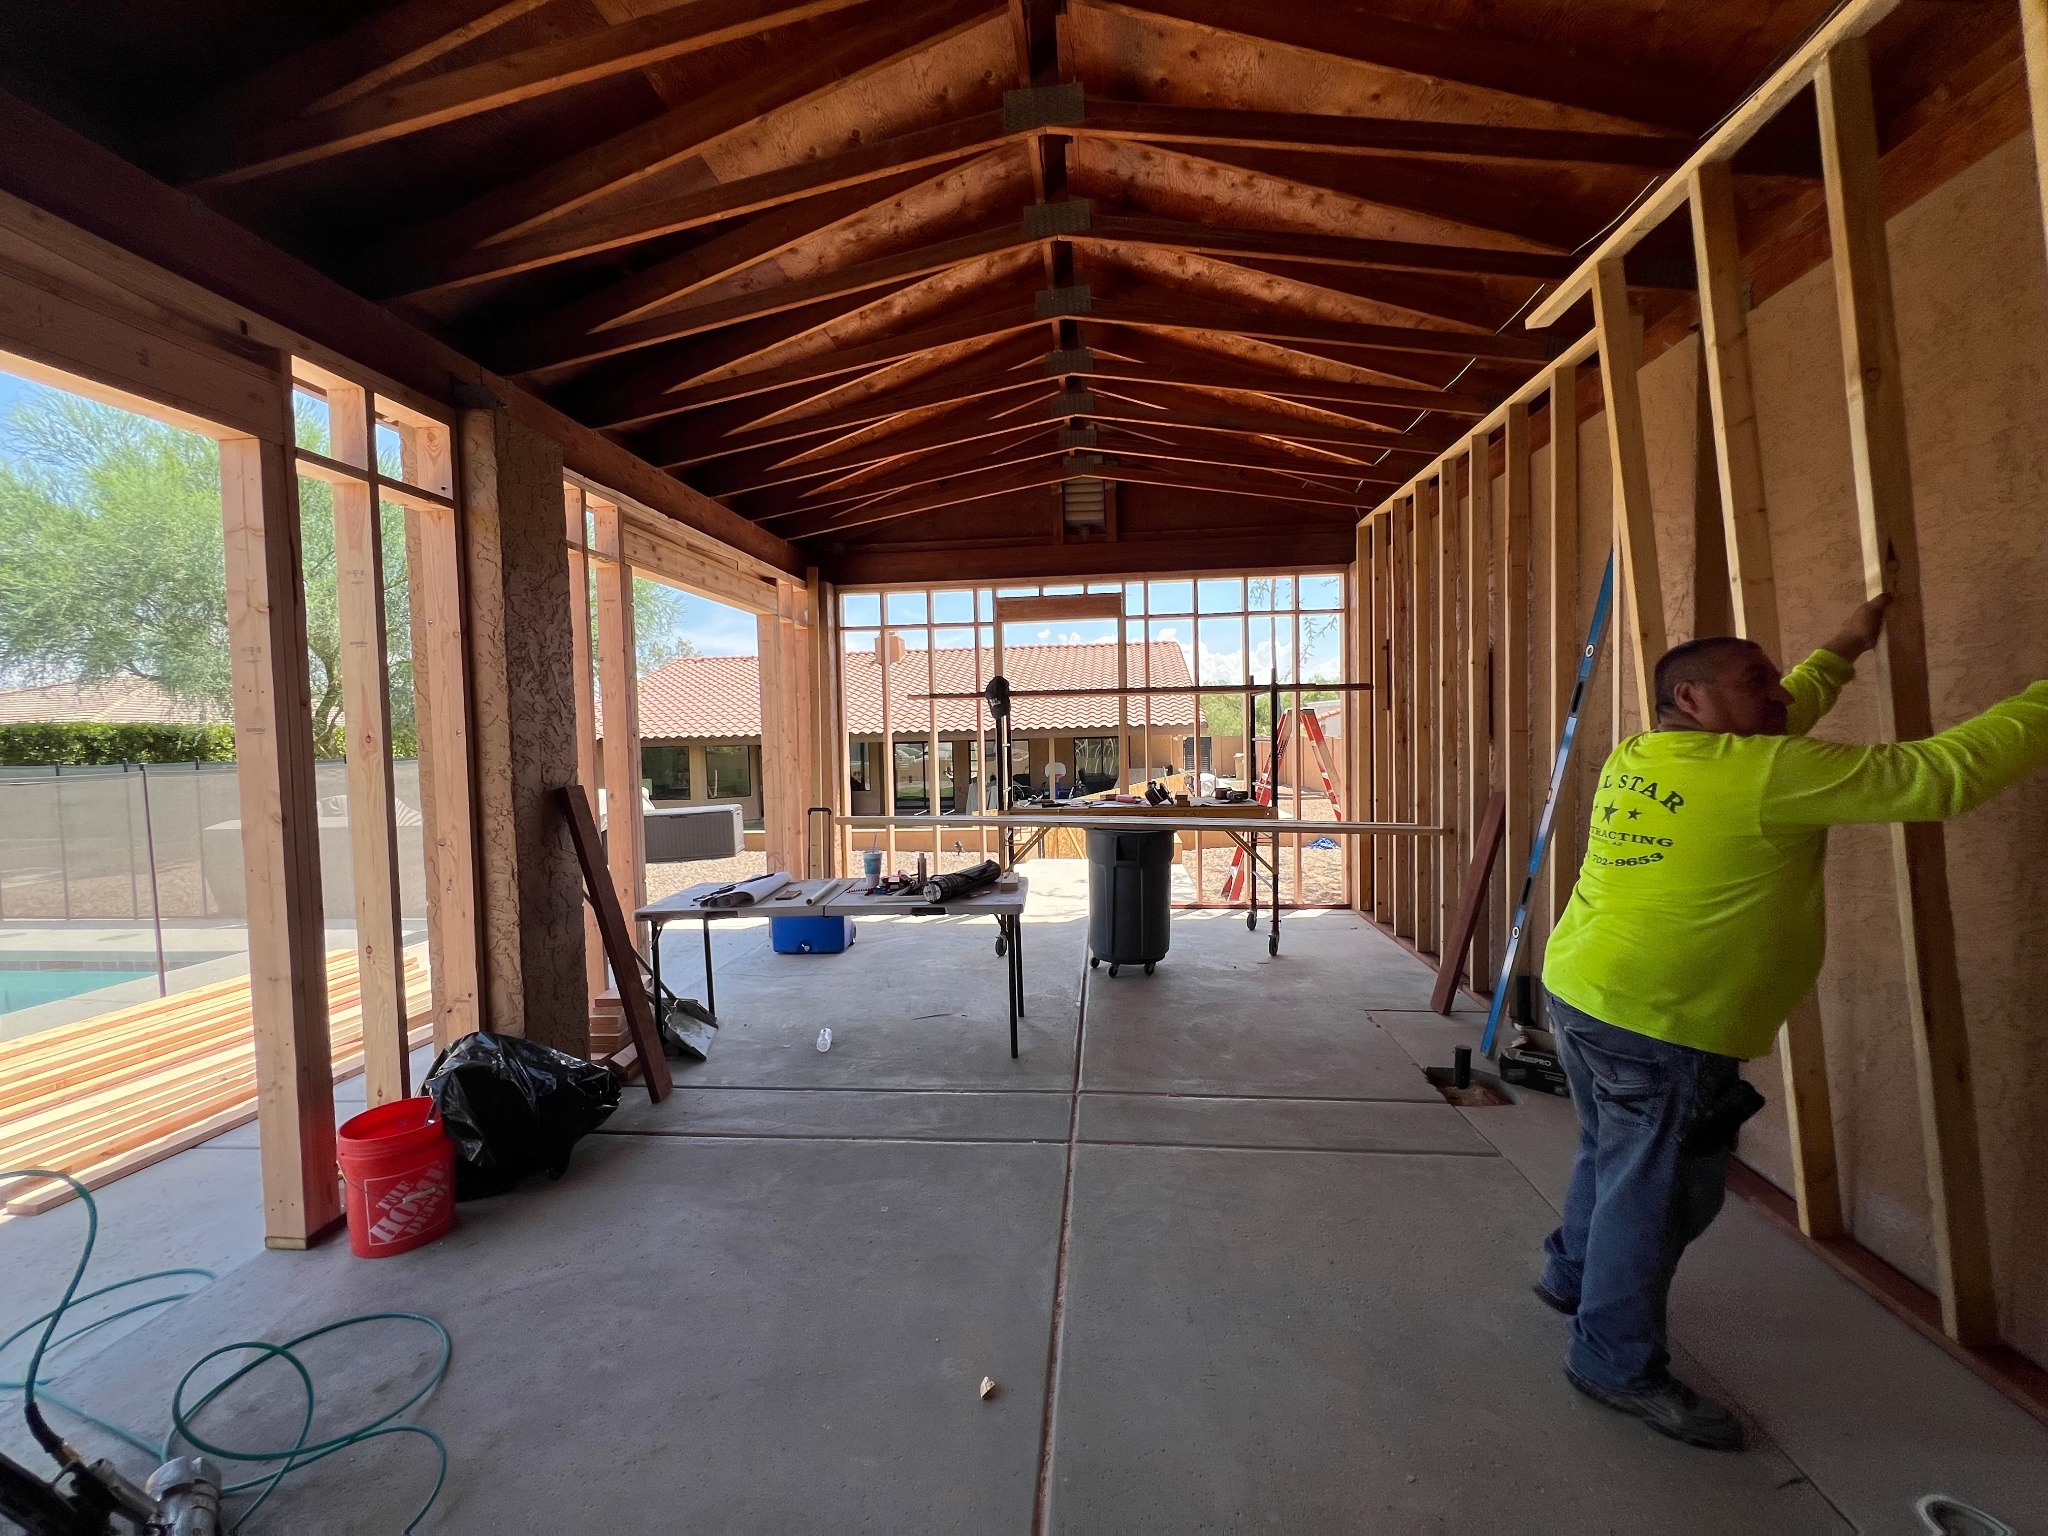
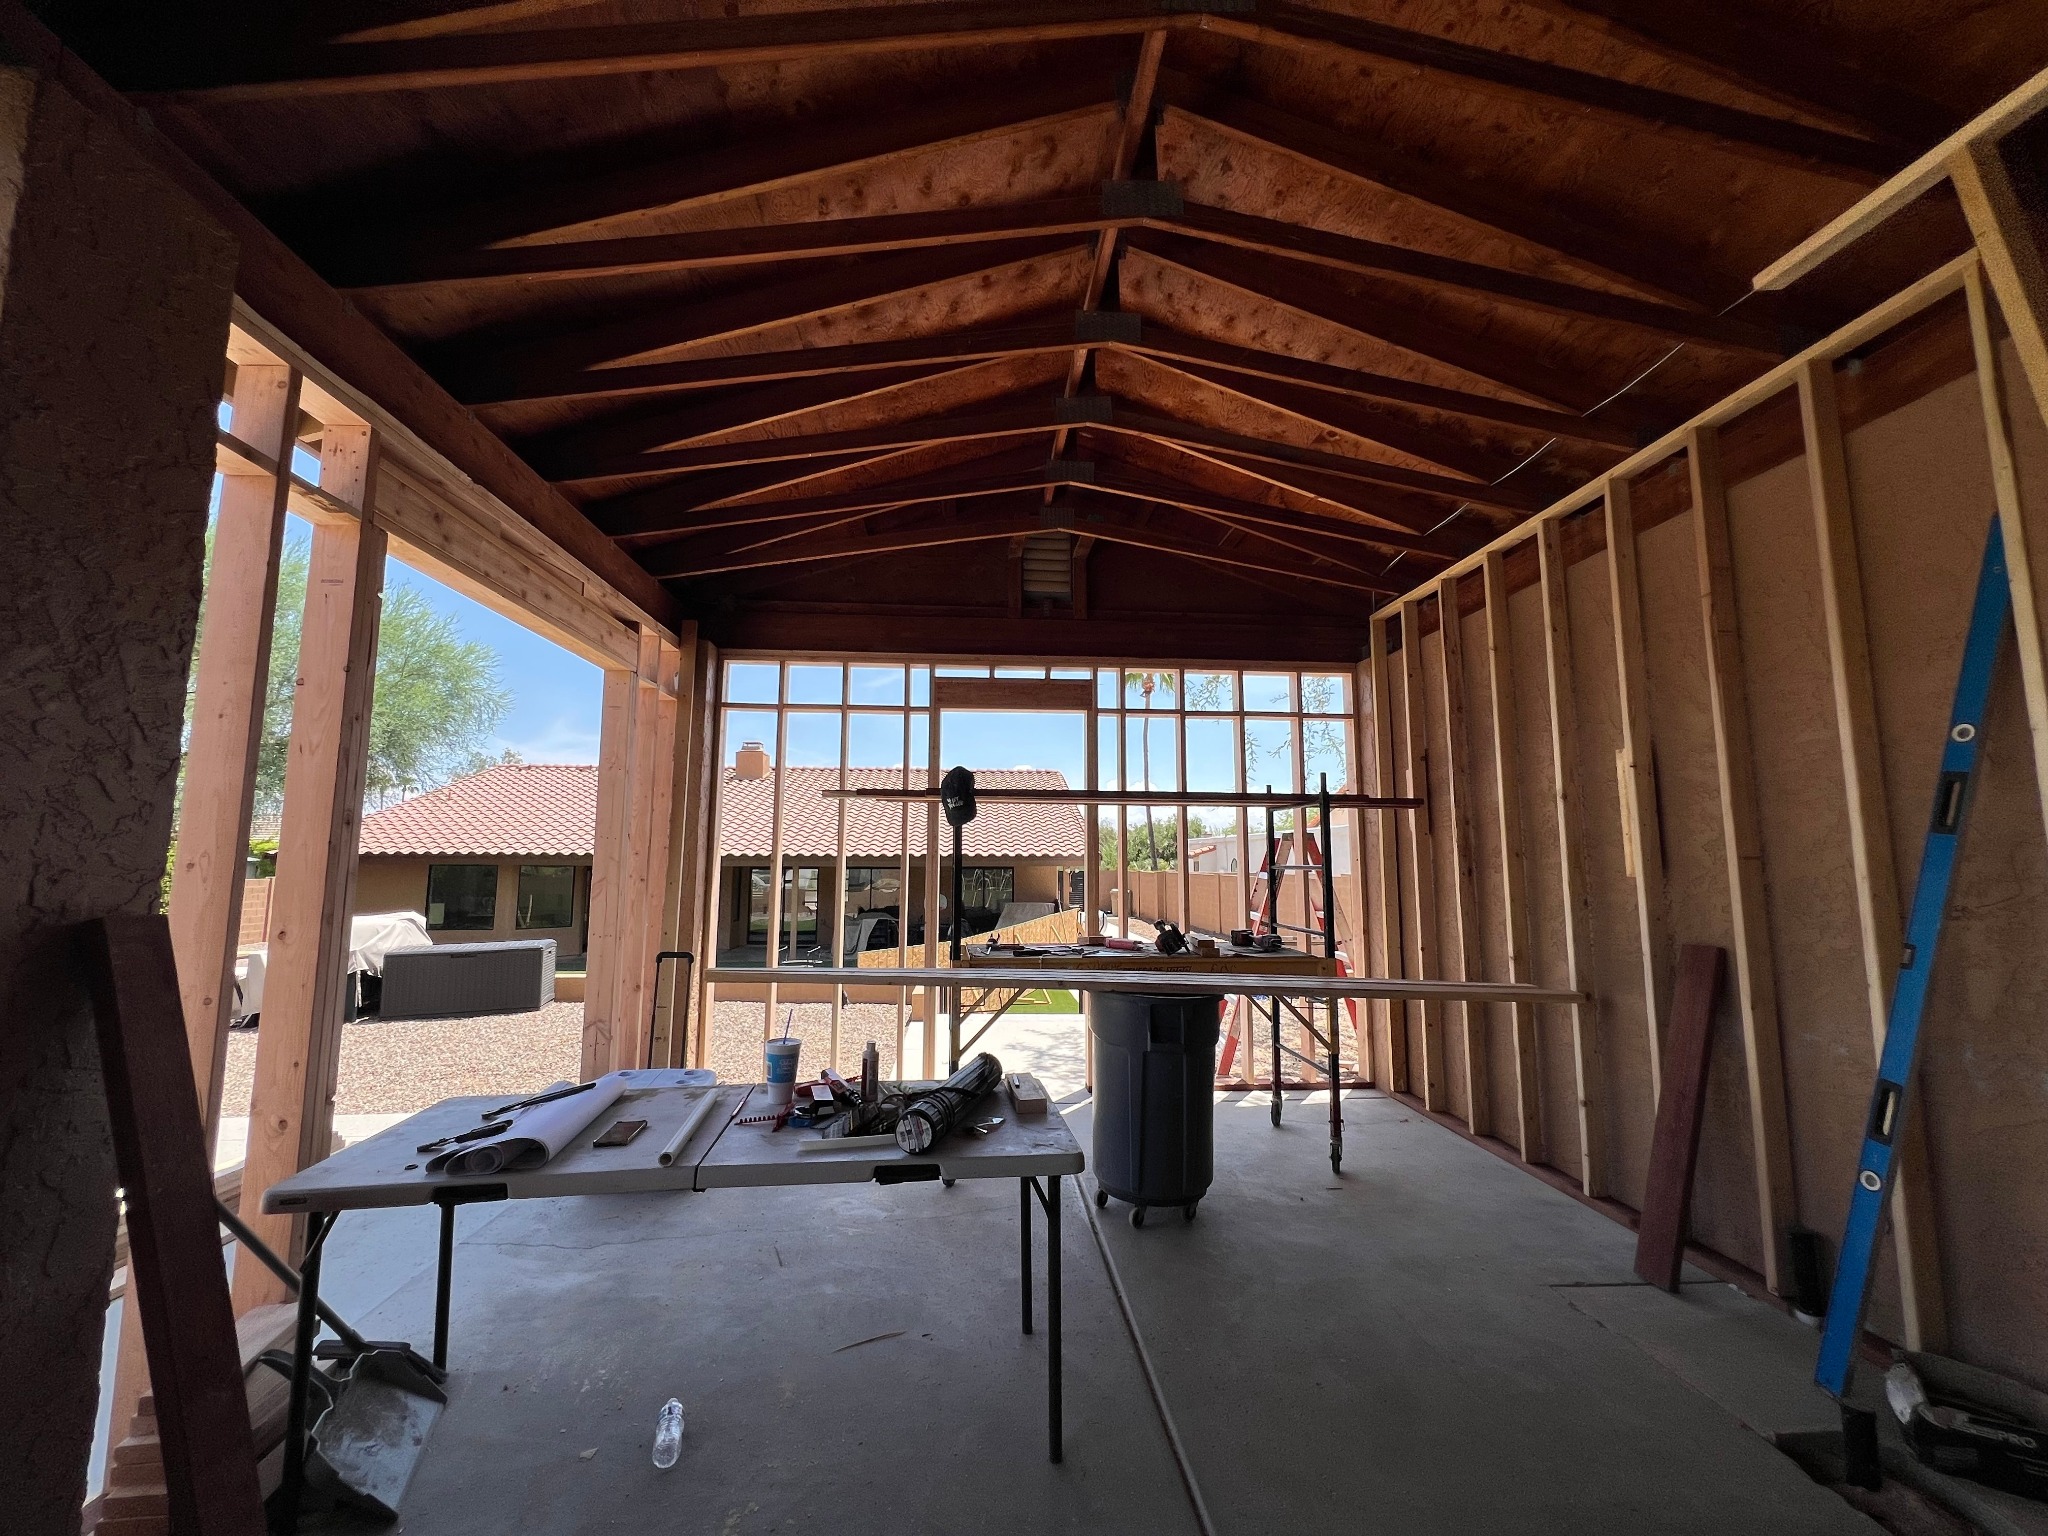
The P Dev crew at work
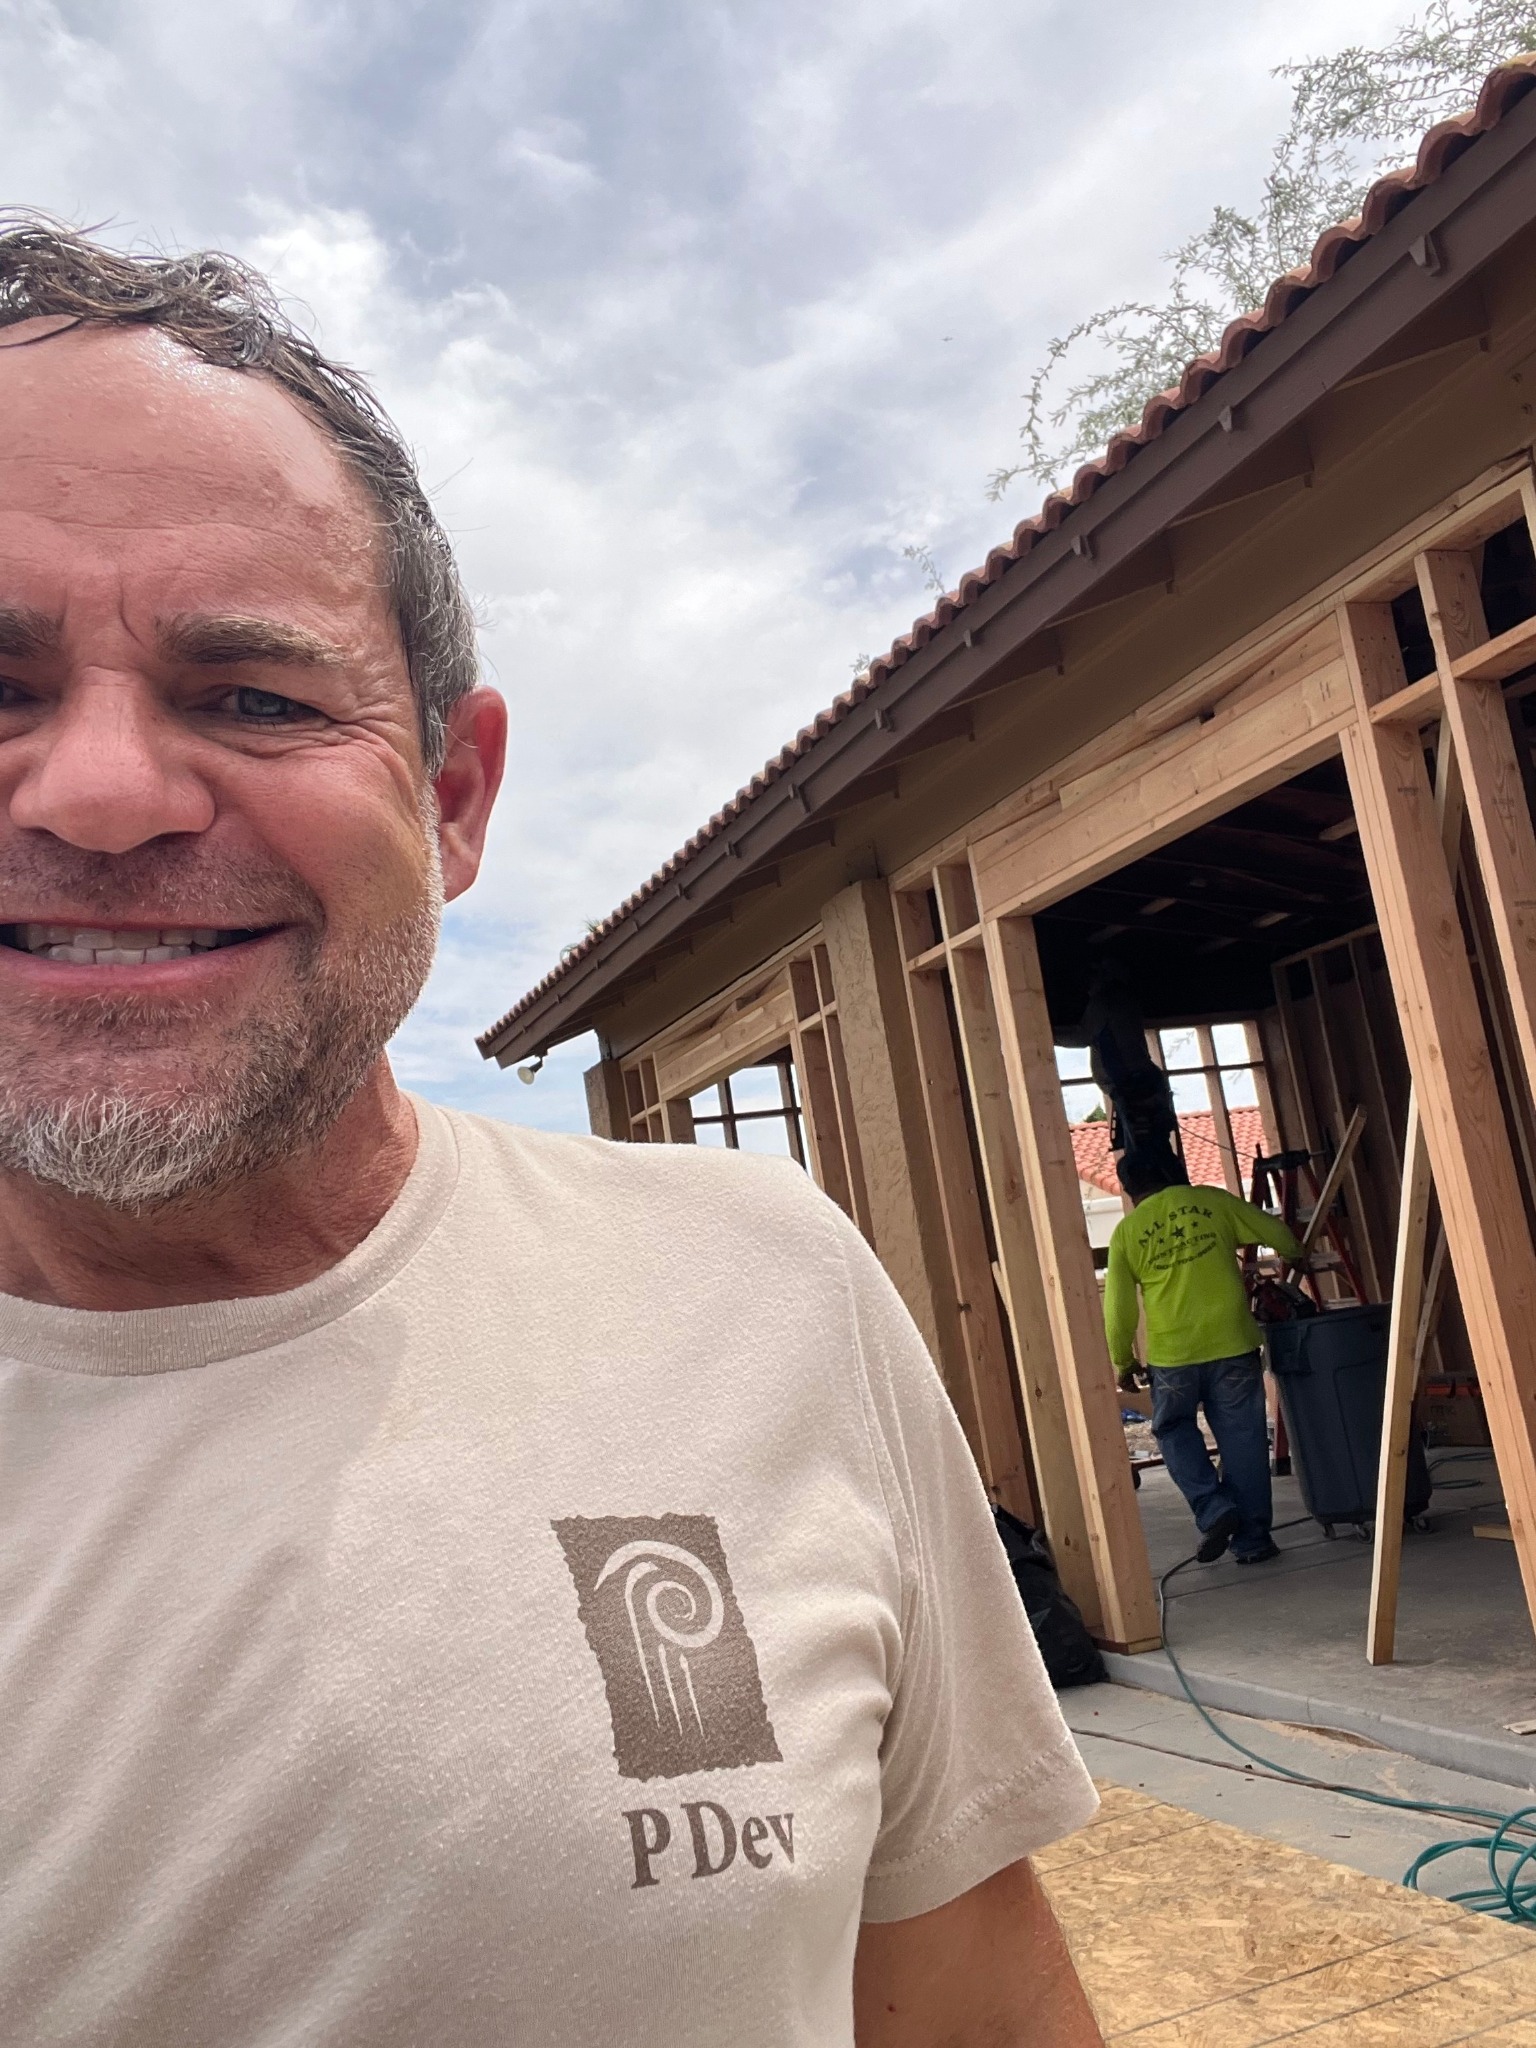
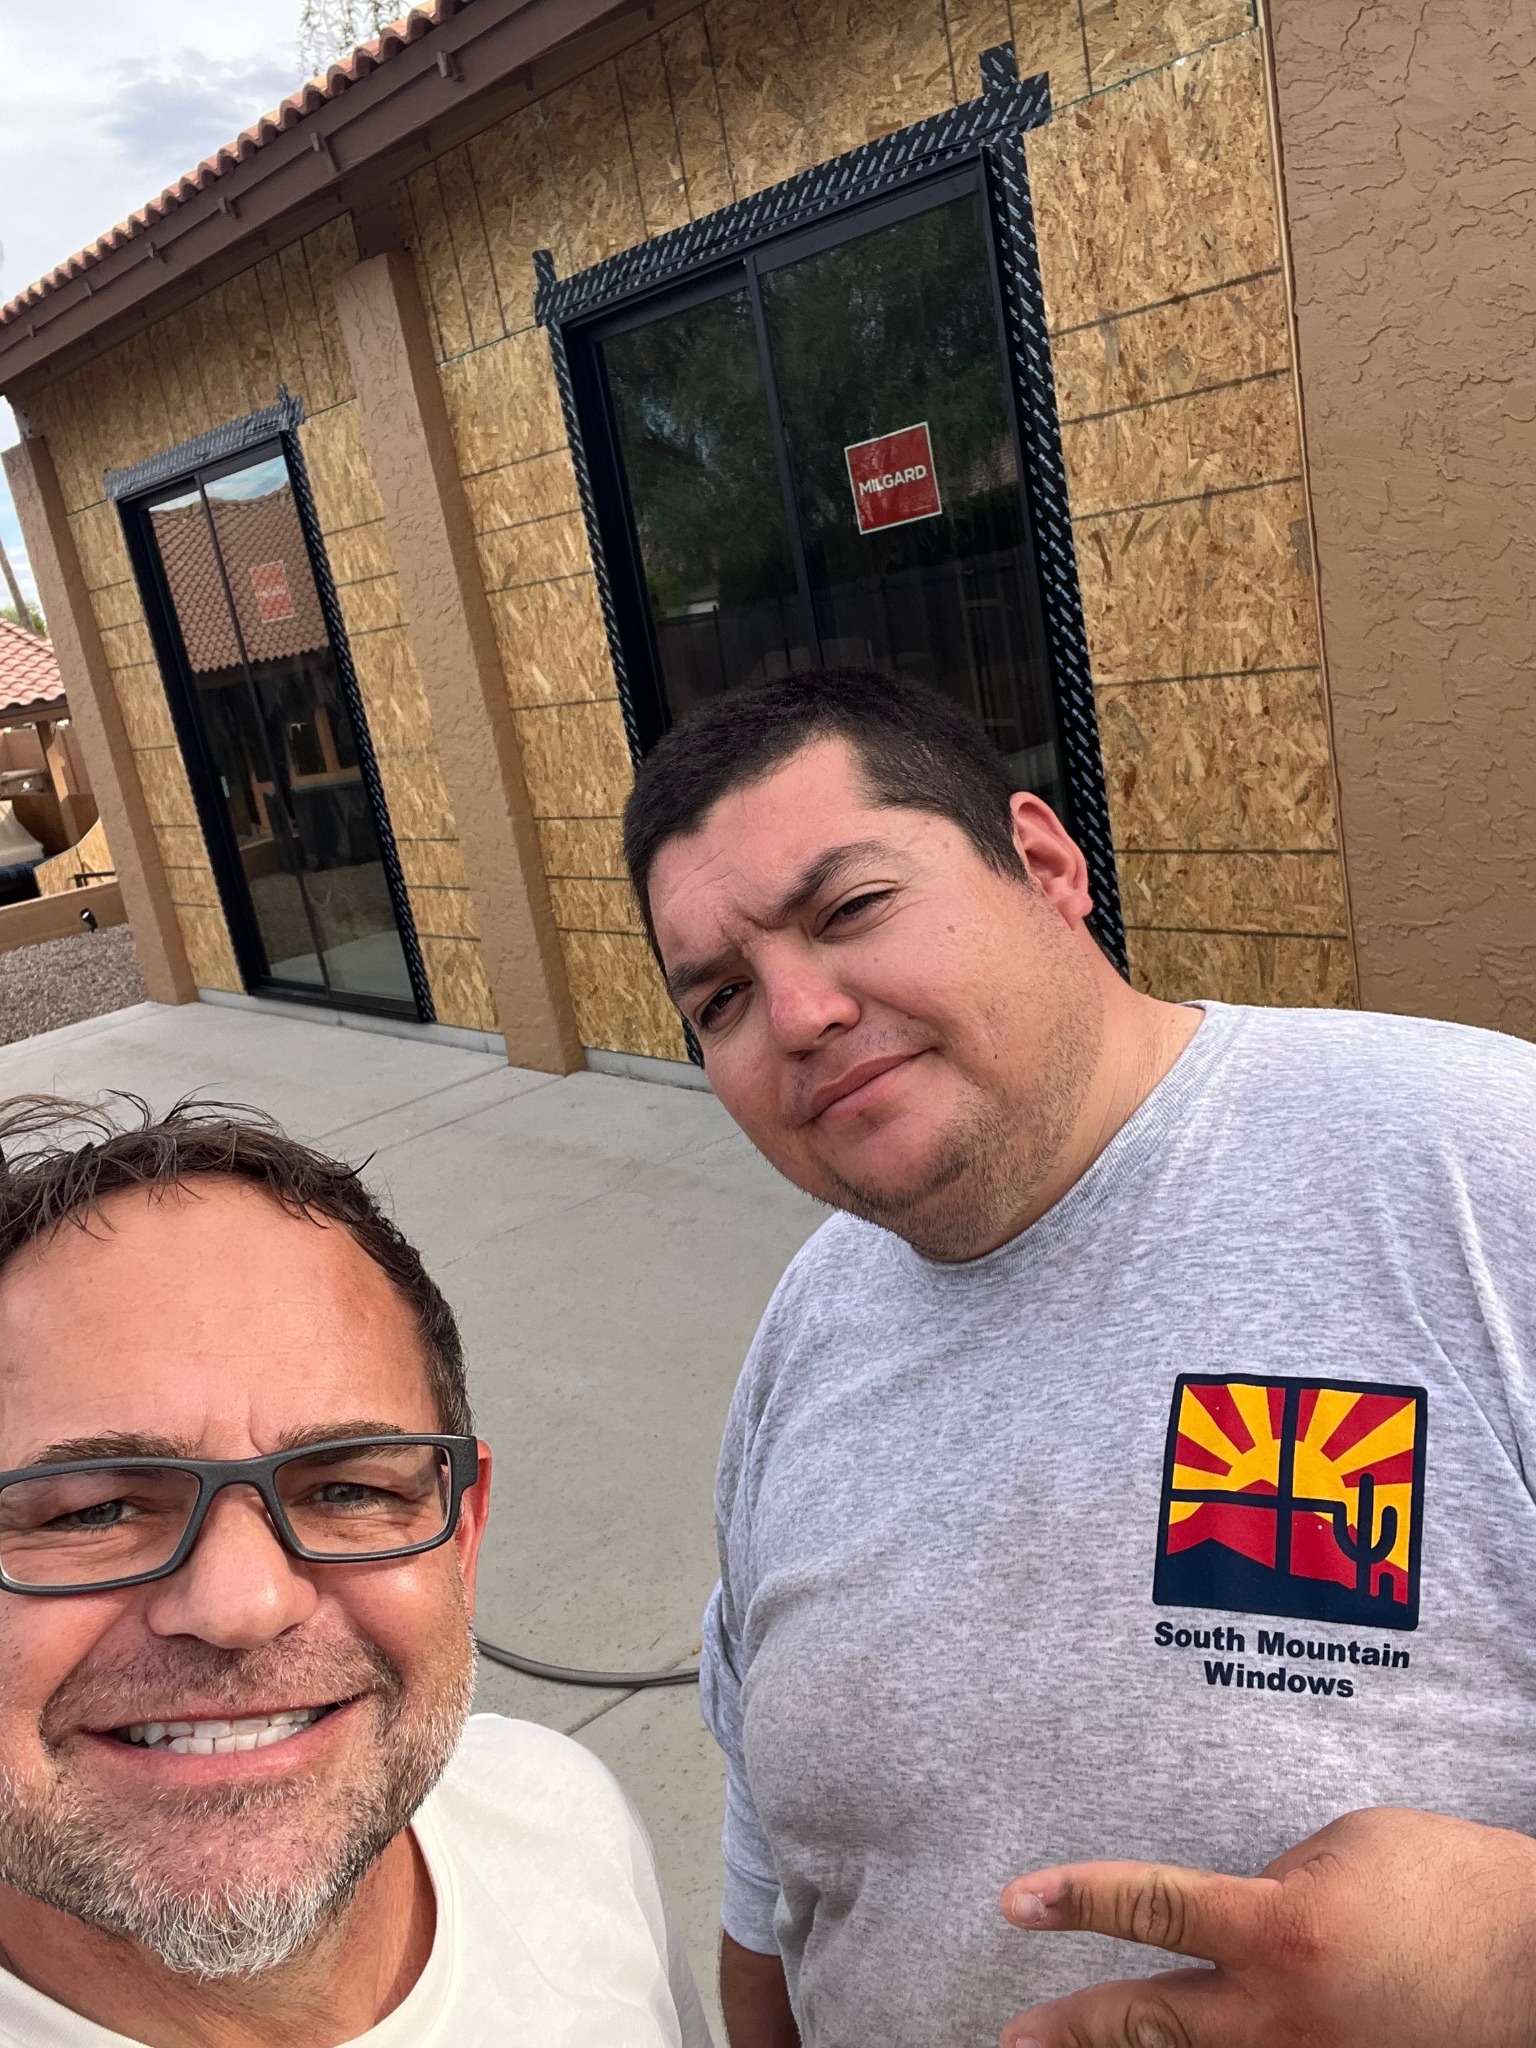
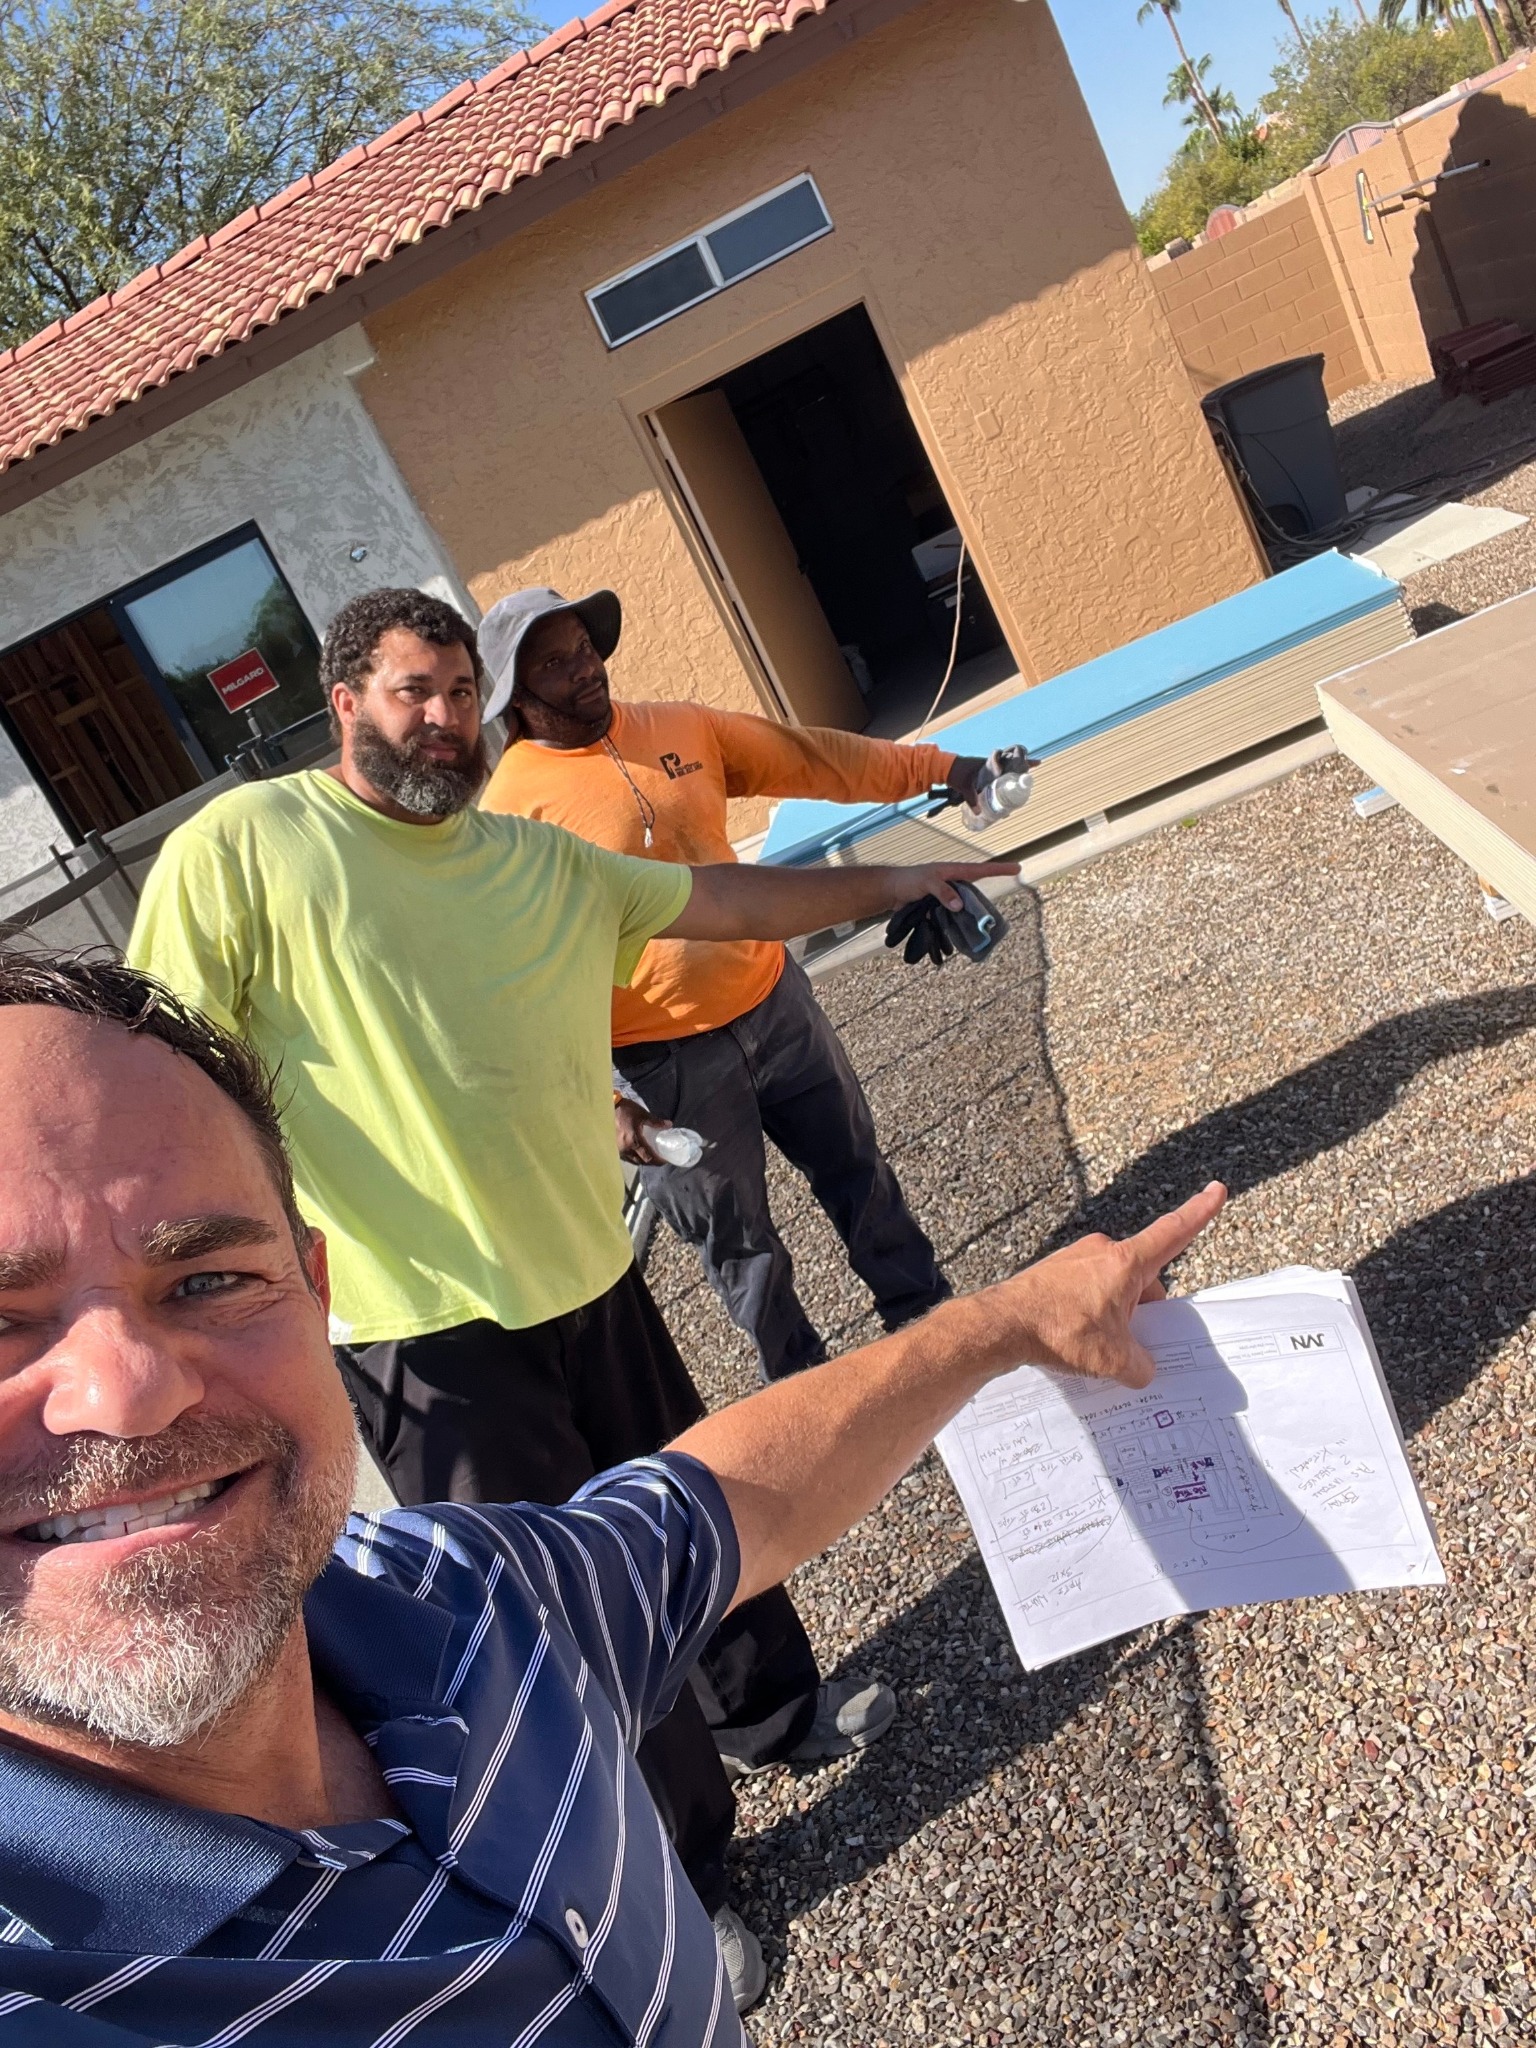
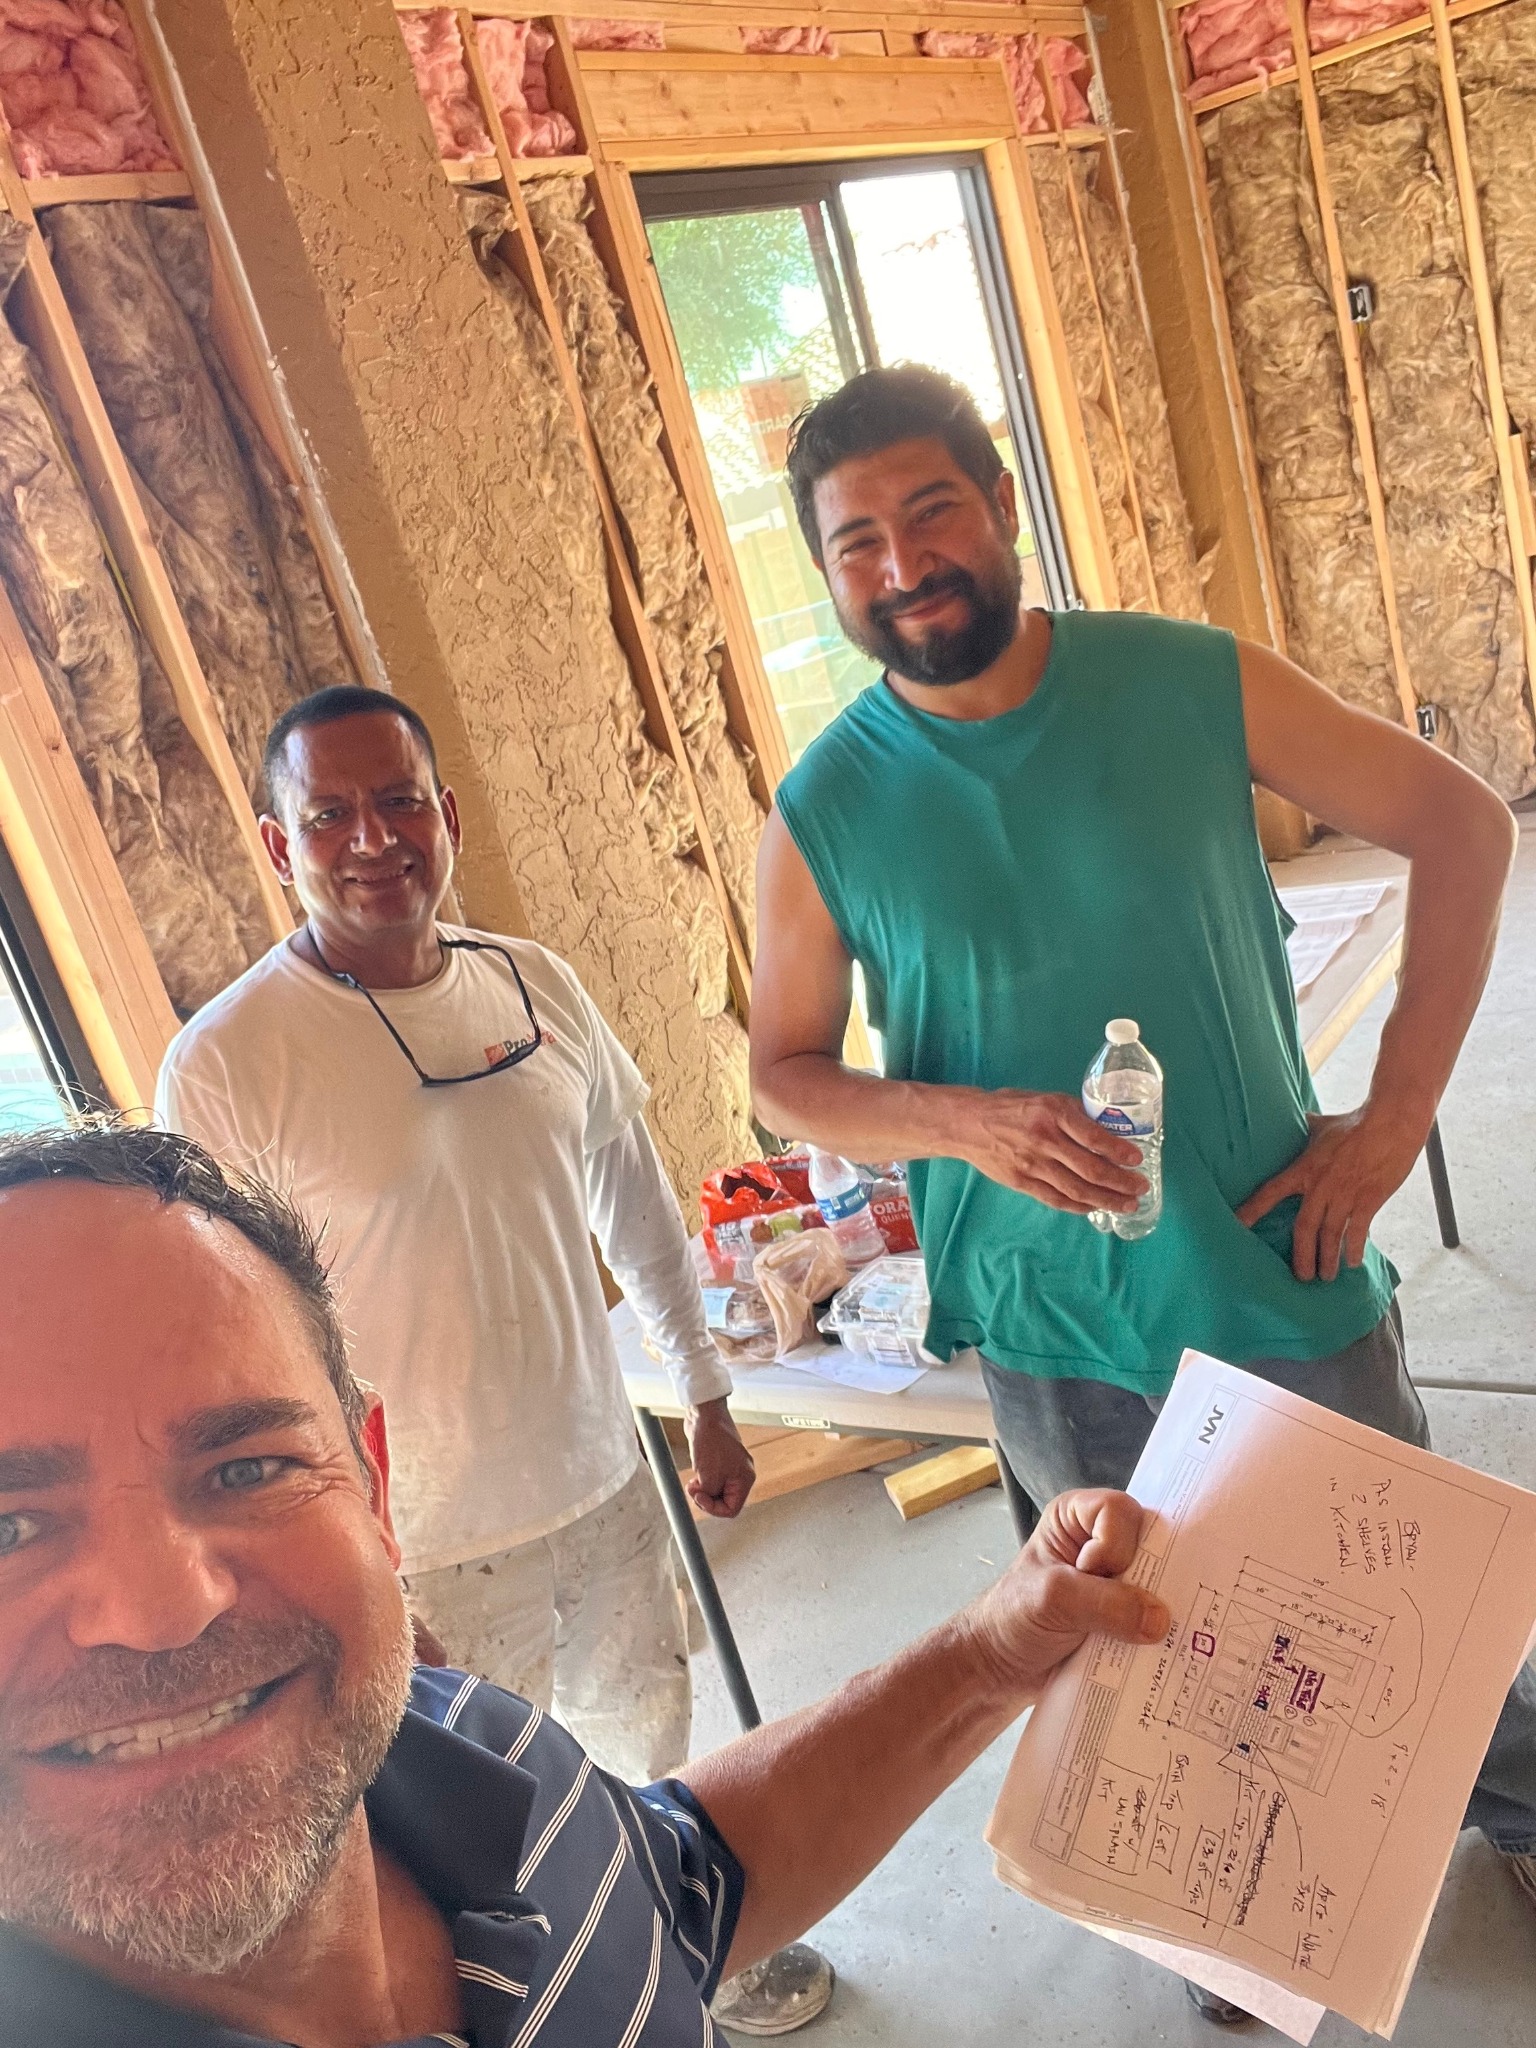
The Pongratz Development team takes pride in the quality of its work. These are the people behind the project, building the framing, checking details and working together on site.
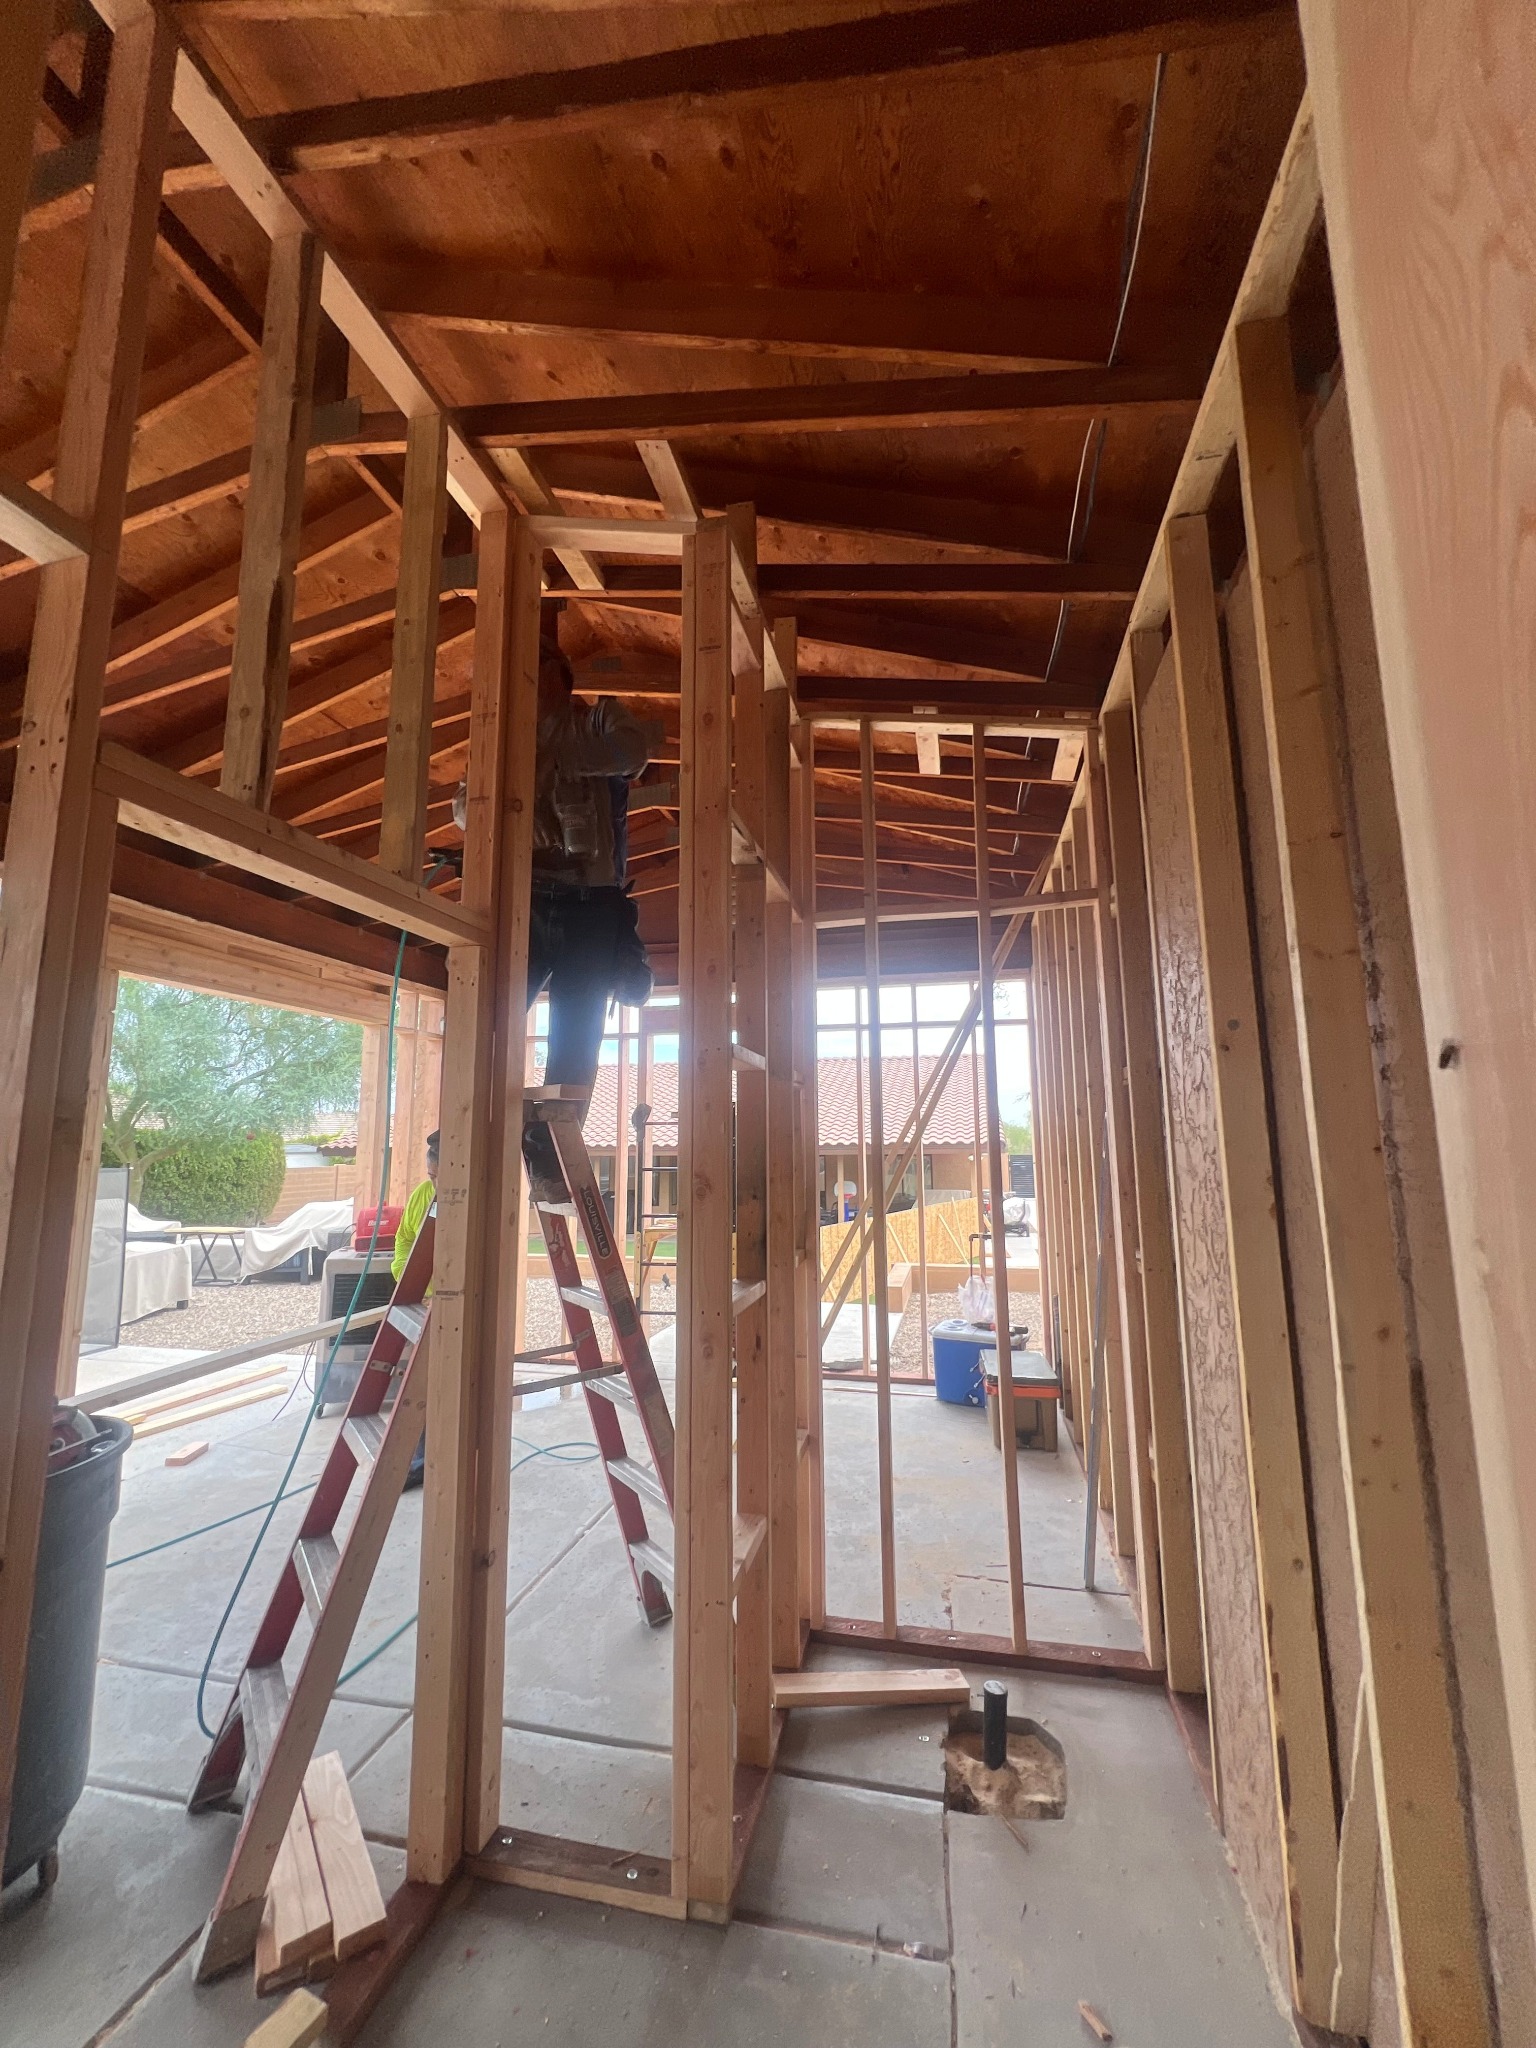
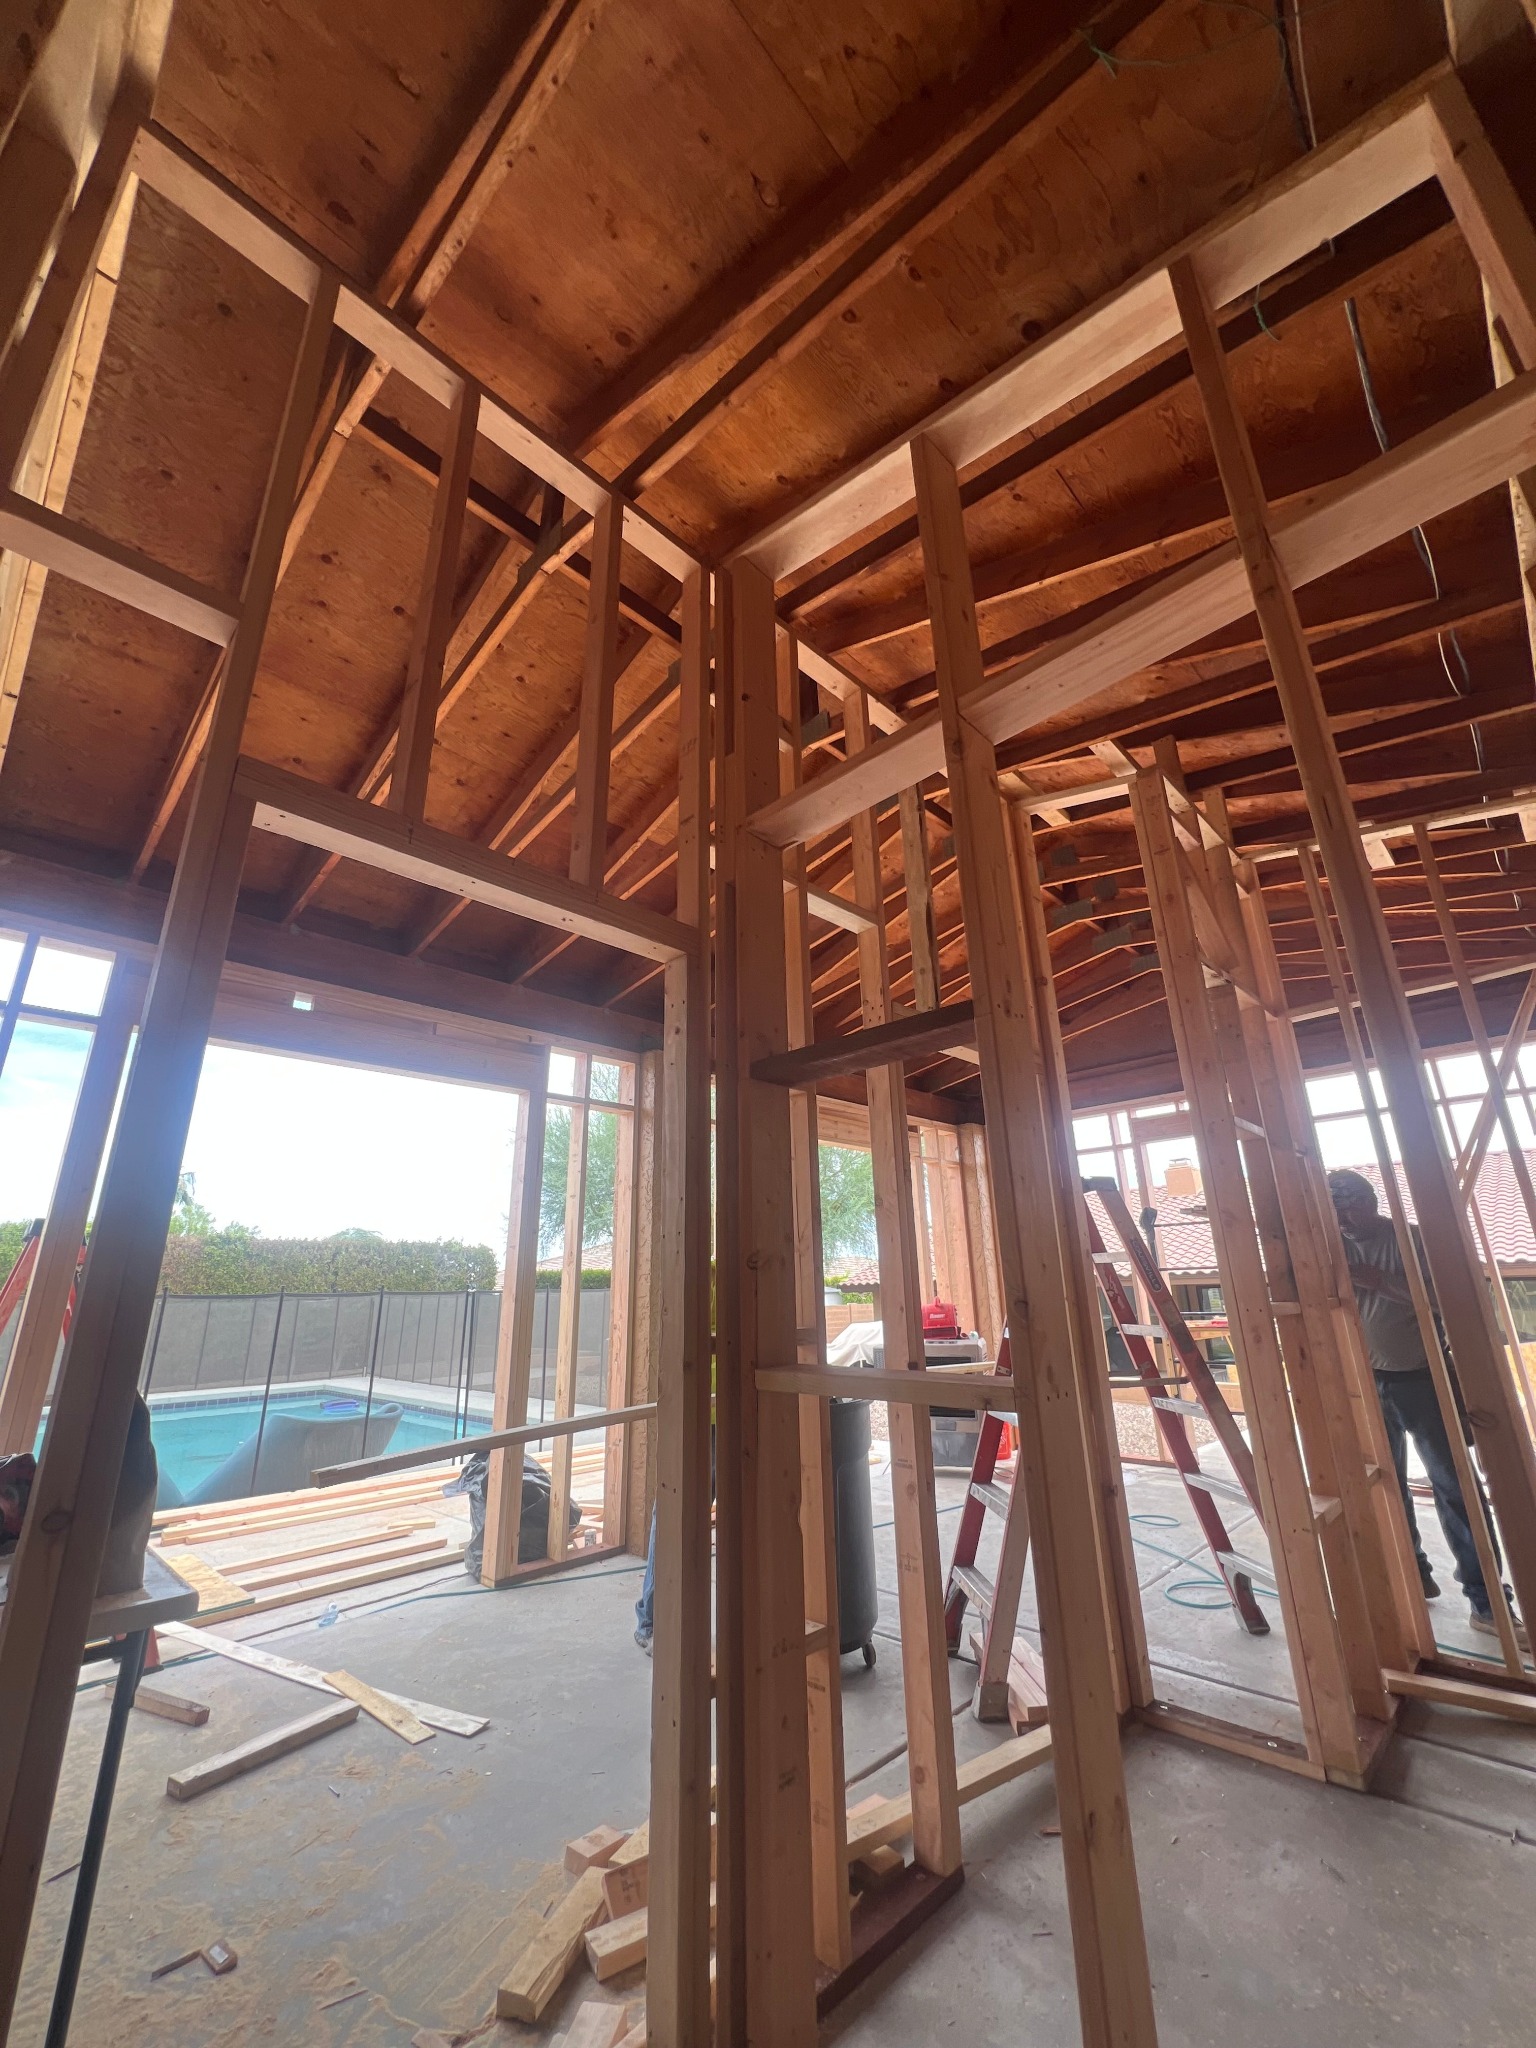
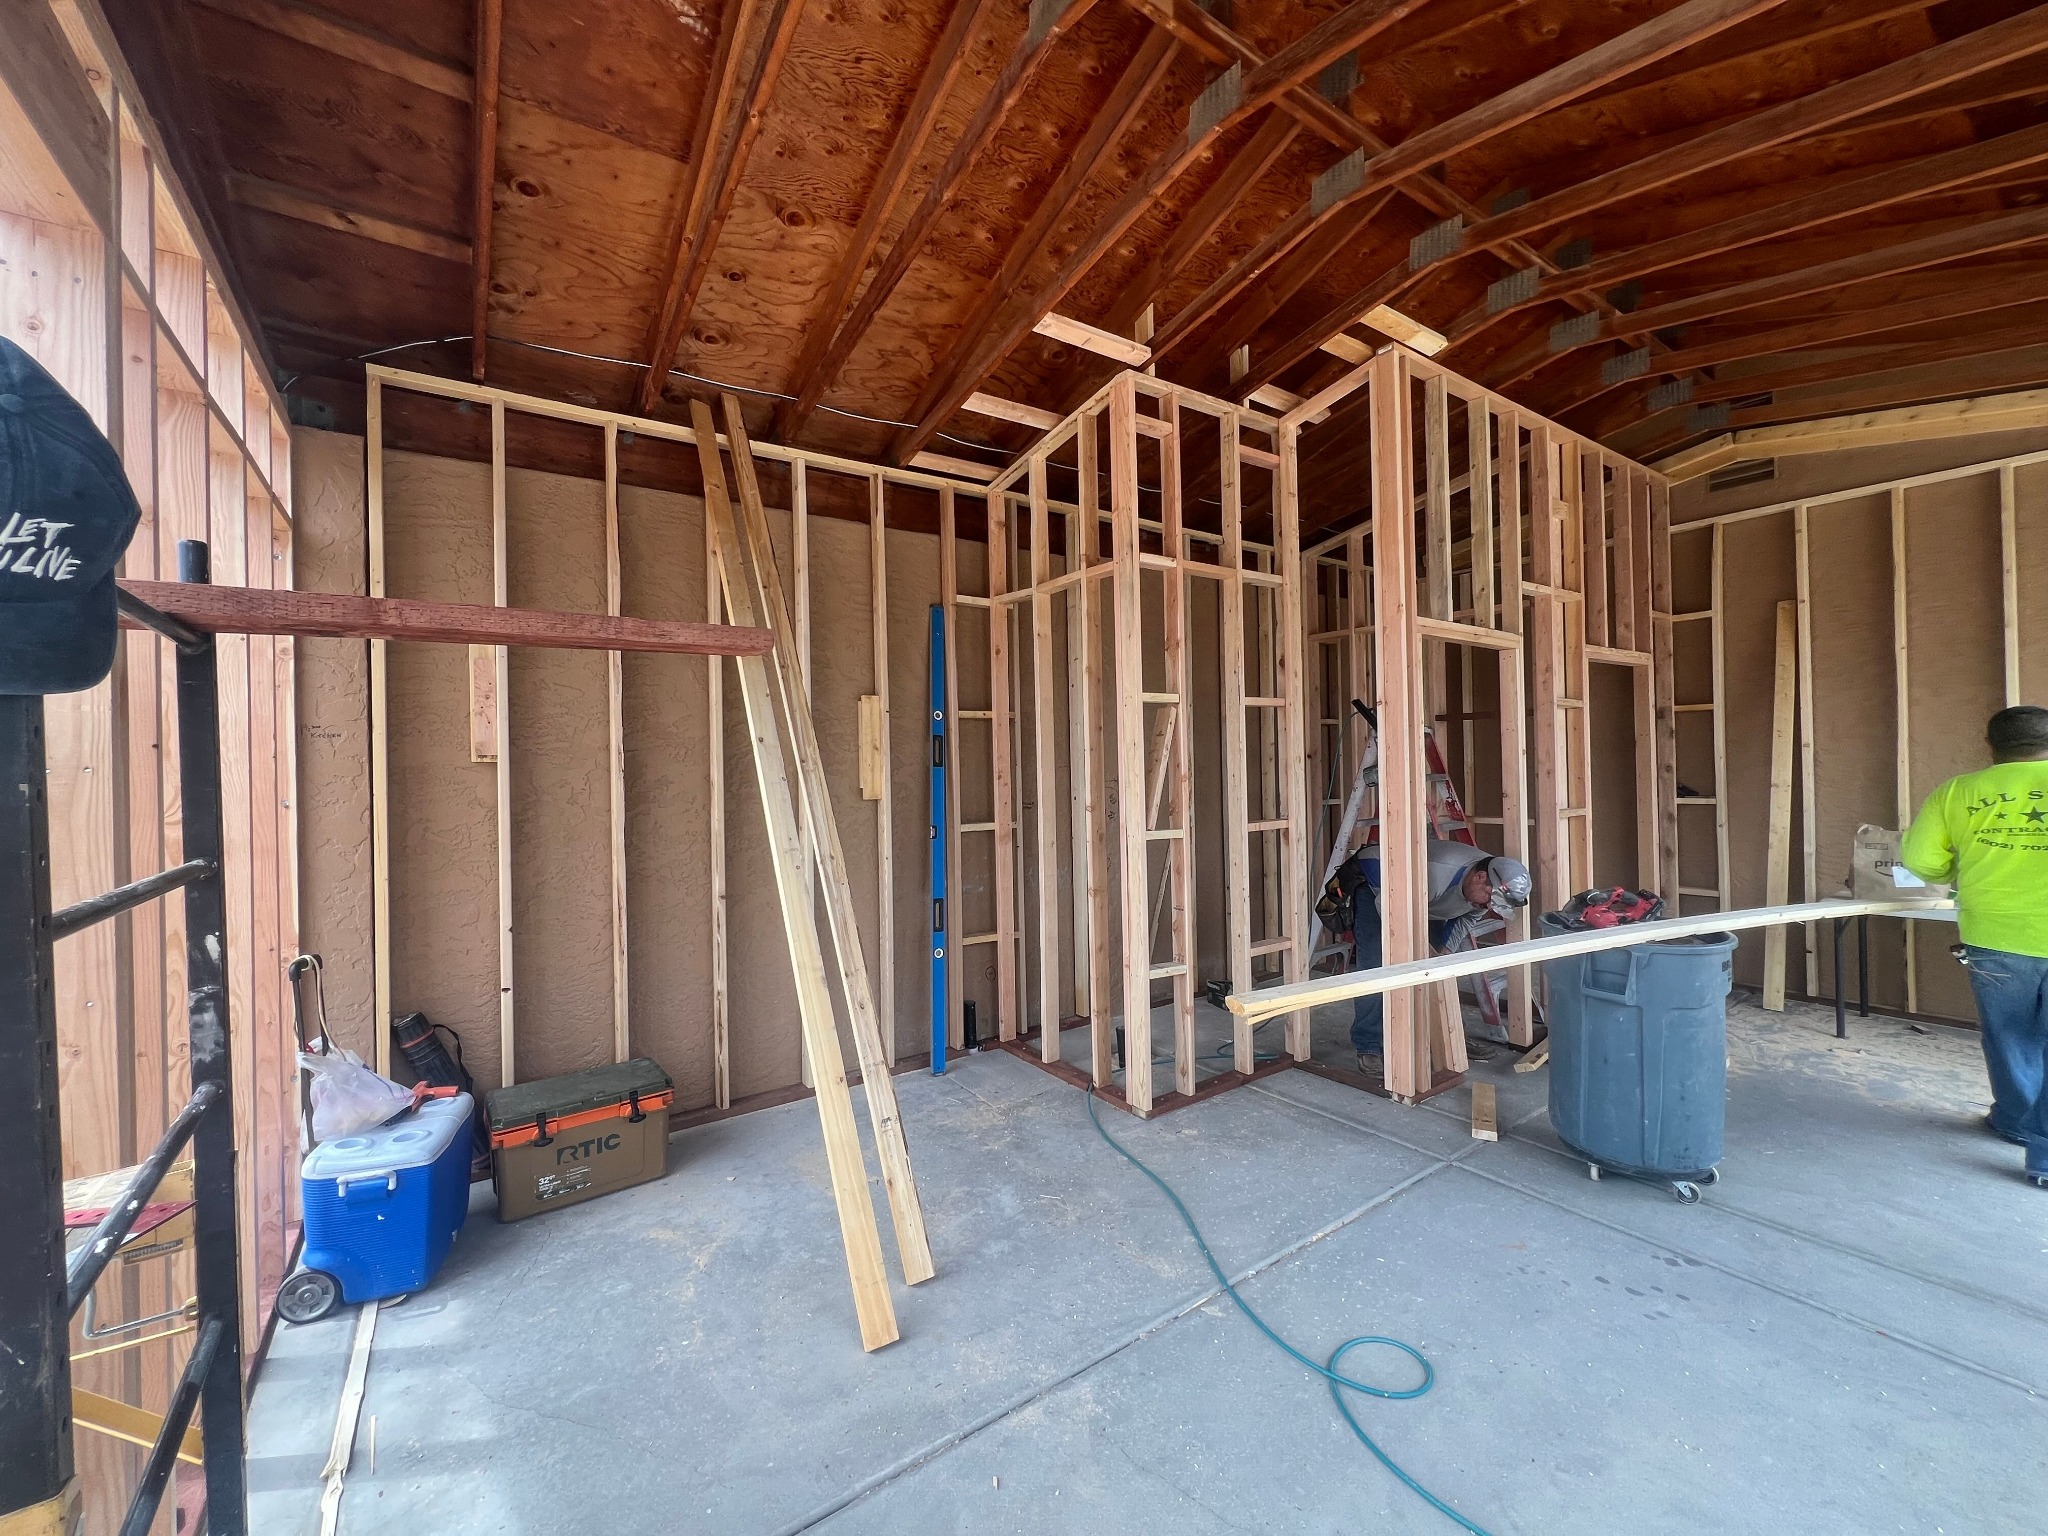
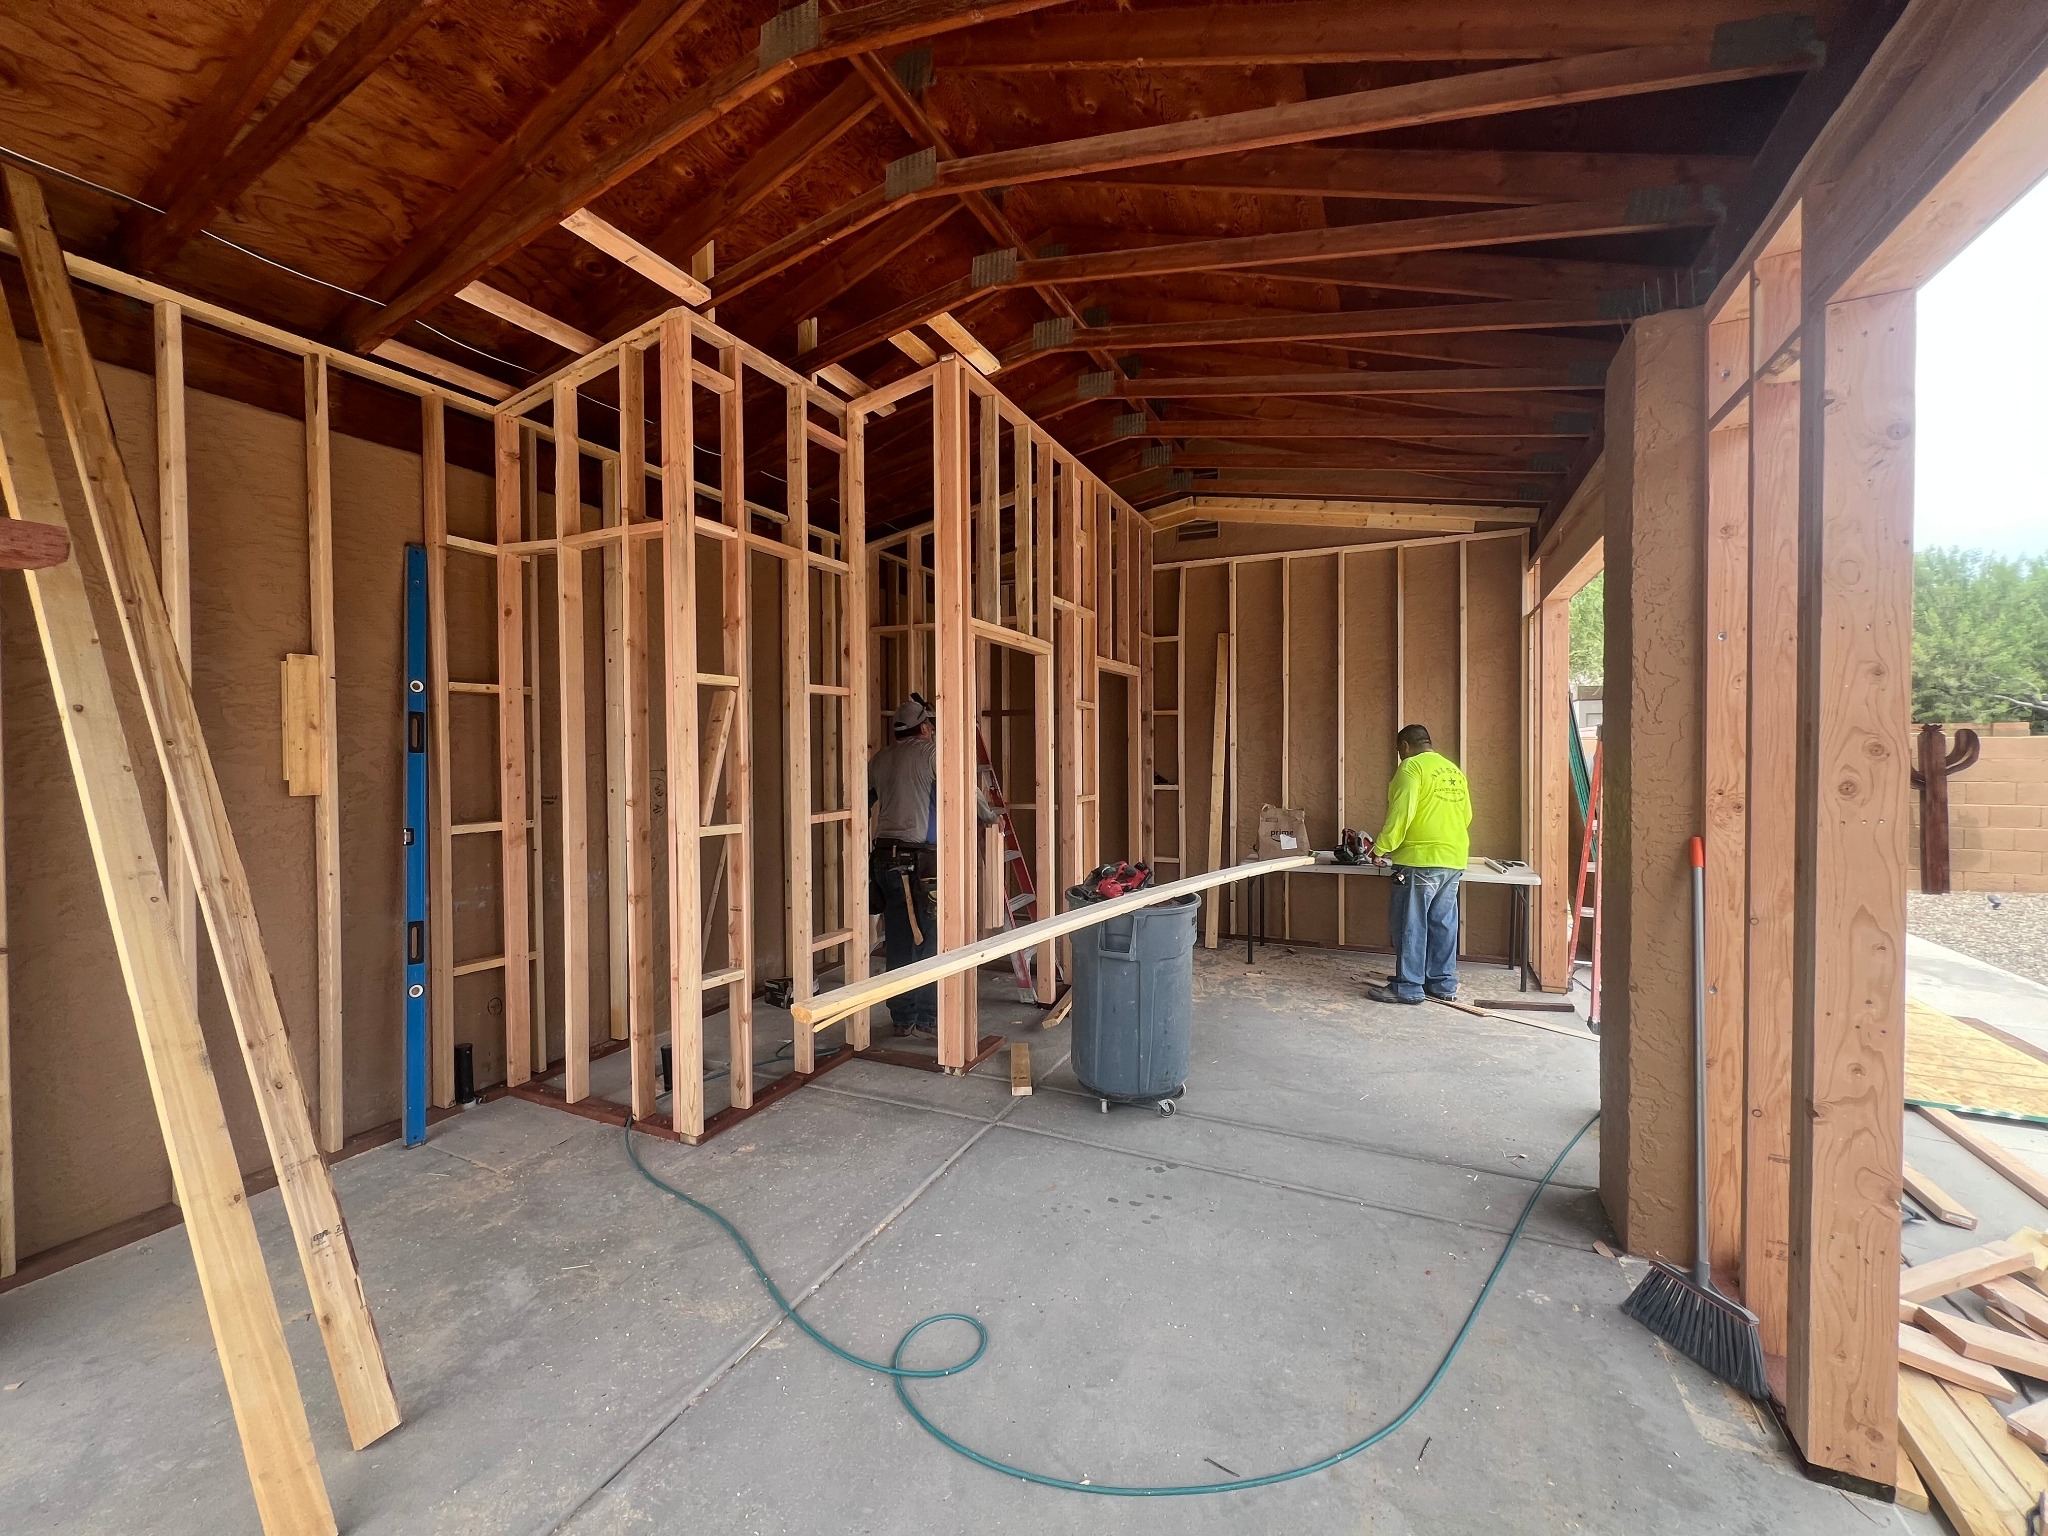
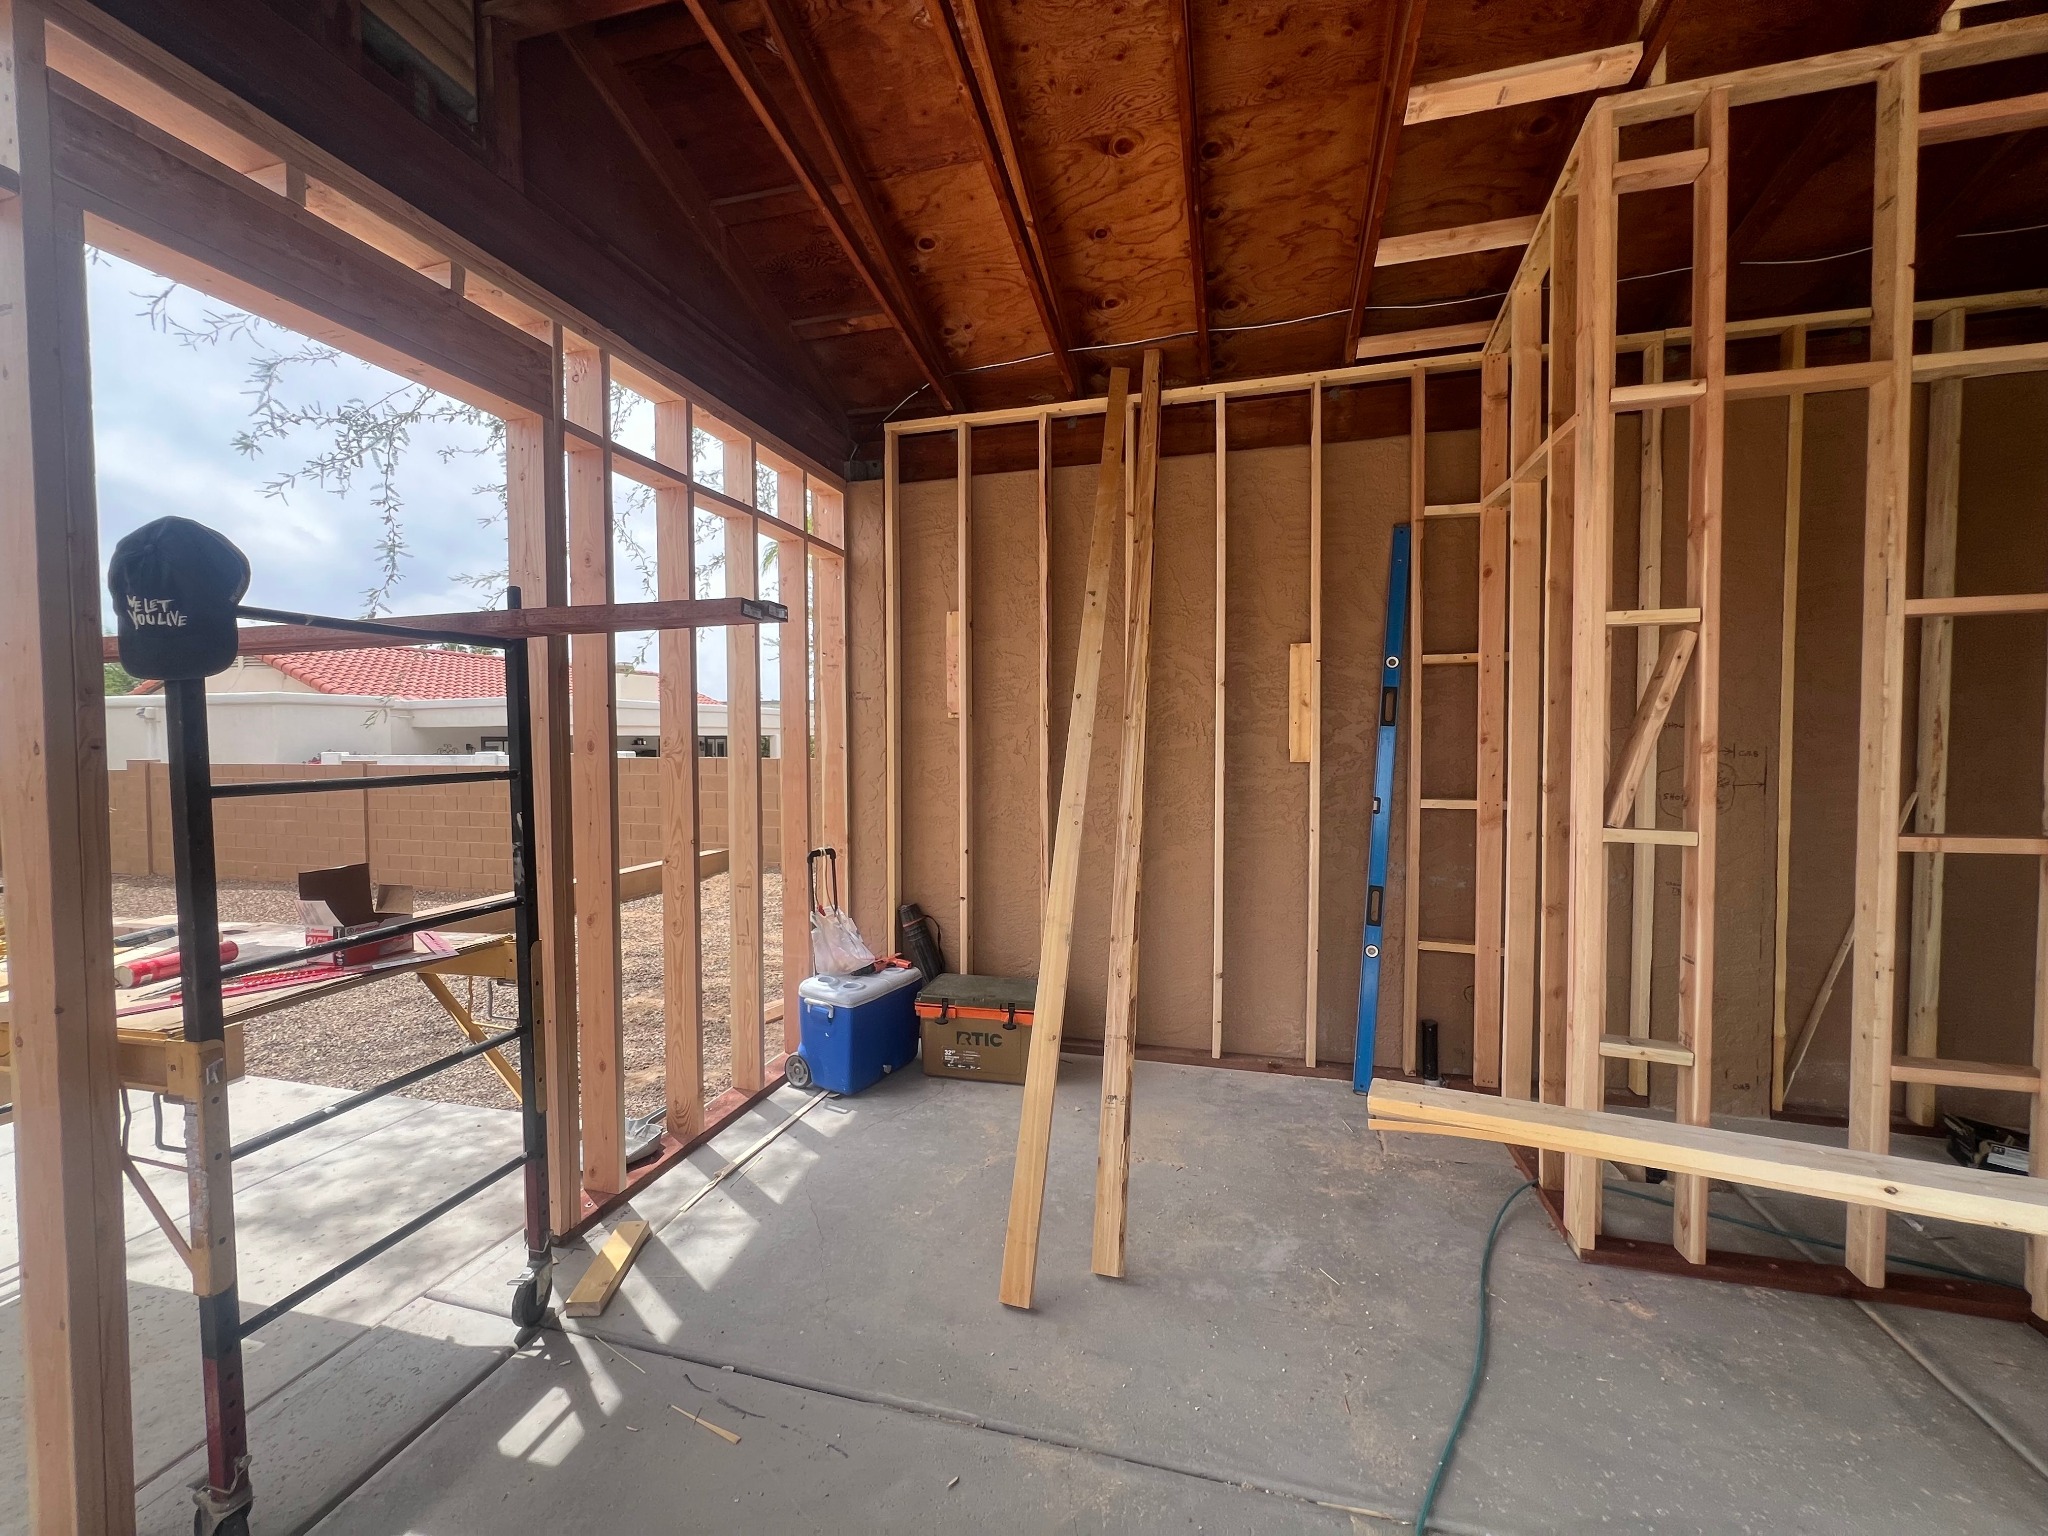
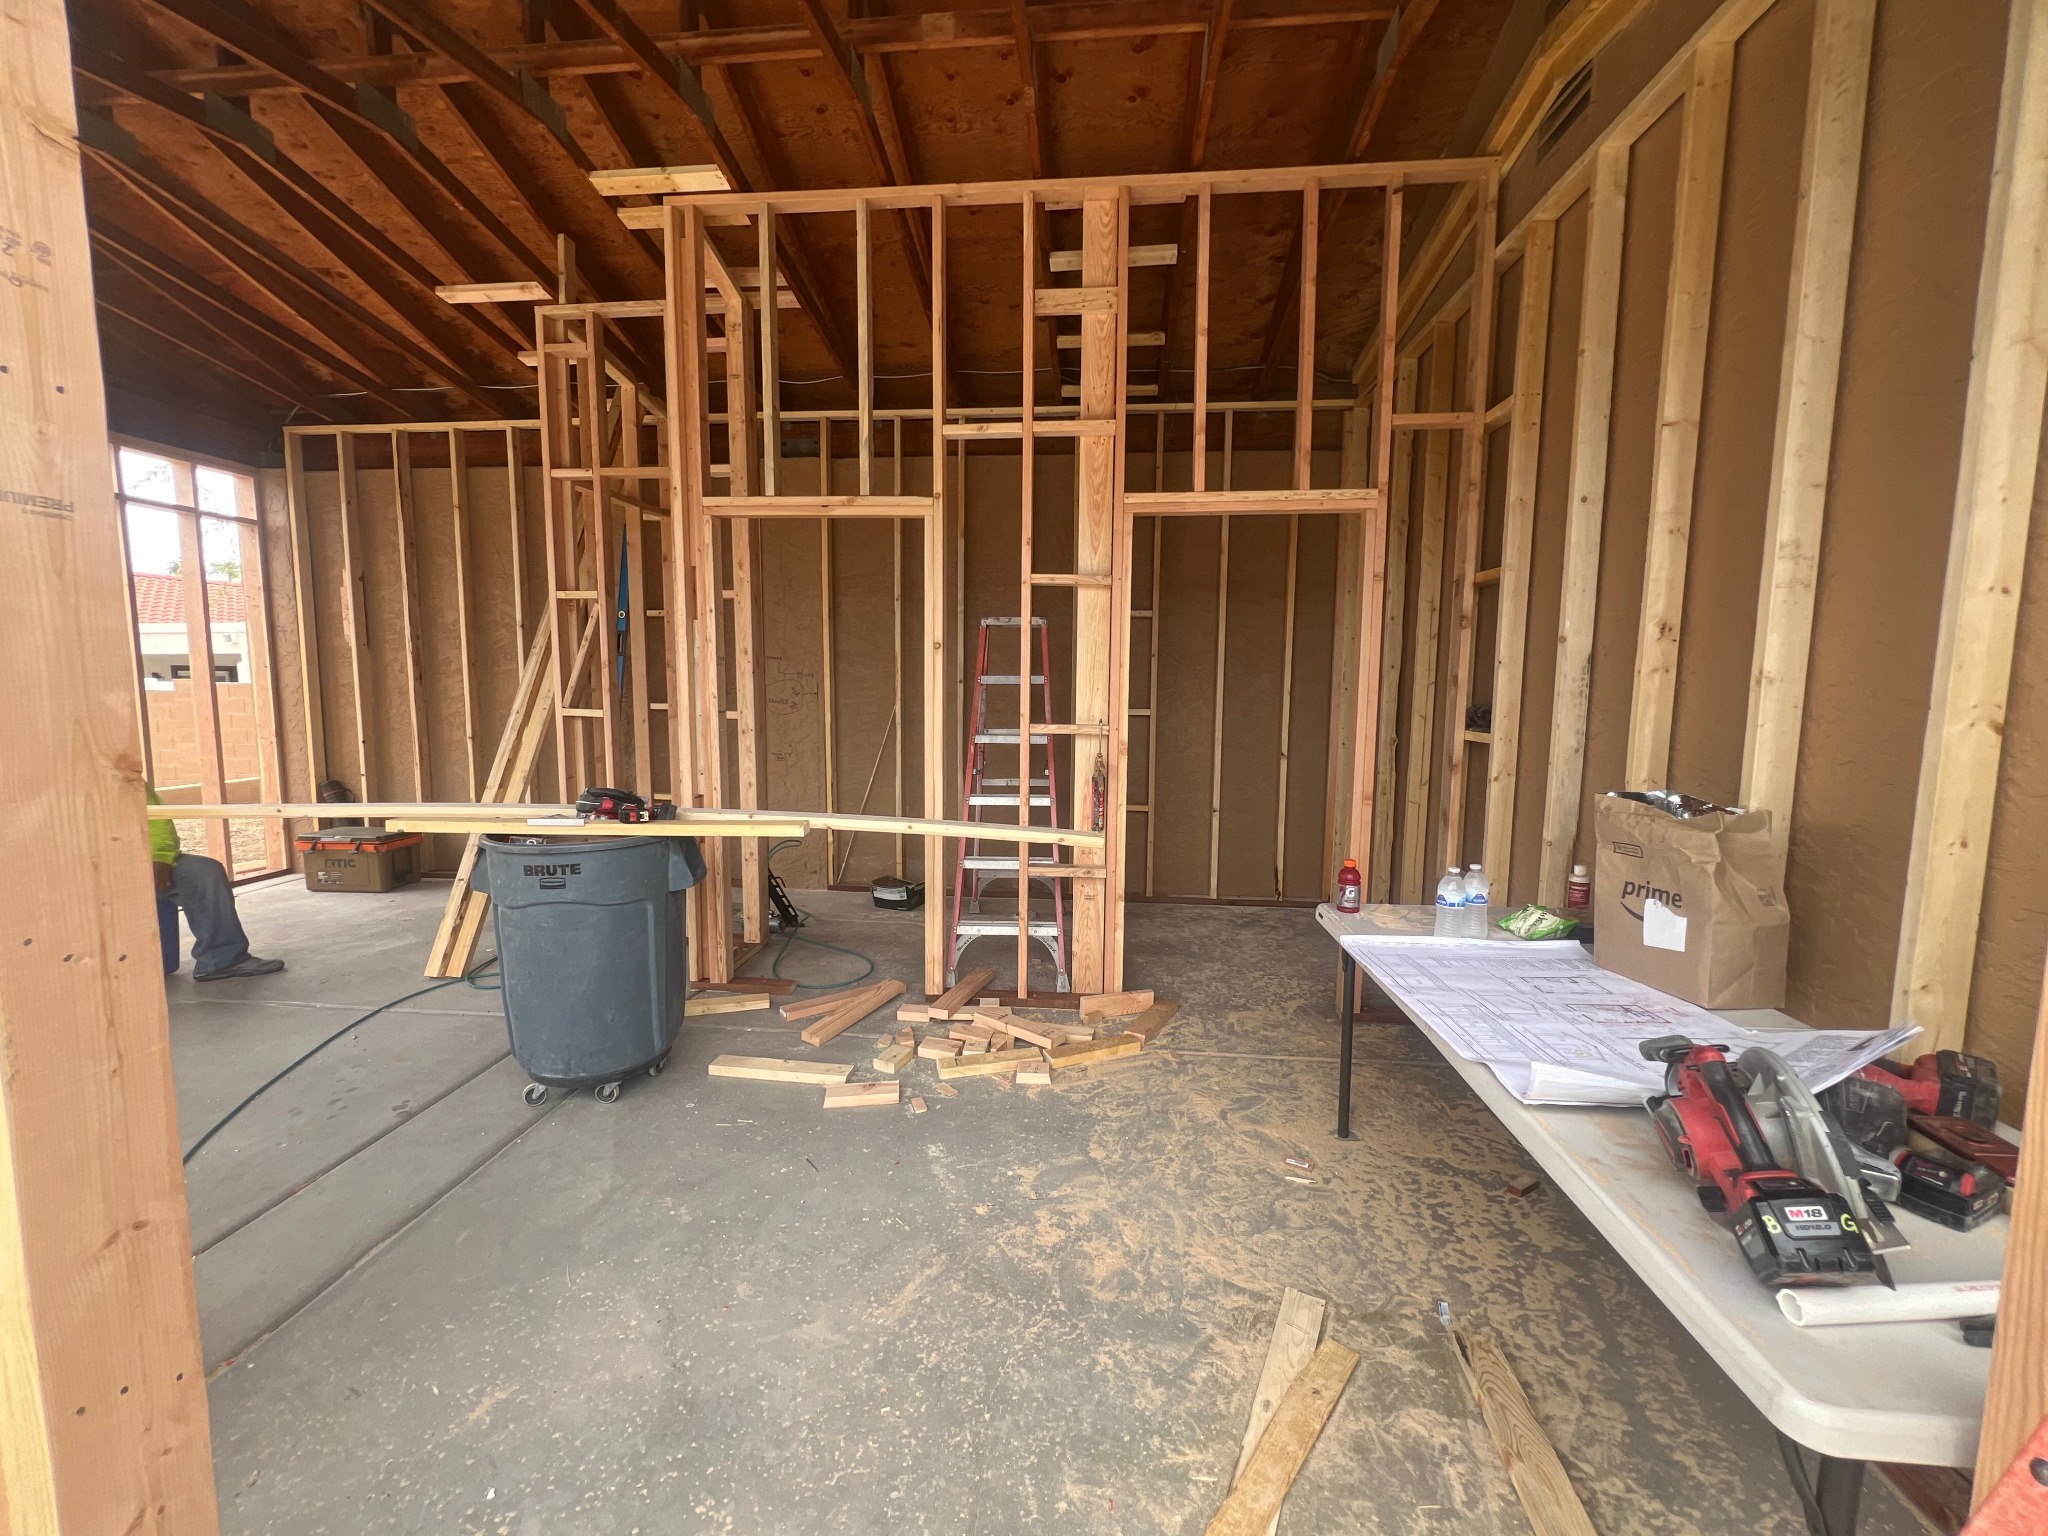
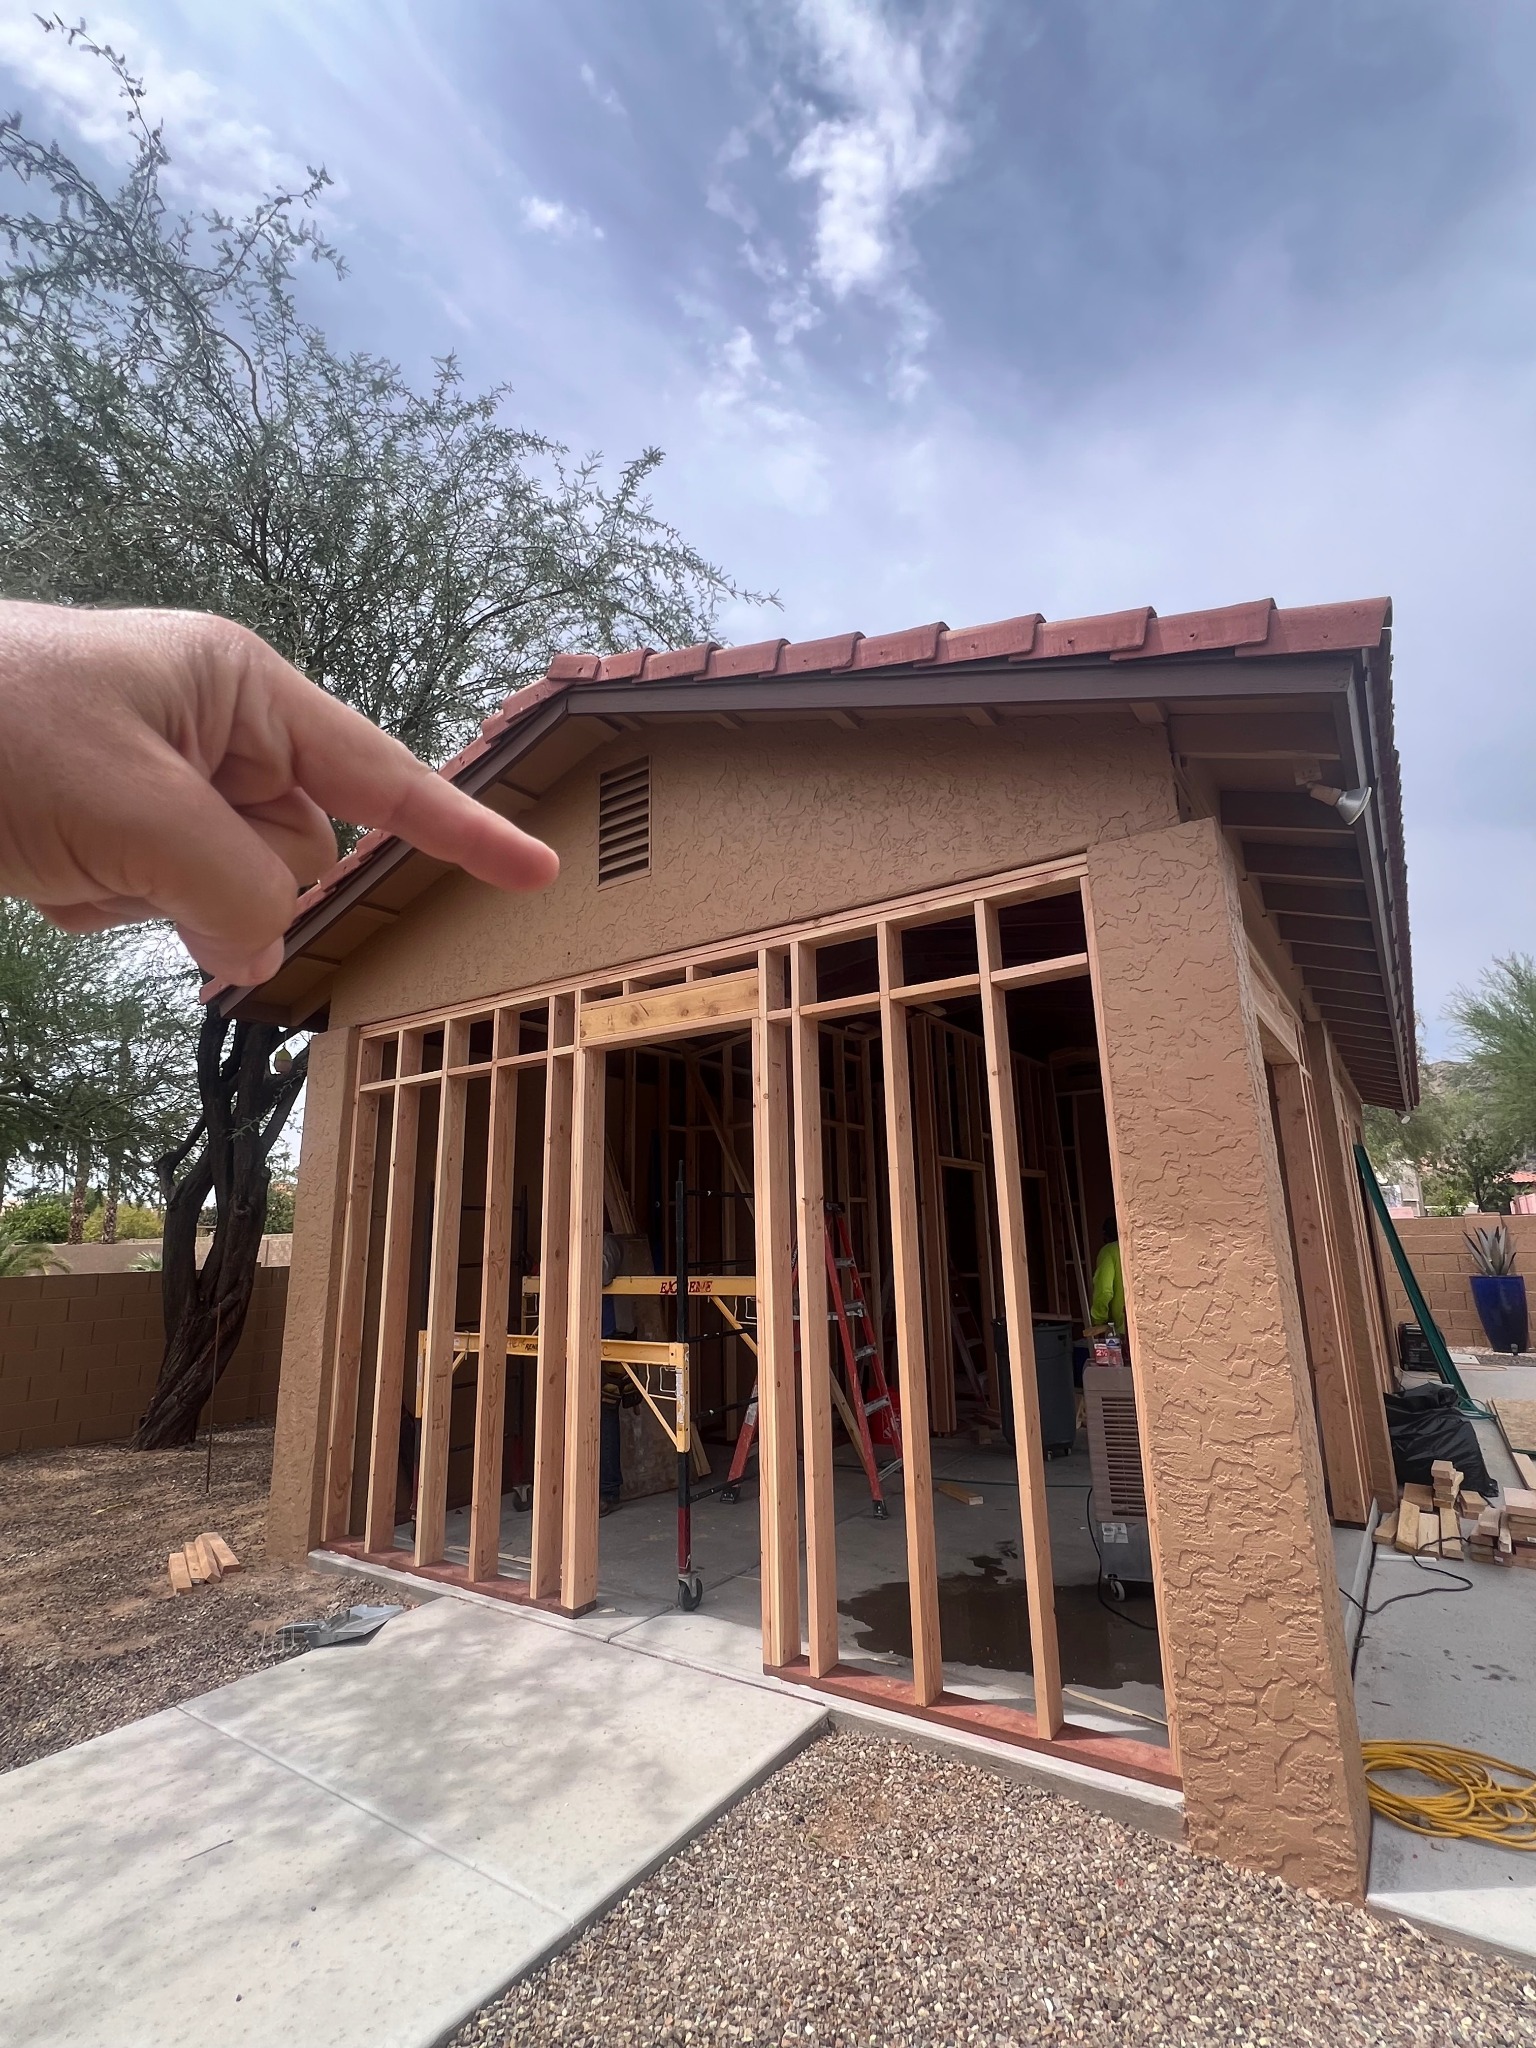
Sheathing, bracing and doors
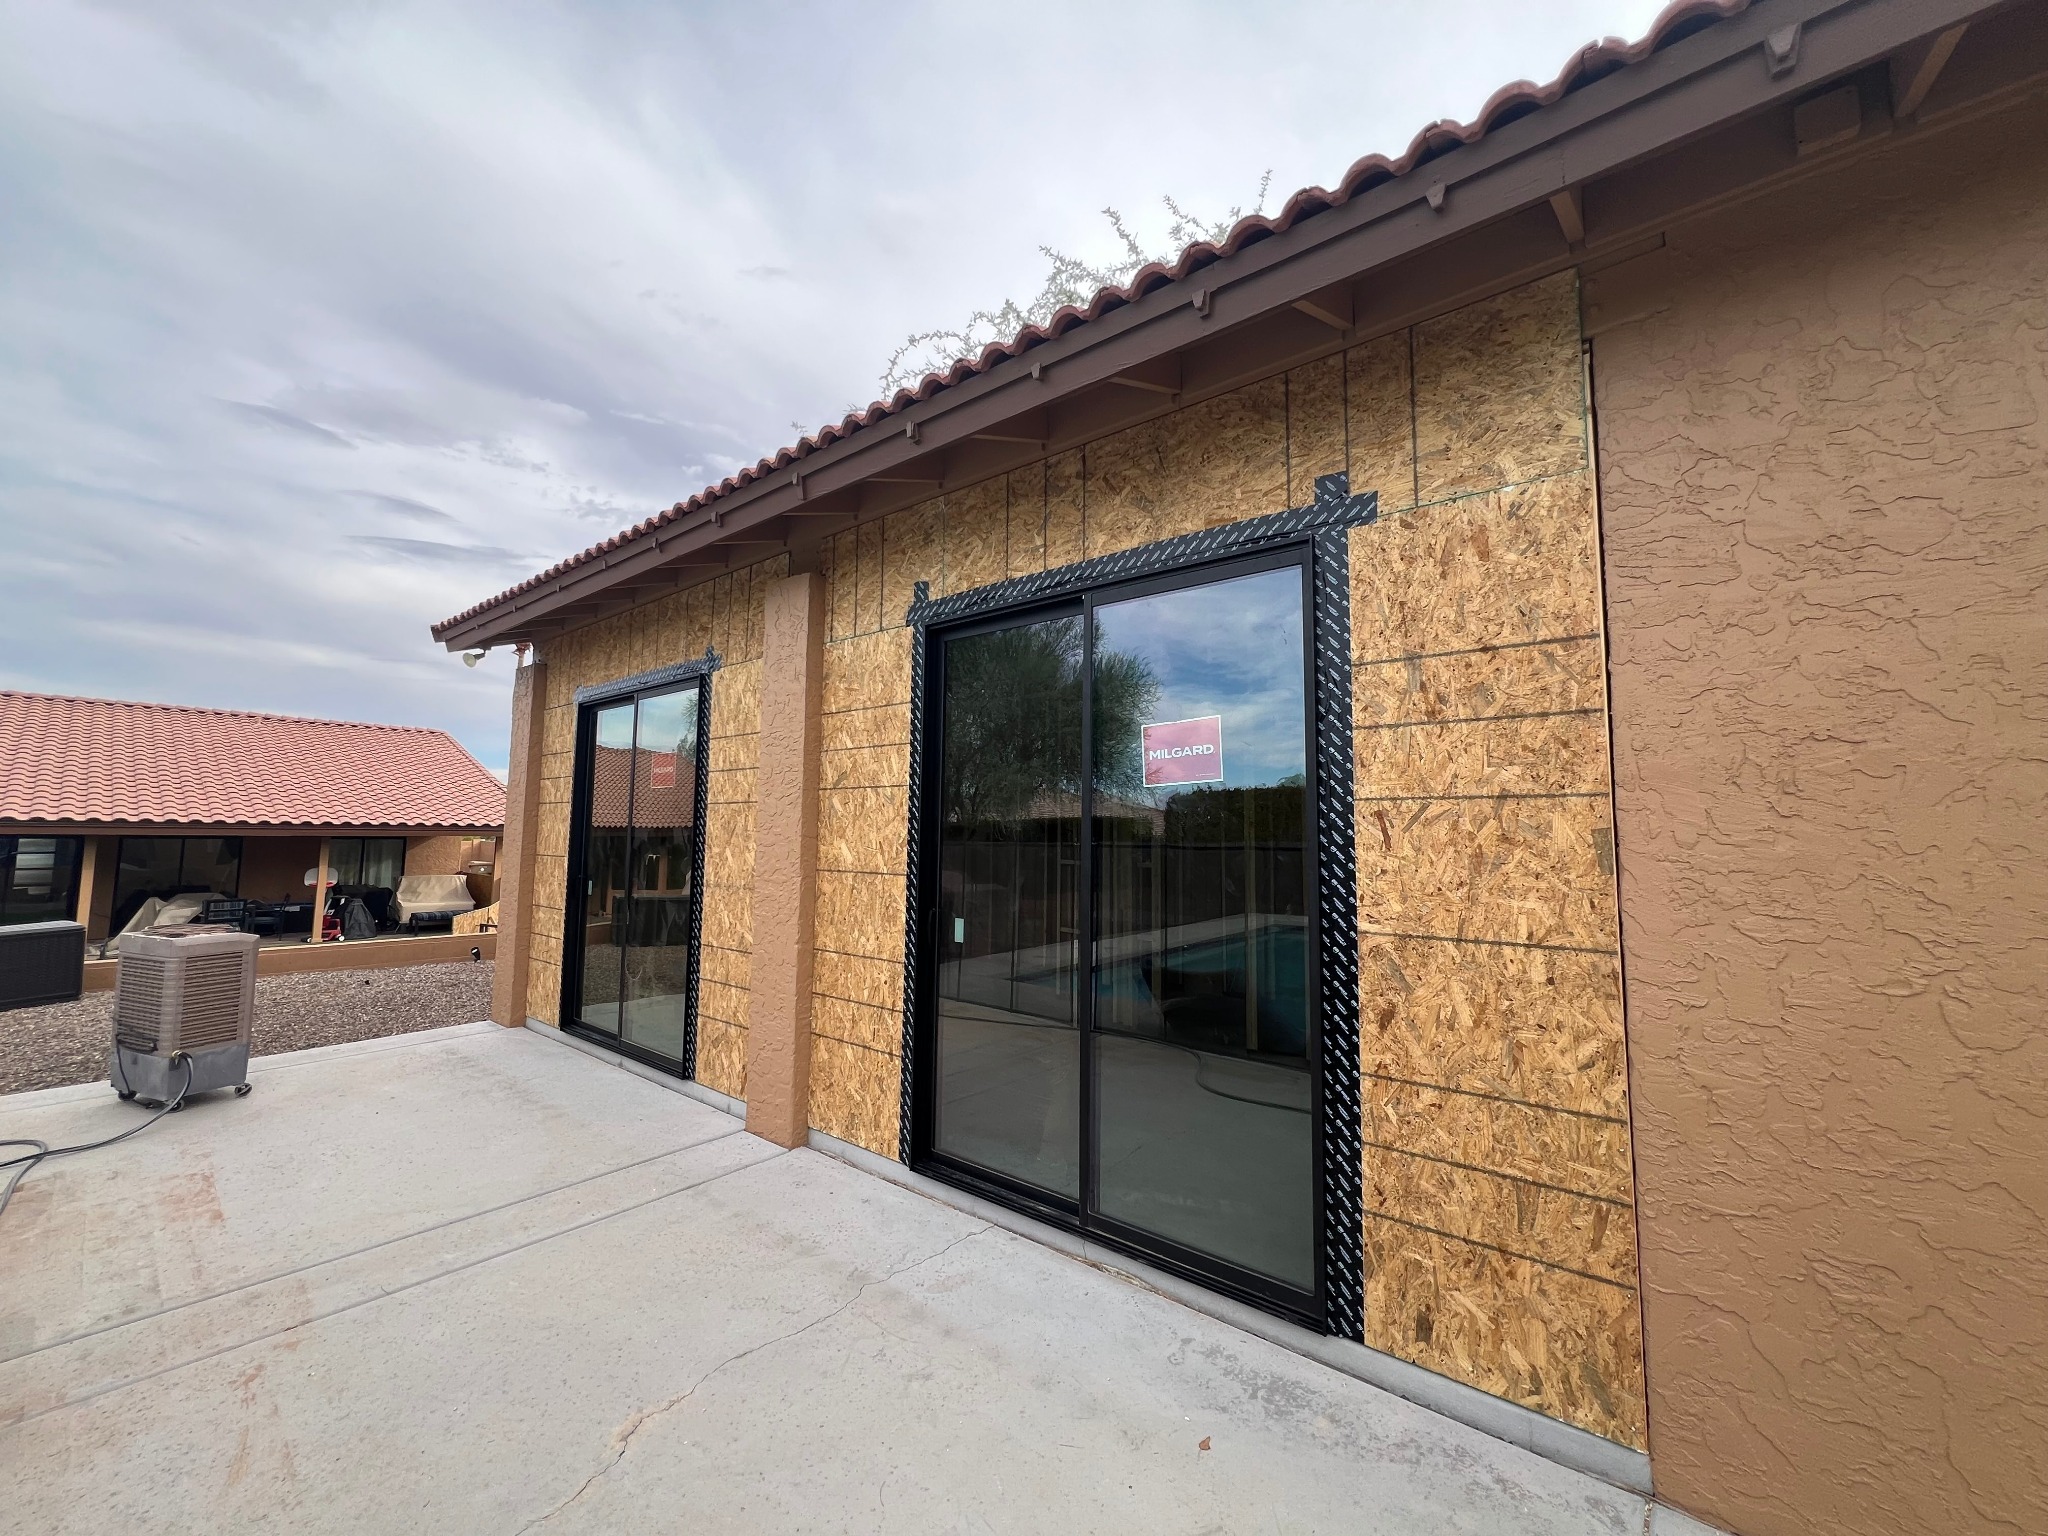
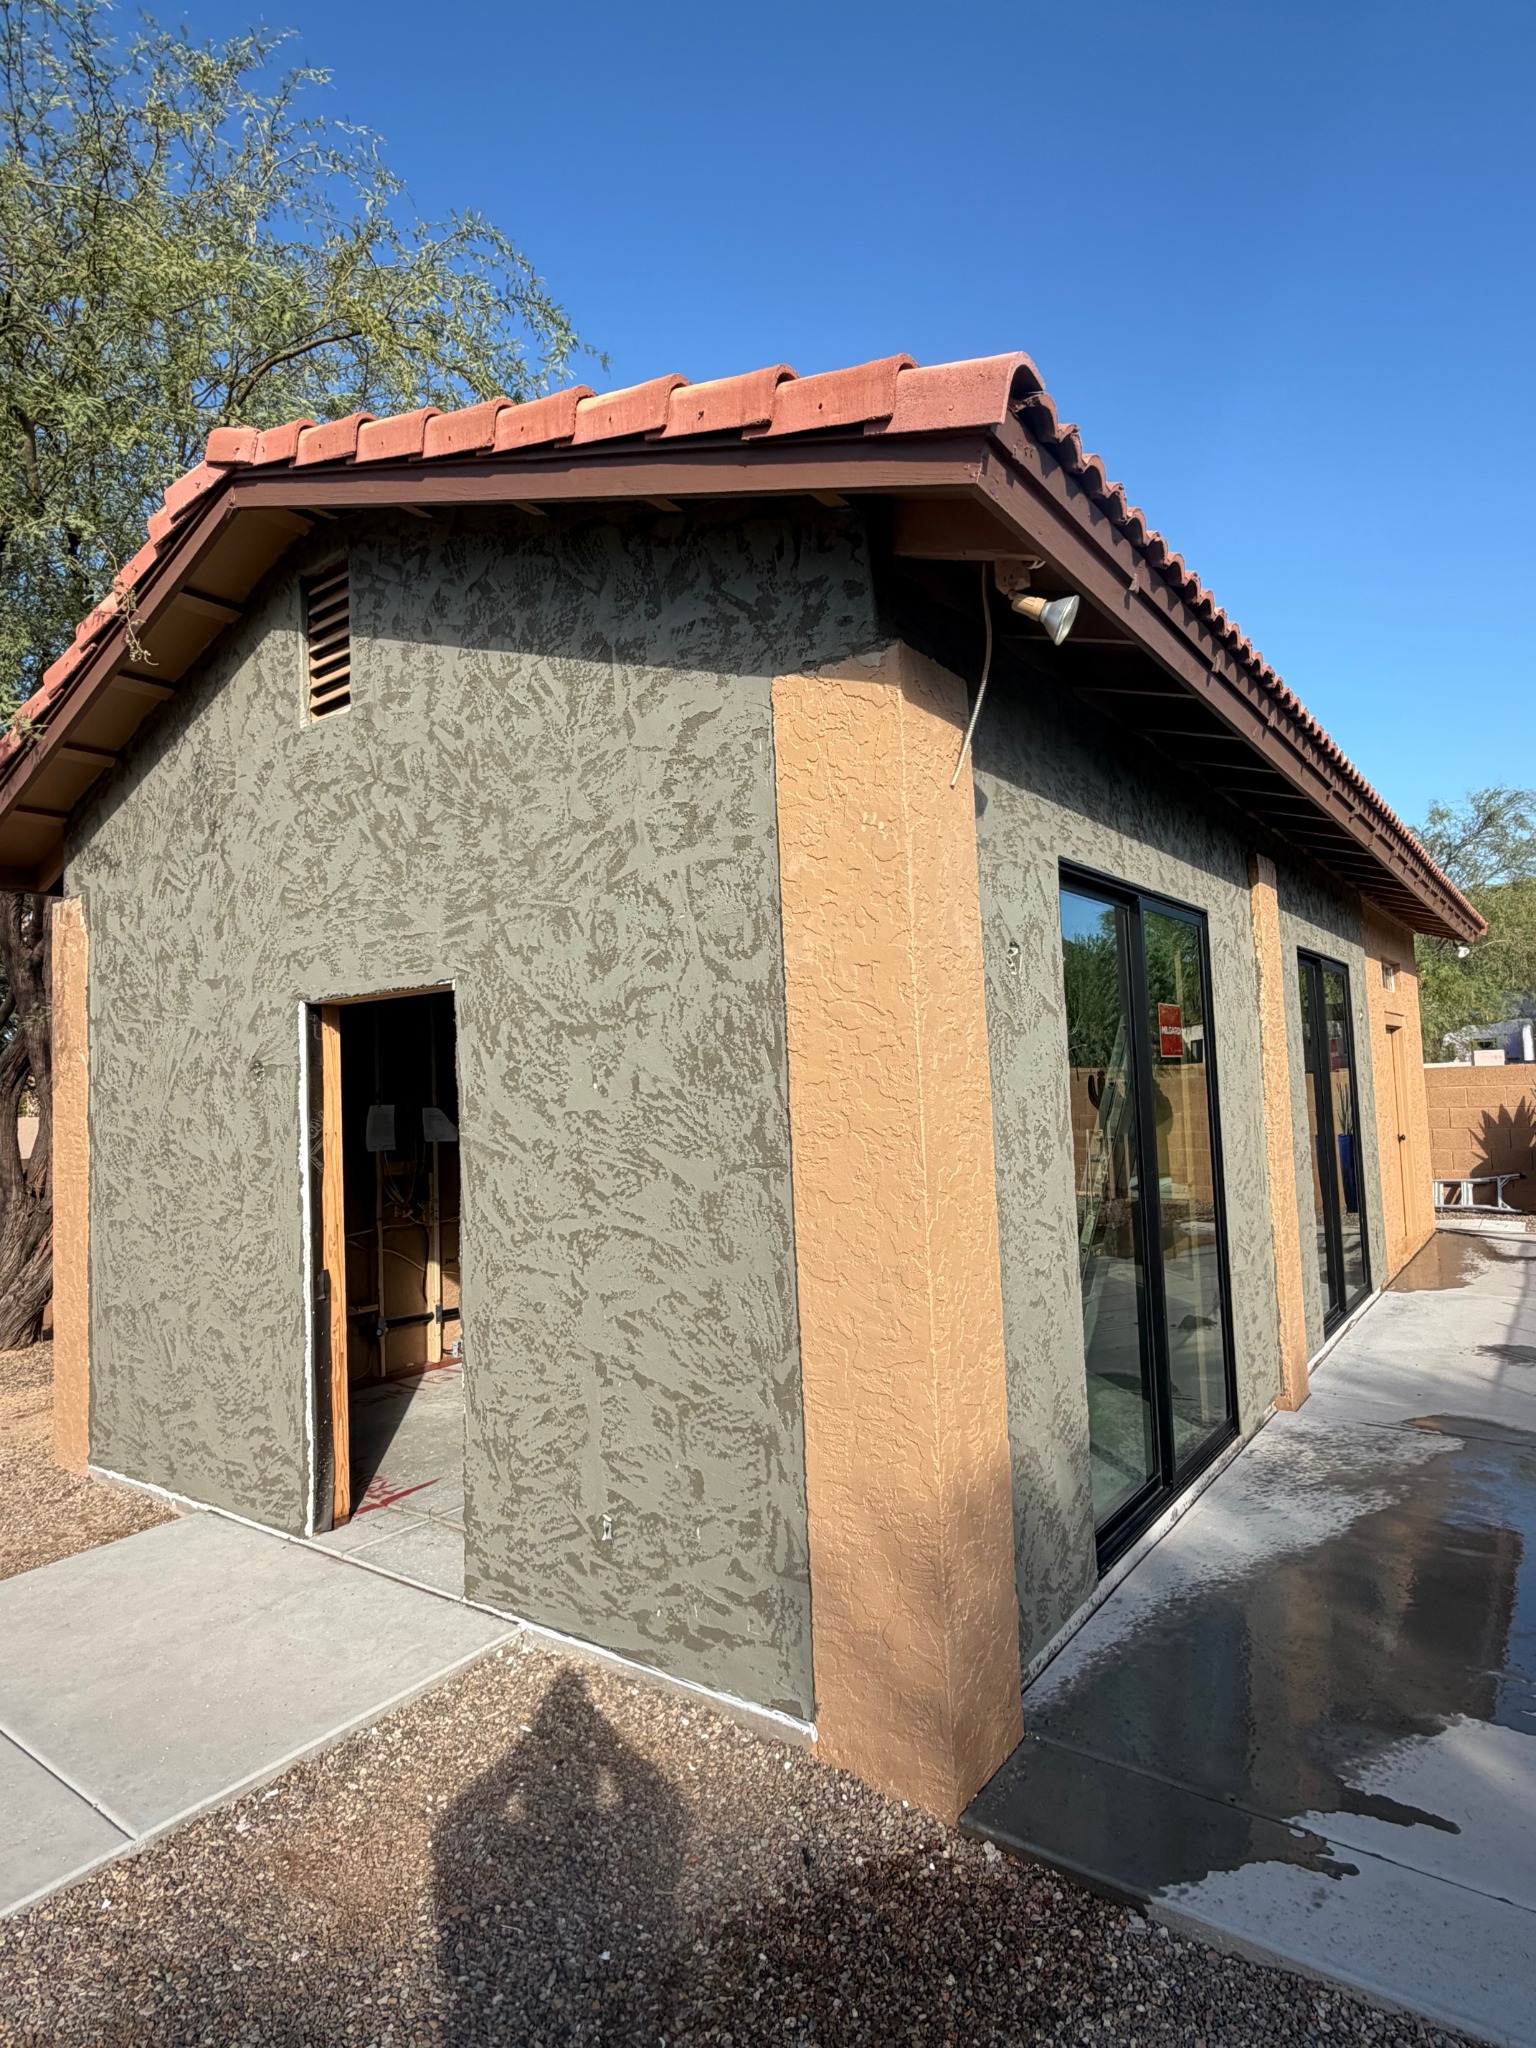
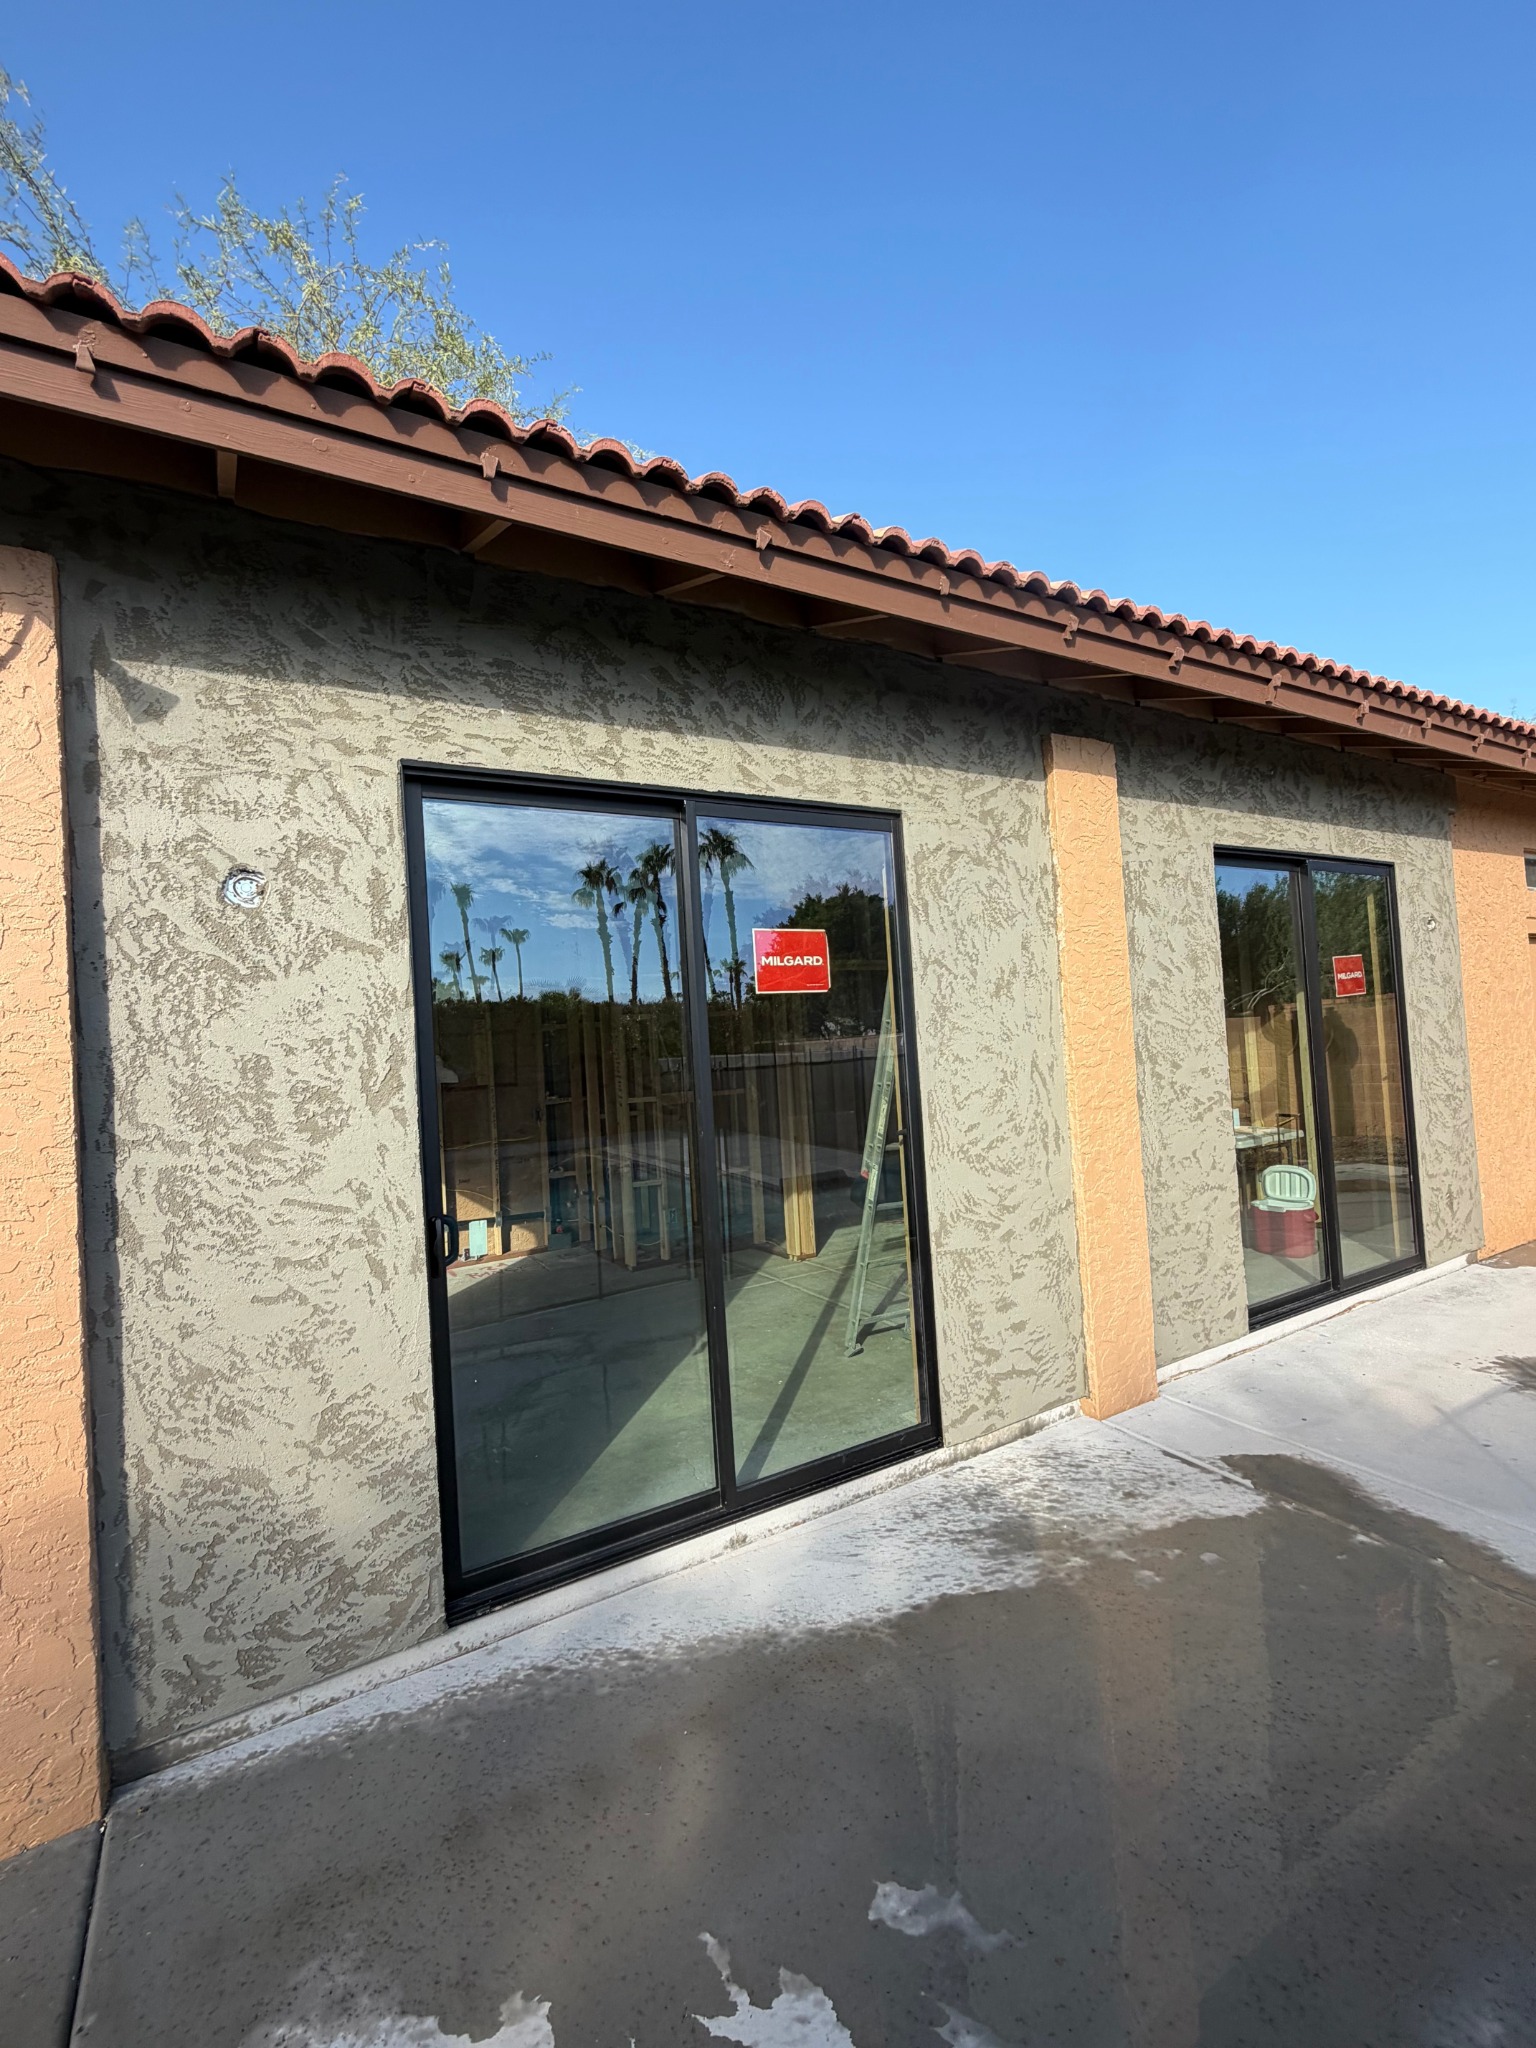
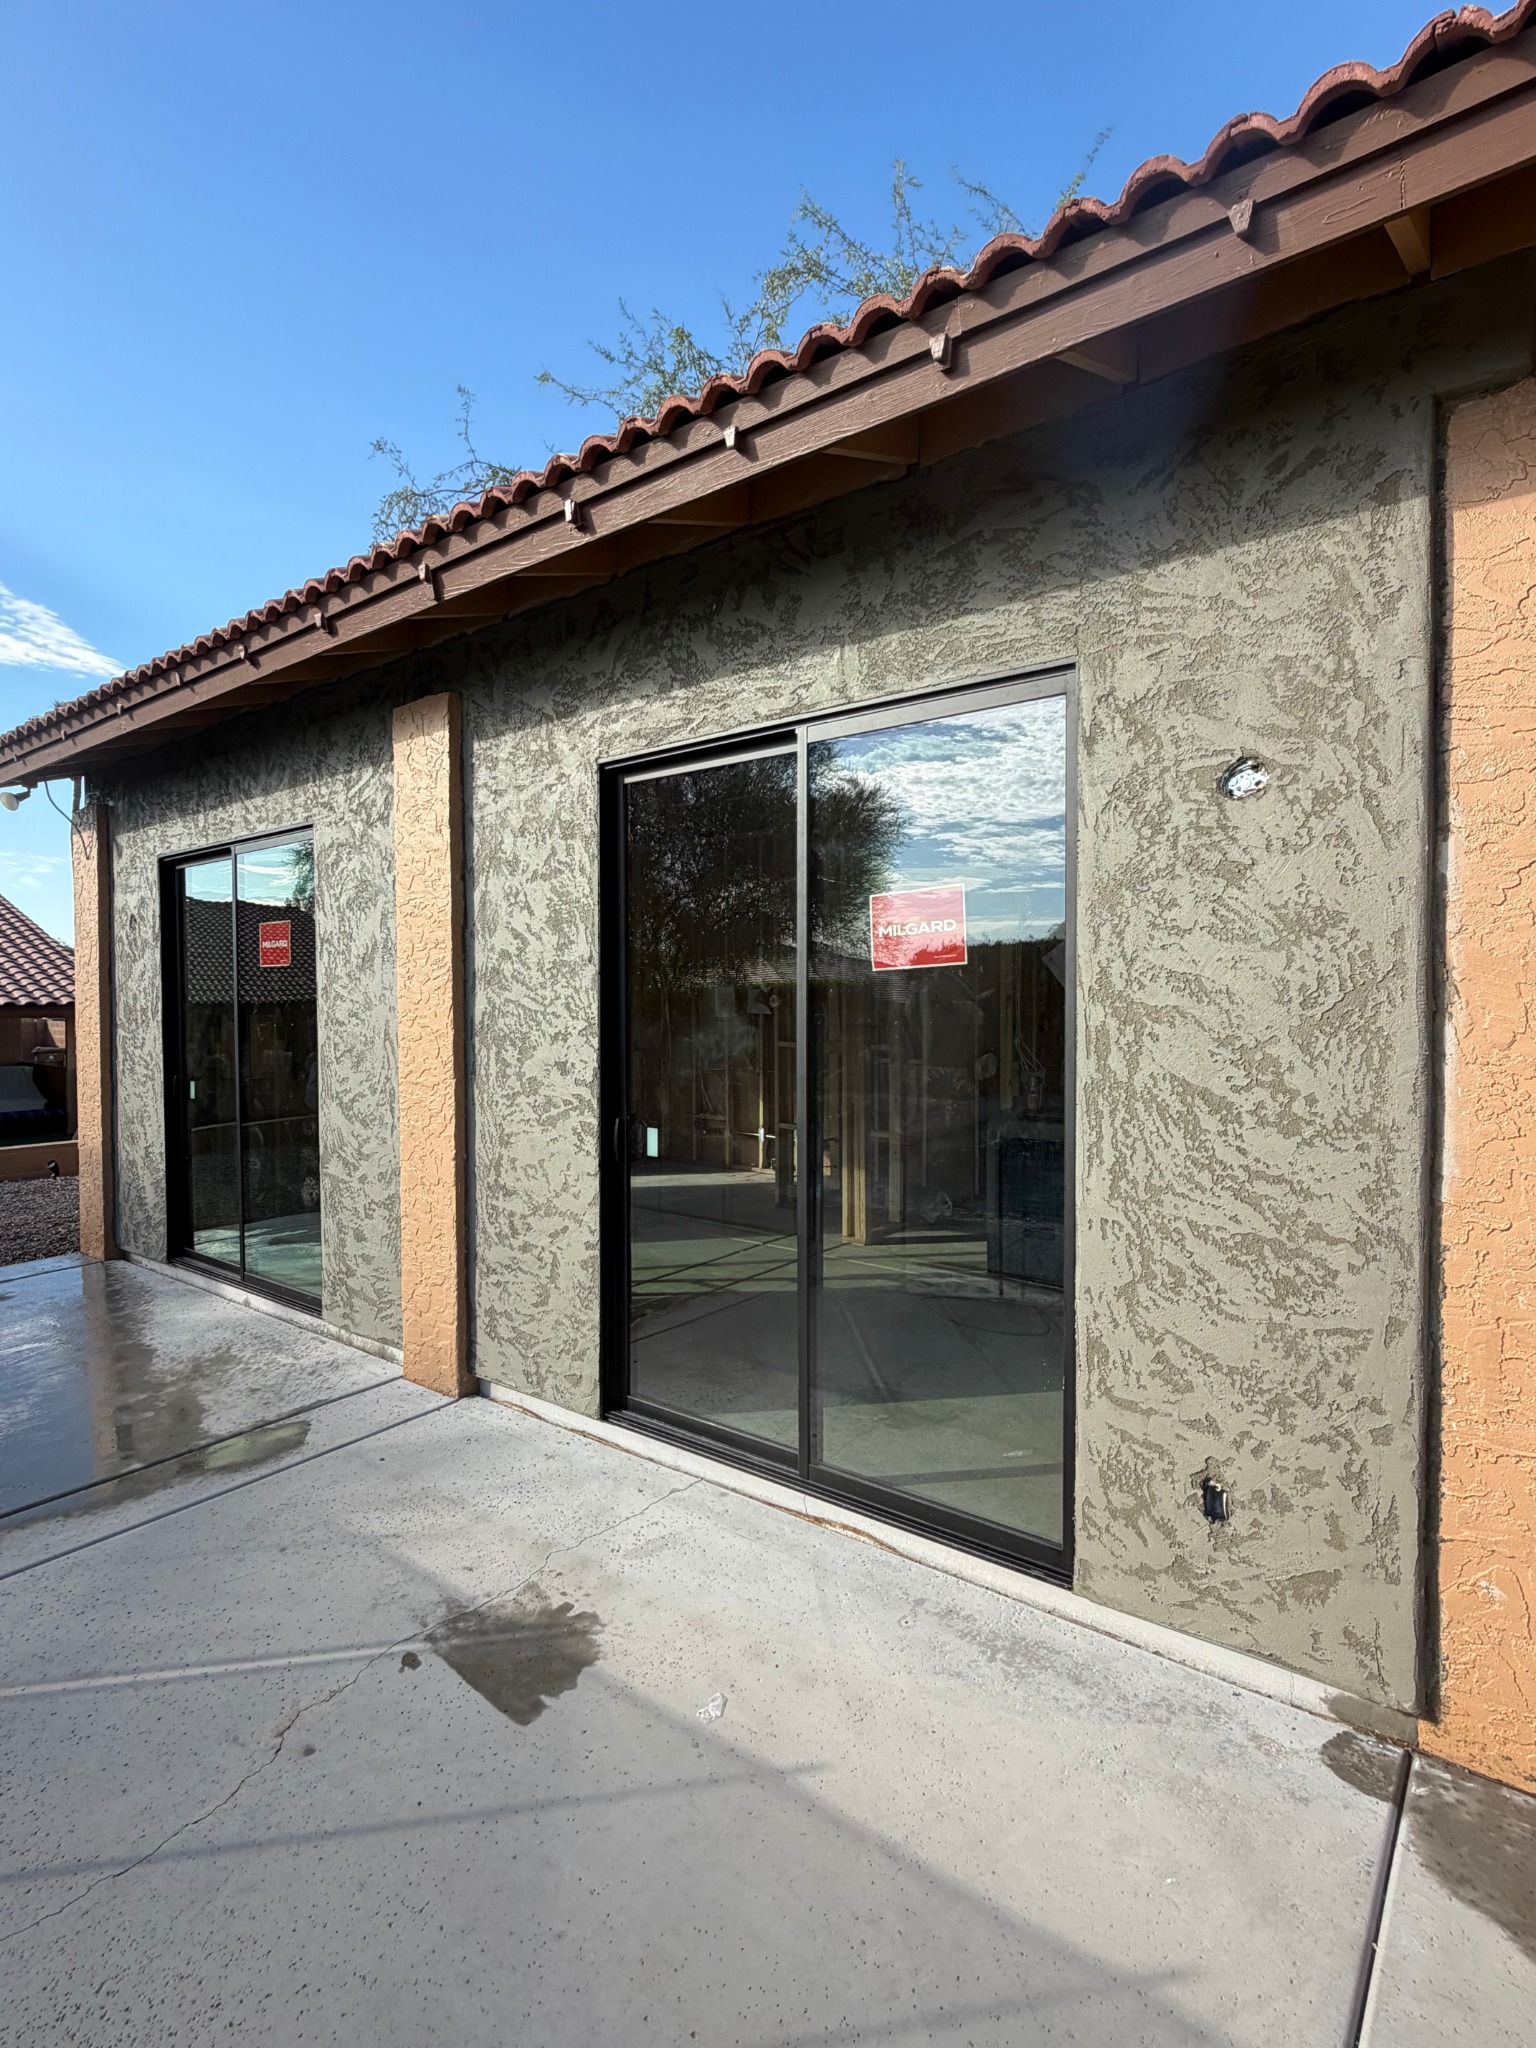
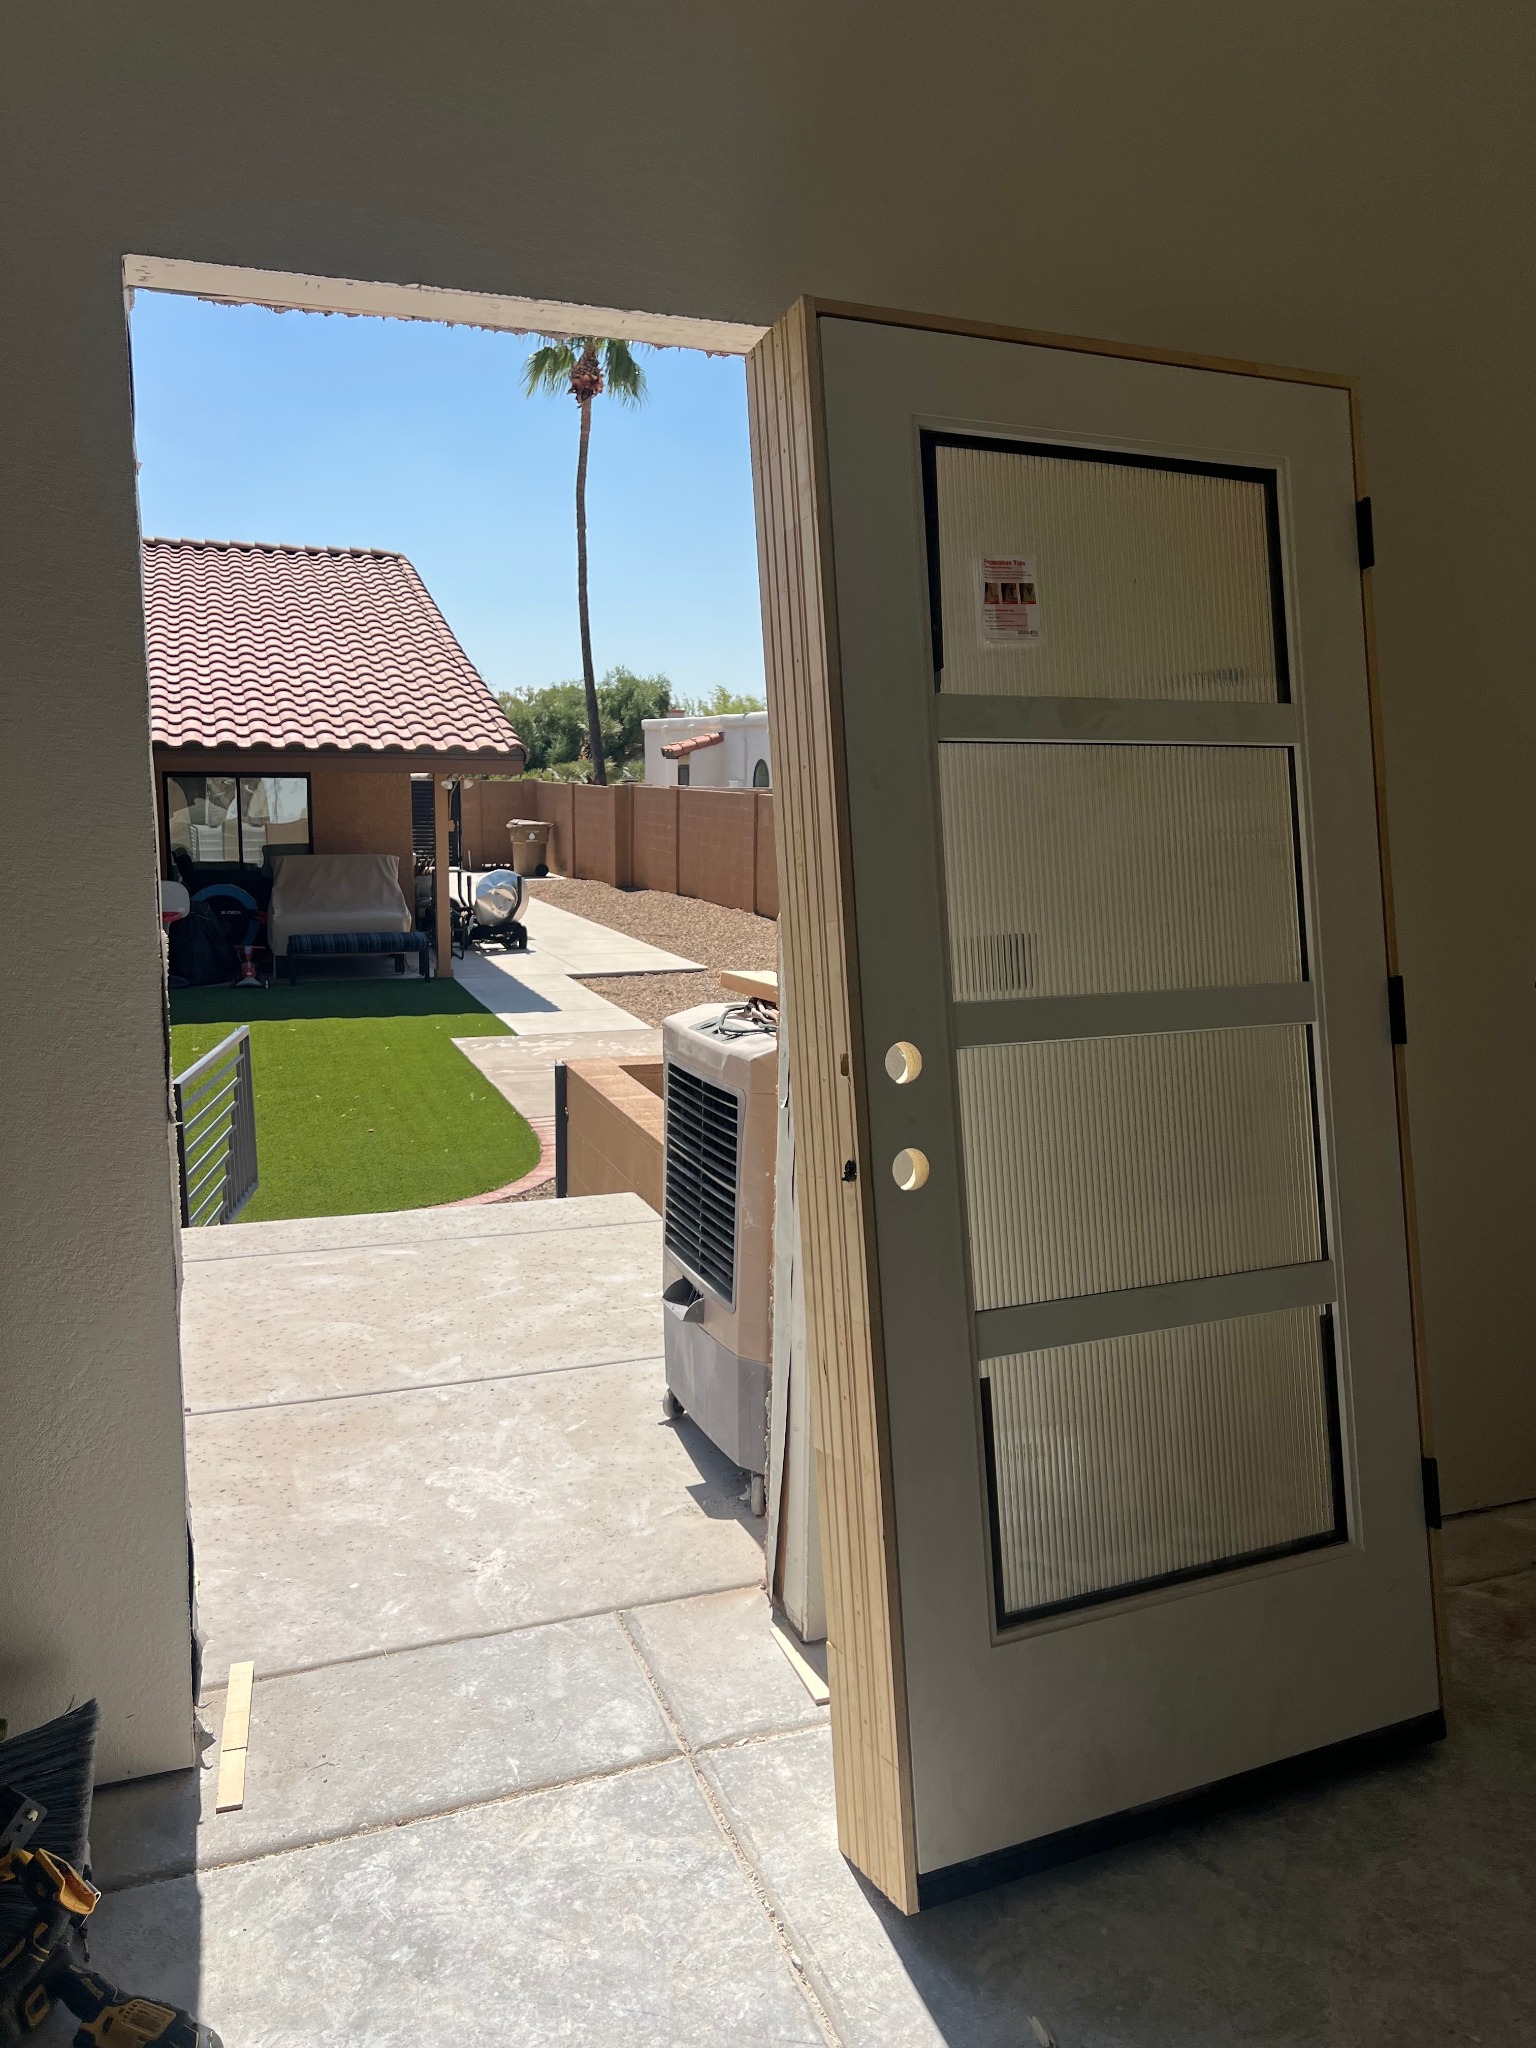
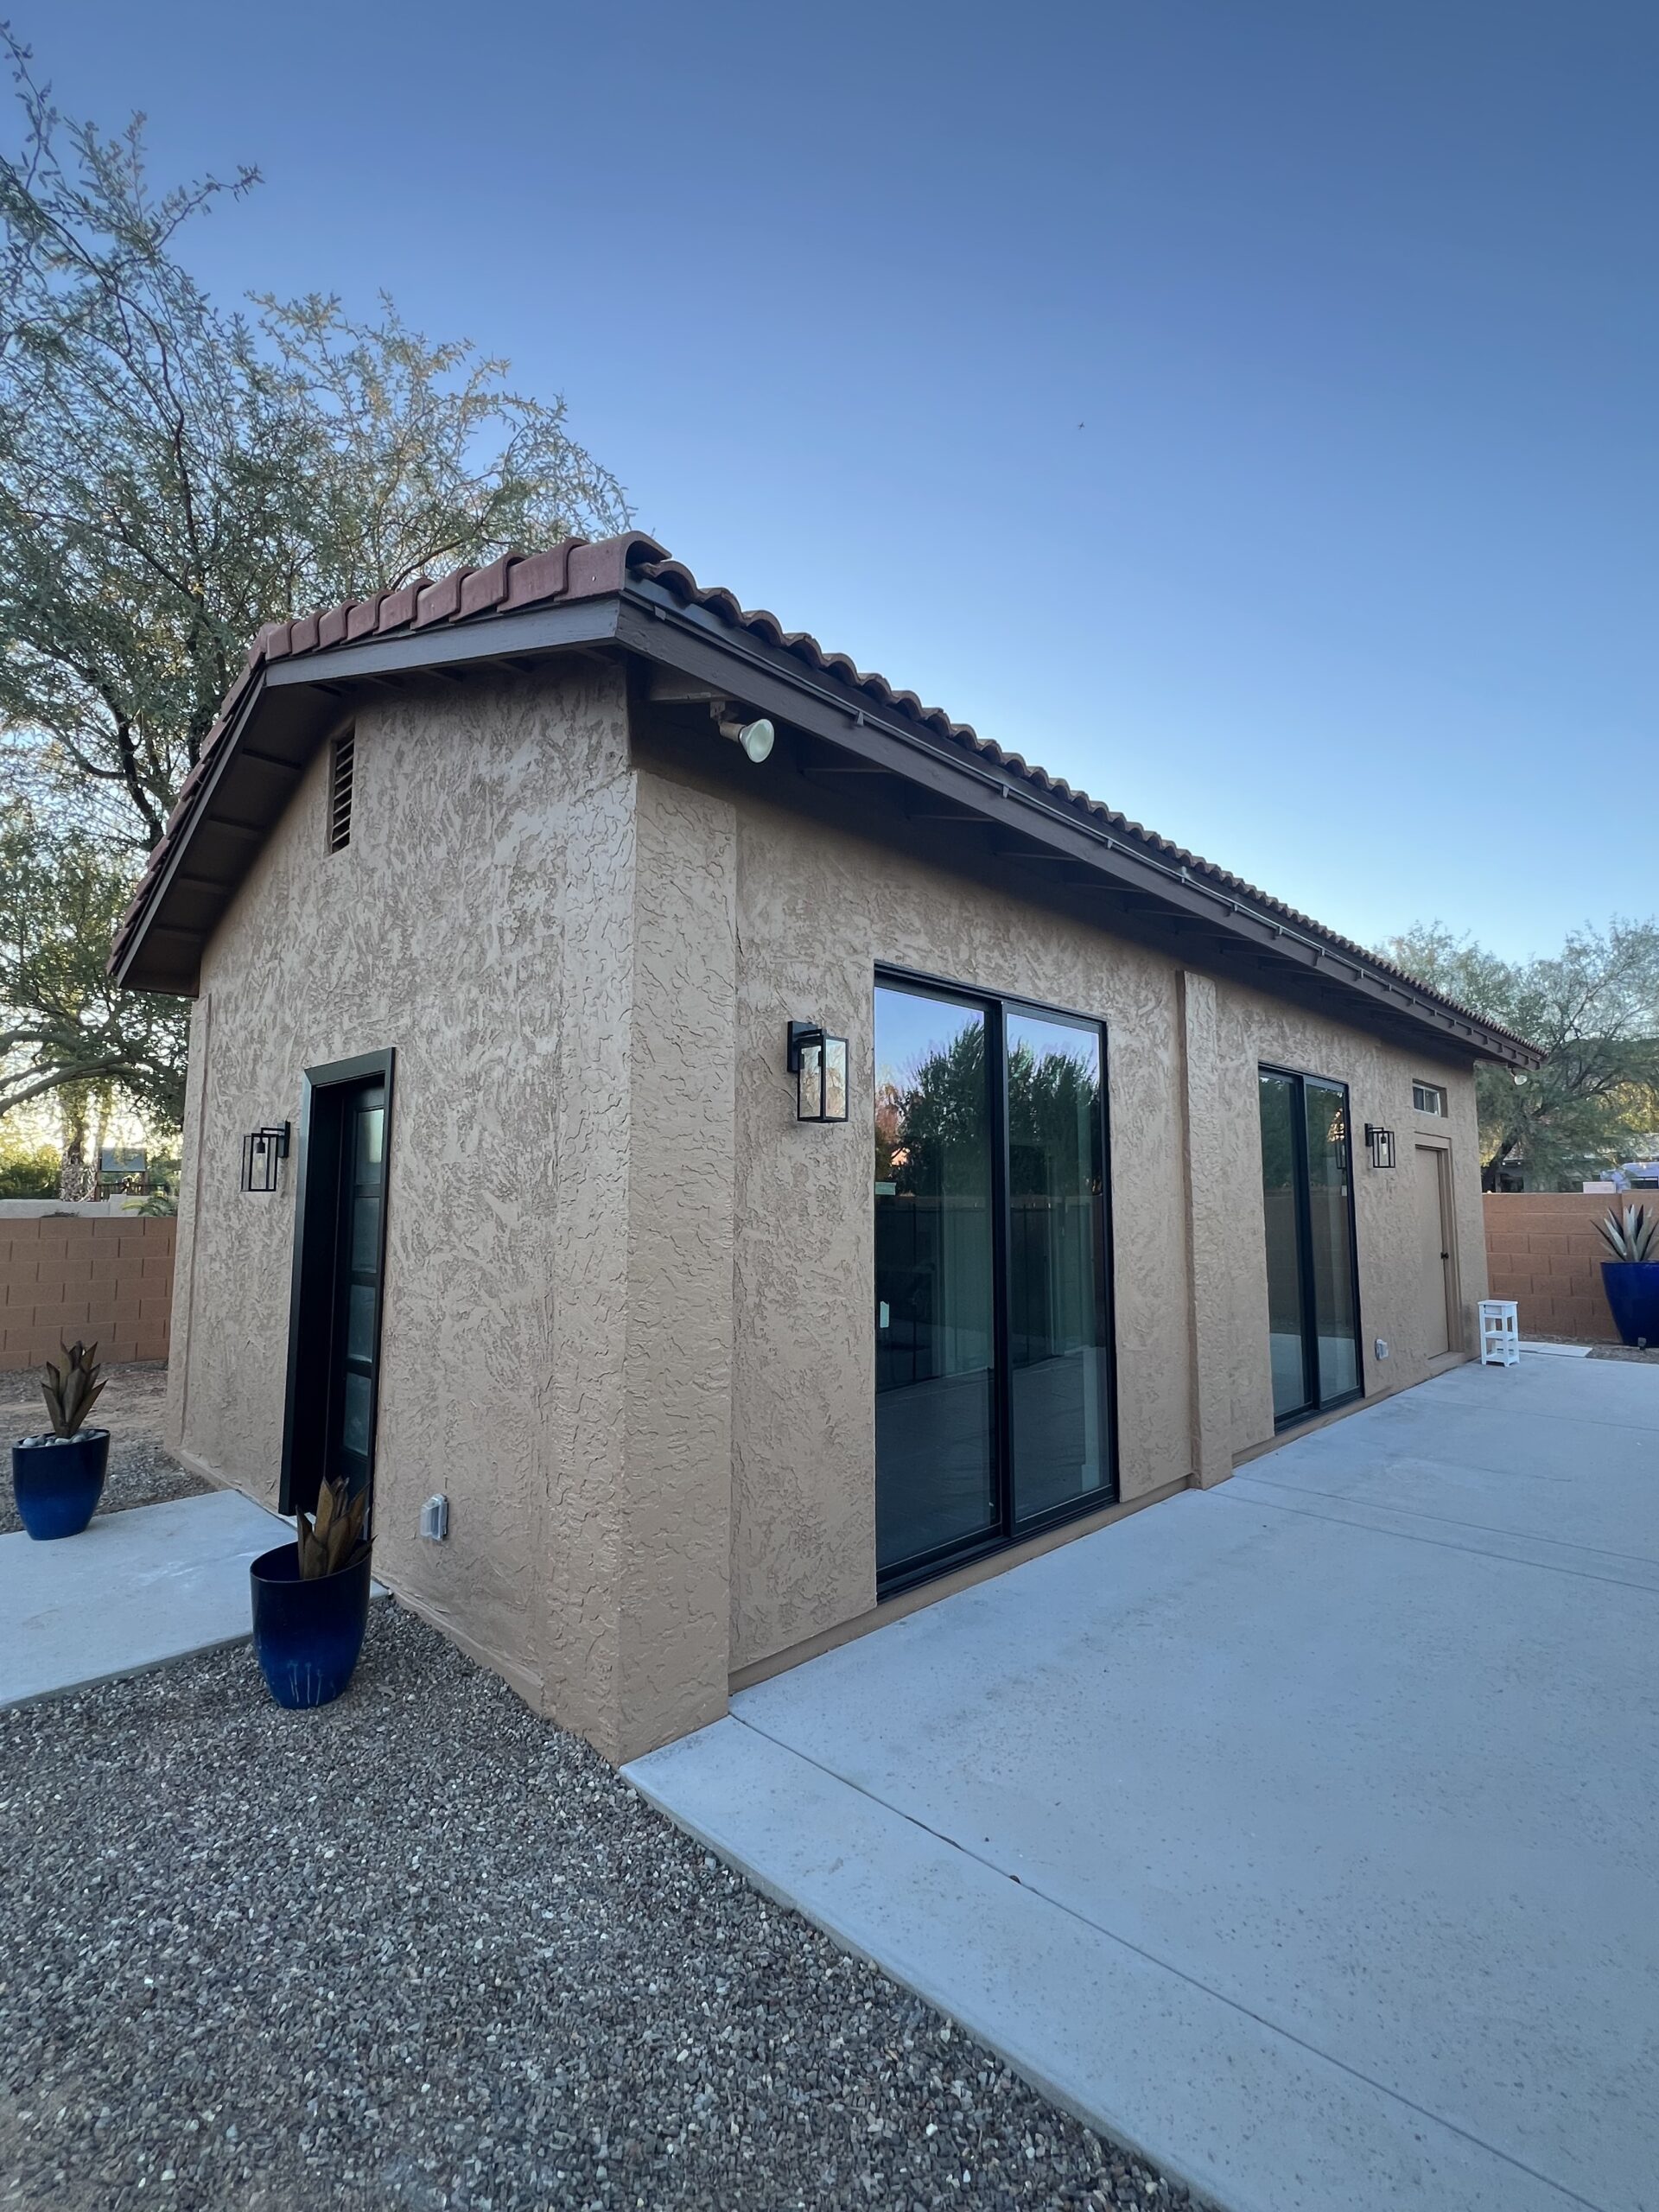
Plywood sheathing, straps and braces were completed and passed inspection. Sliding glass doors followed, bringing light and a view into the new living space.
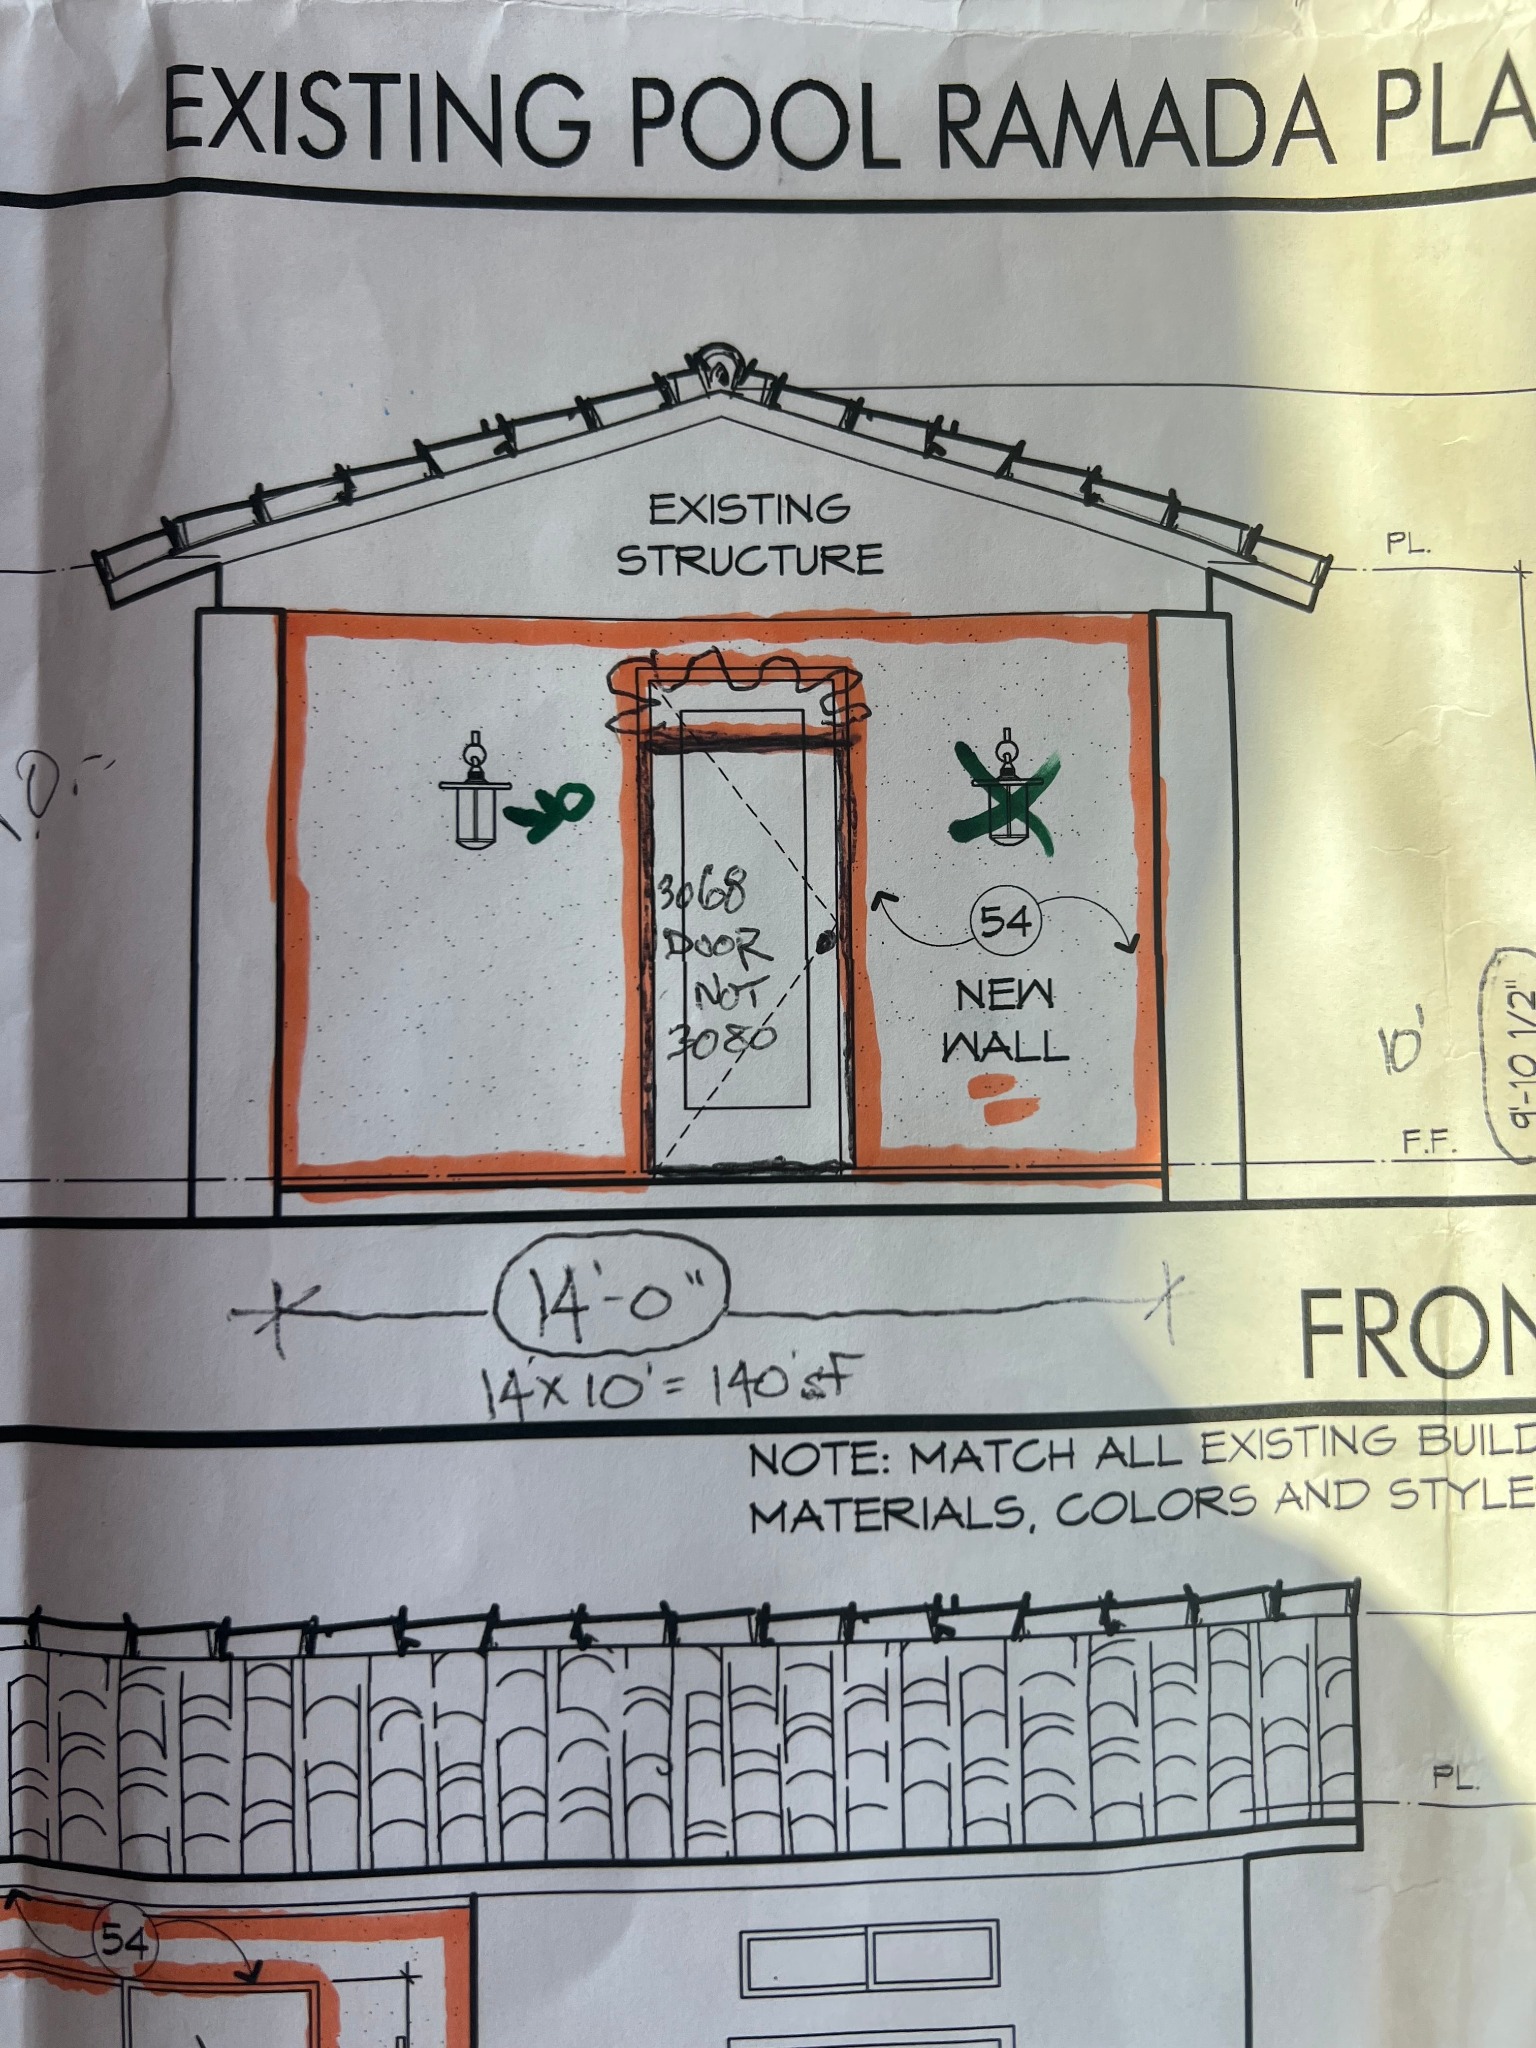
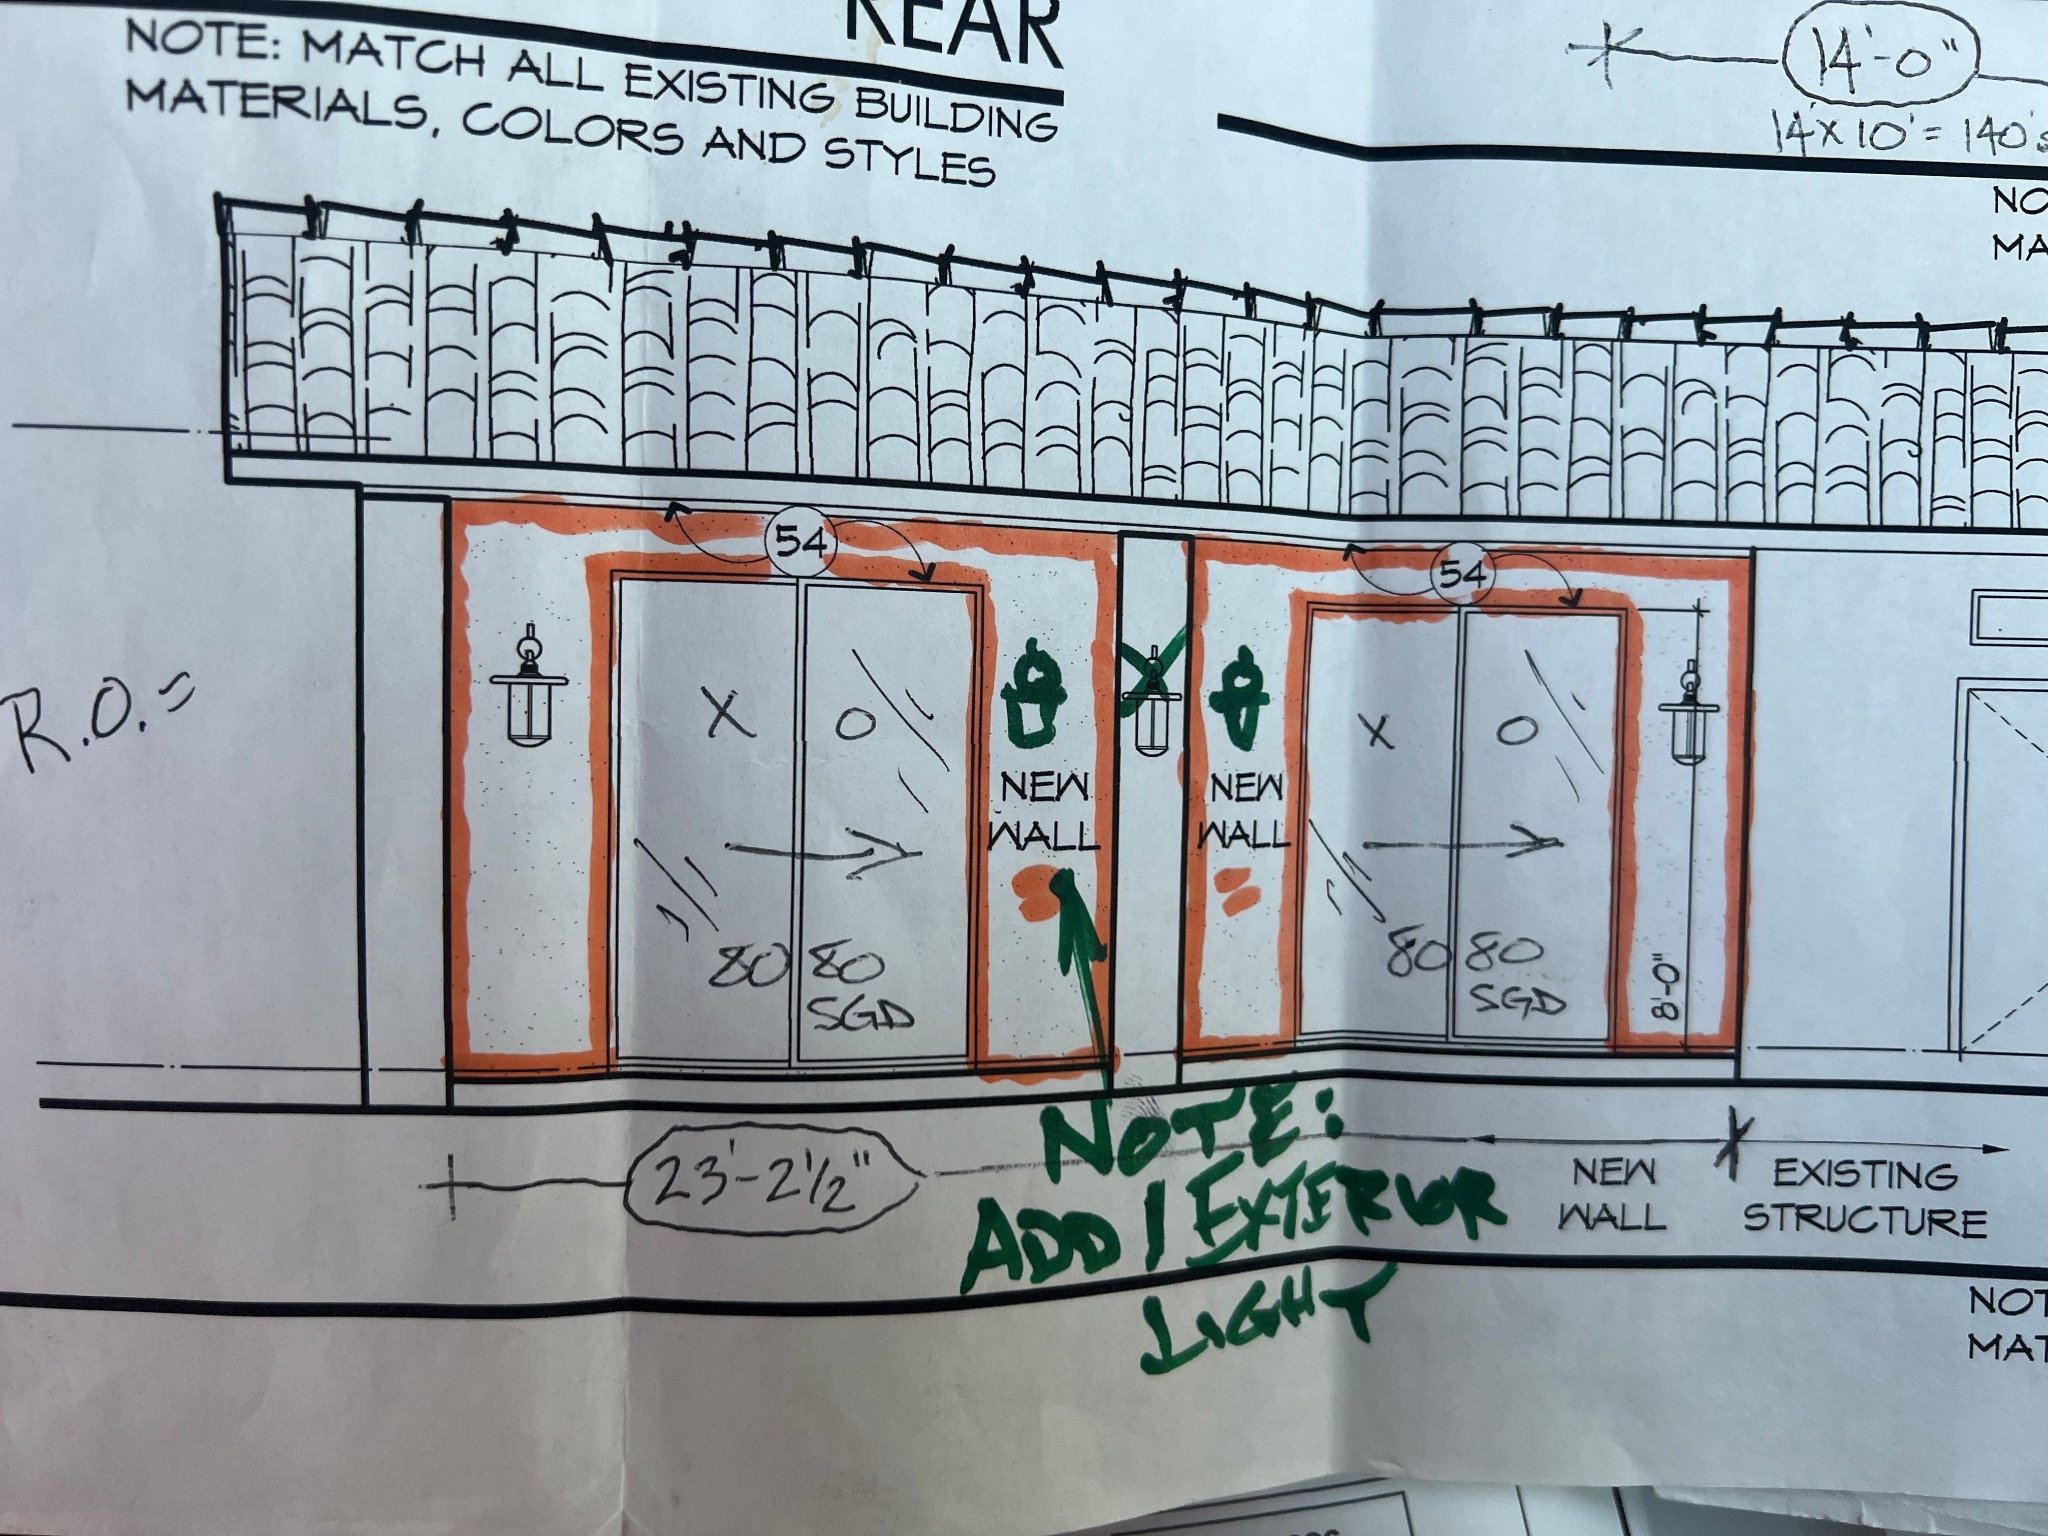
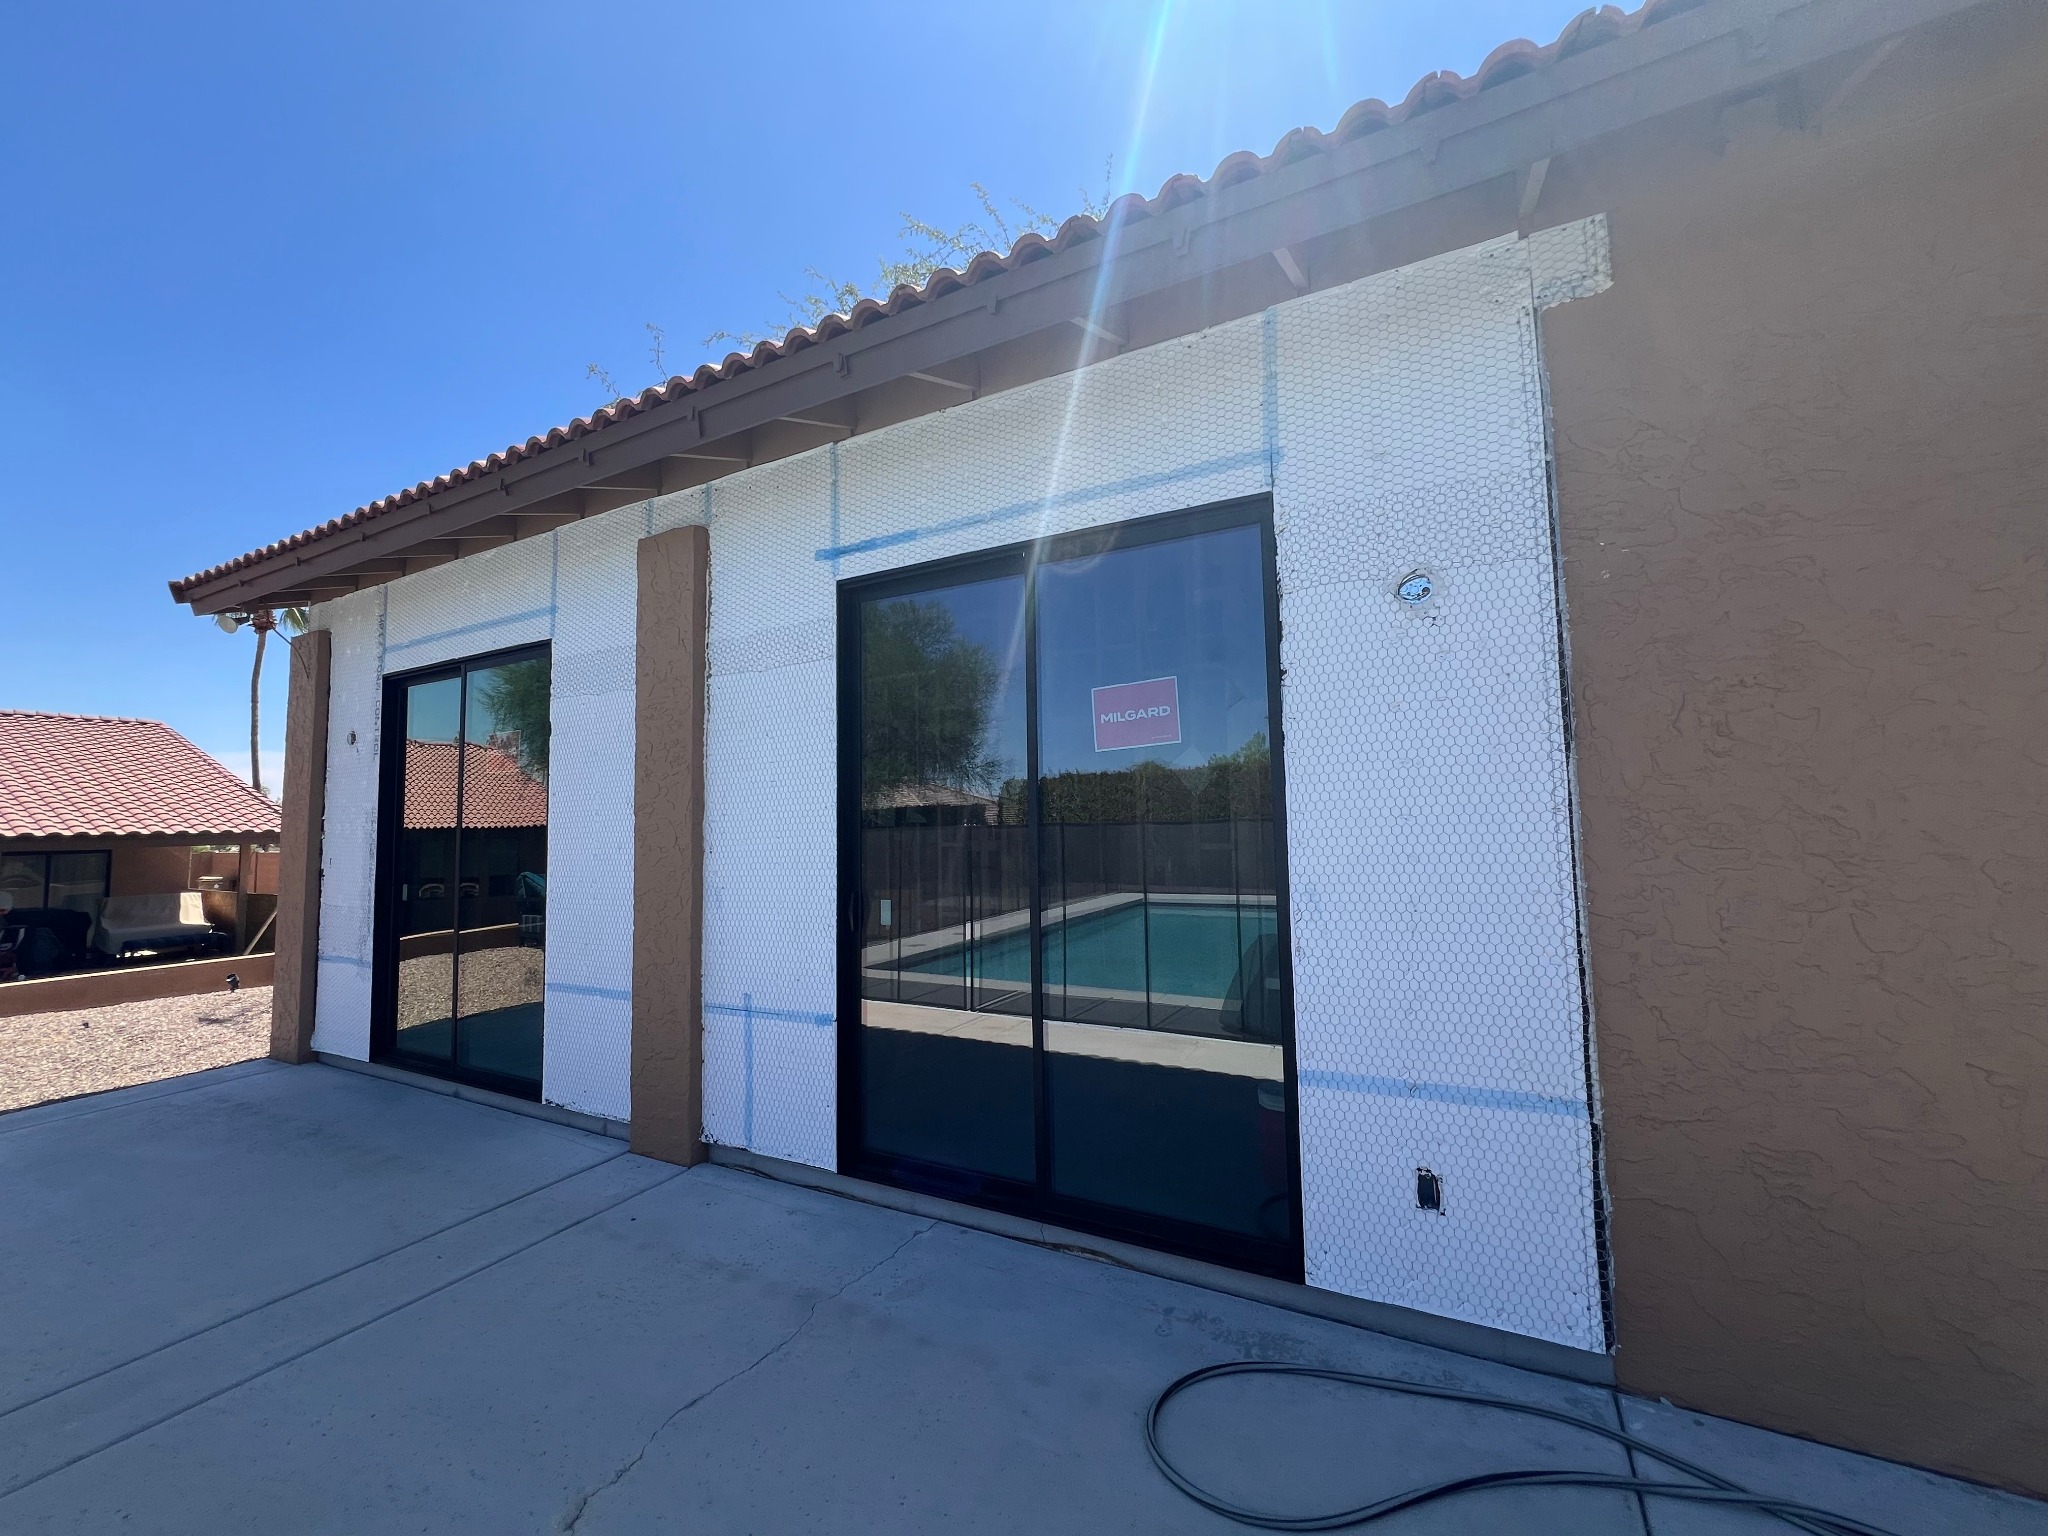
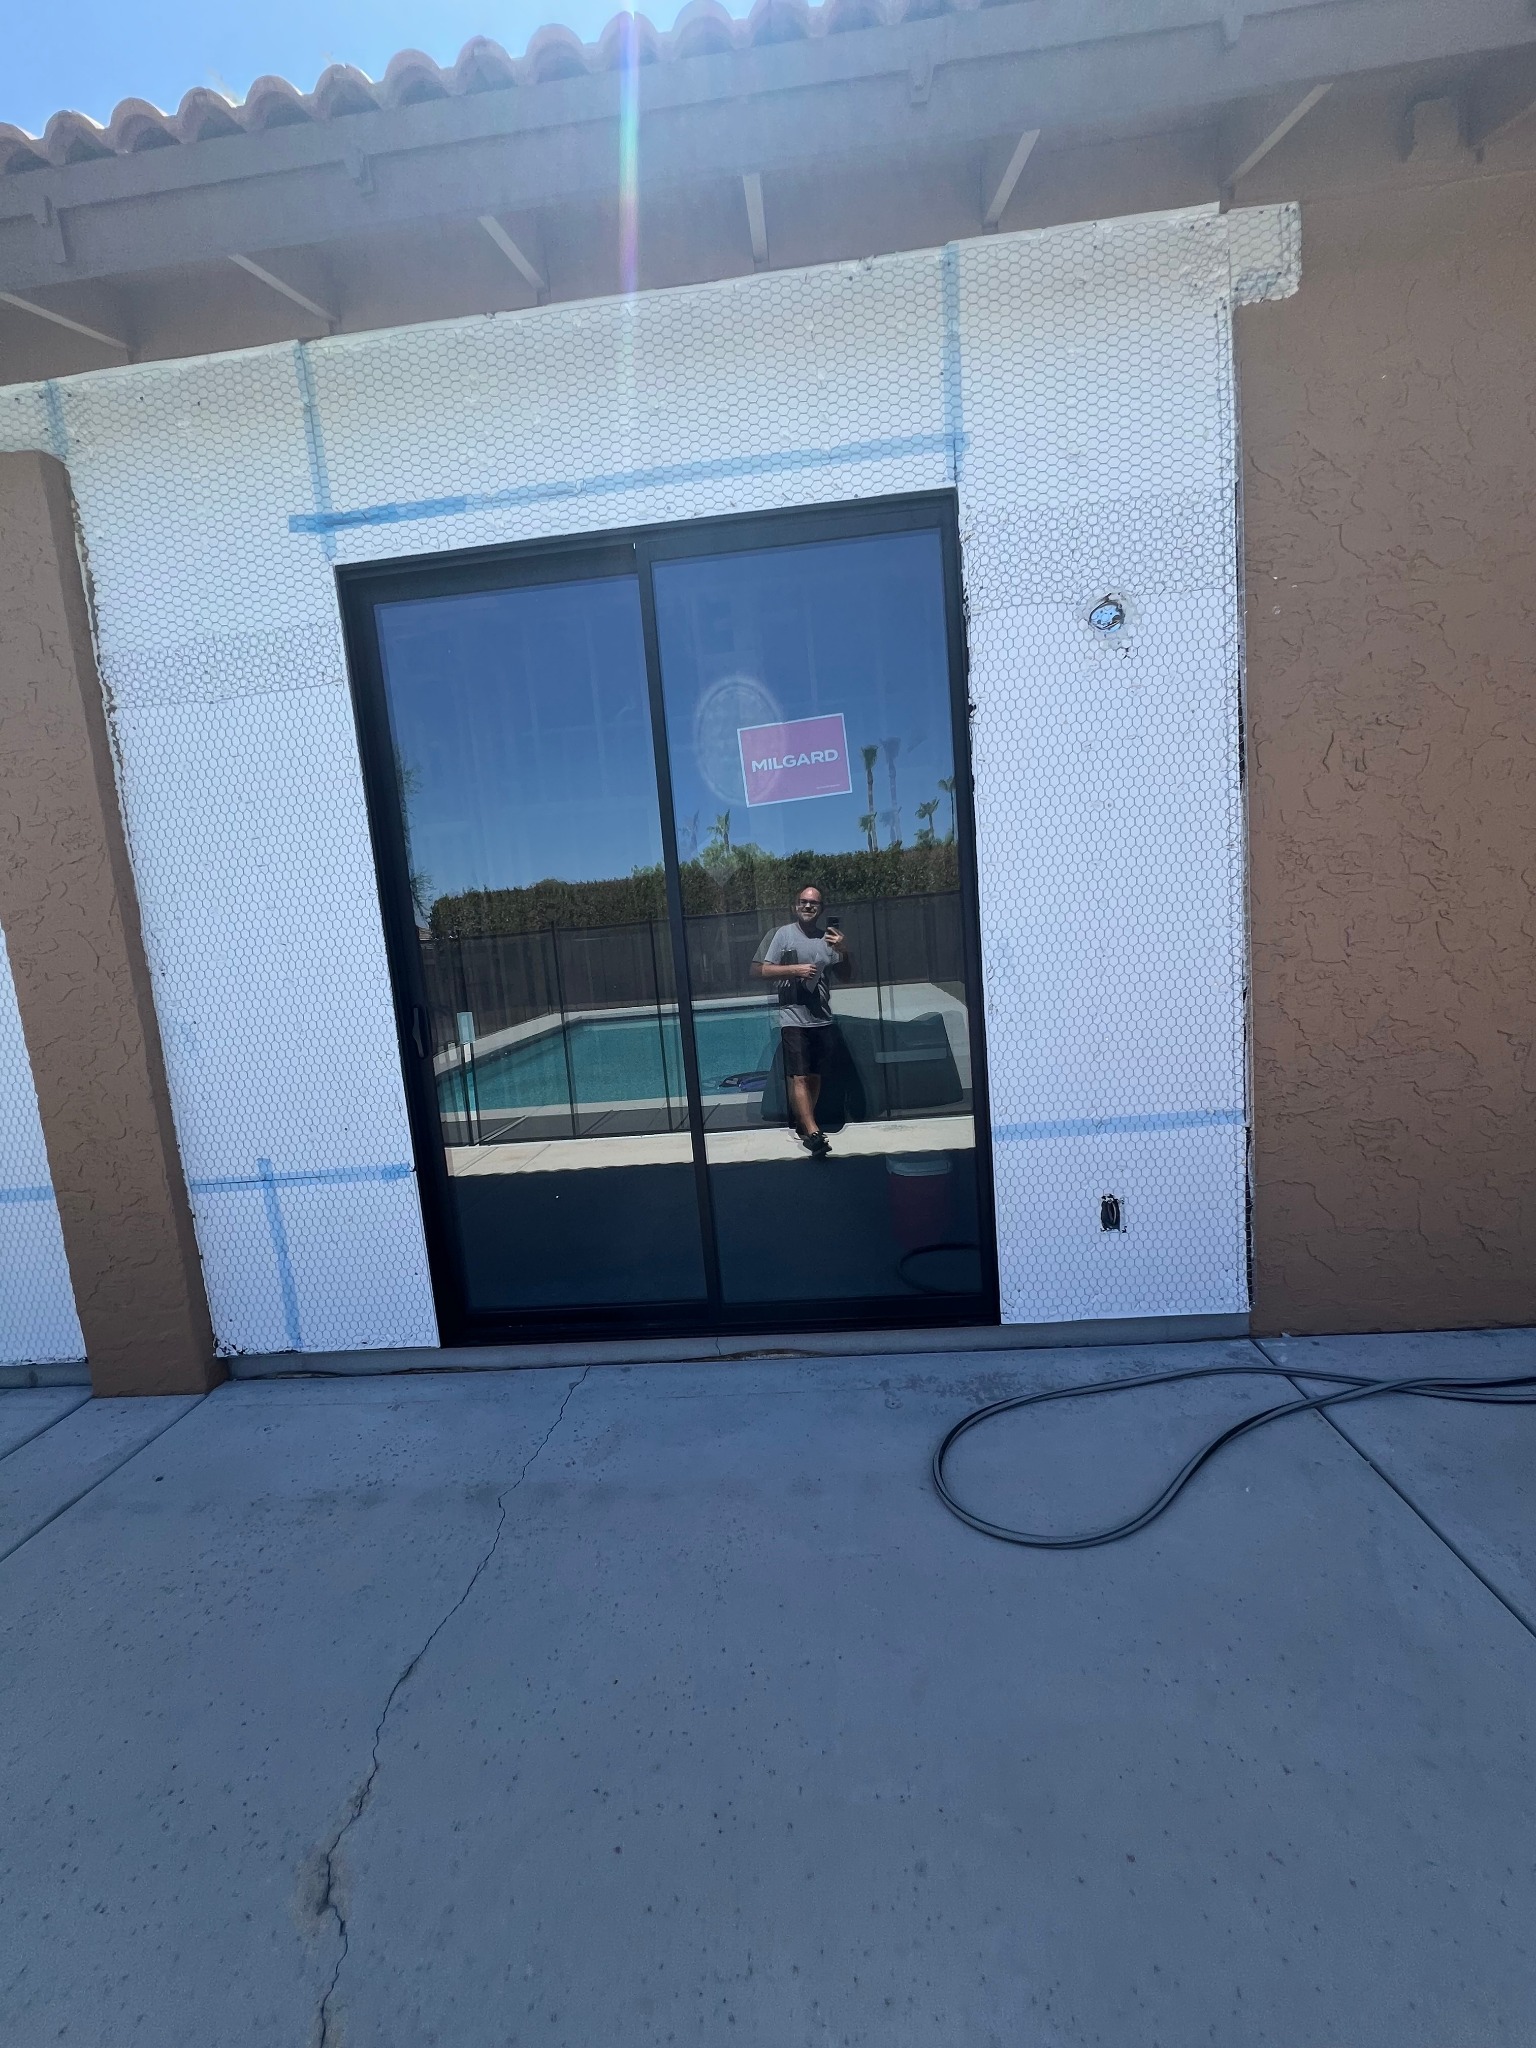
Rough-ins and the frame walk
Once electrical, mechanical and plumbing rough-ins were complete, we made the needed adjustments. Ed walked the project with the homeowners to confirm the design-to-build details. The pre-drywall inspection passed with another green tag from the city, and the completed frame walk set the stage for insulation and lath.
Lath, insulation and drywall
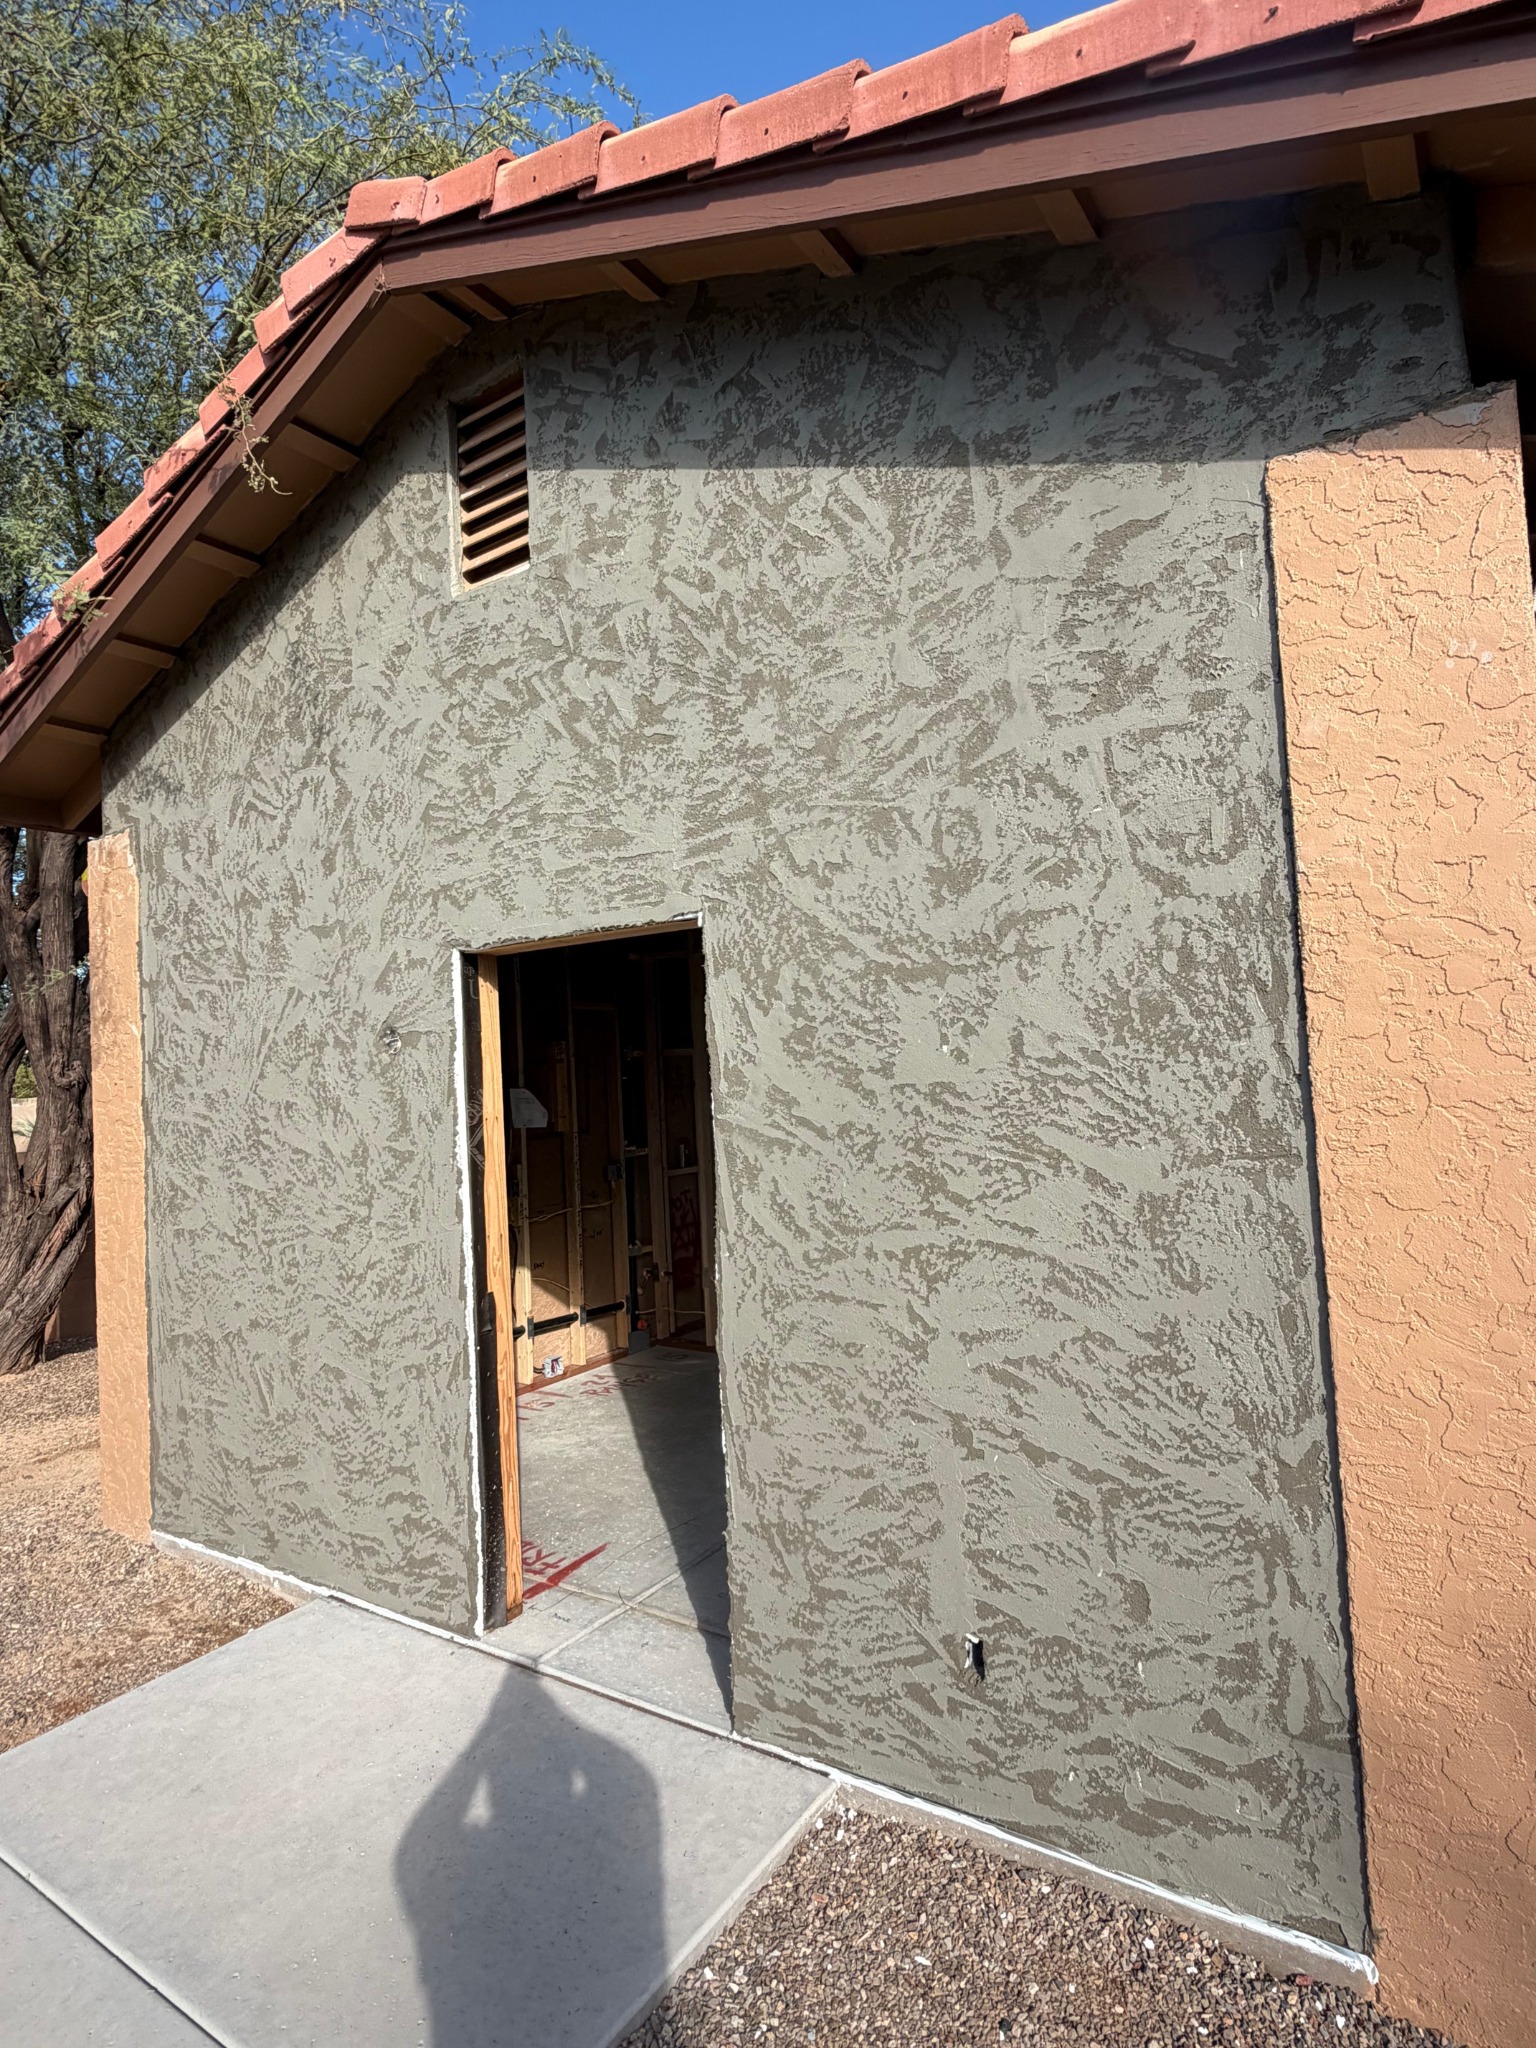
Lath installation and the lath nail inspection passed. Insulation and stucco brown coat followed, with inspections at each required stage. The ADU was starting to look like a finished casita.
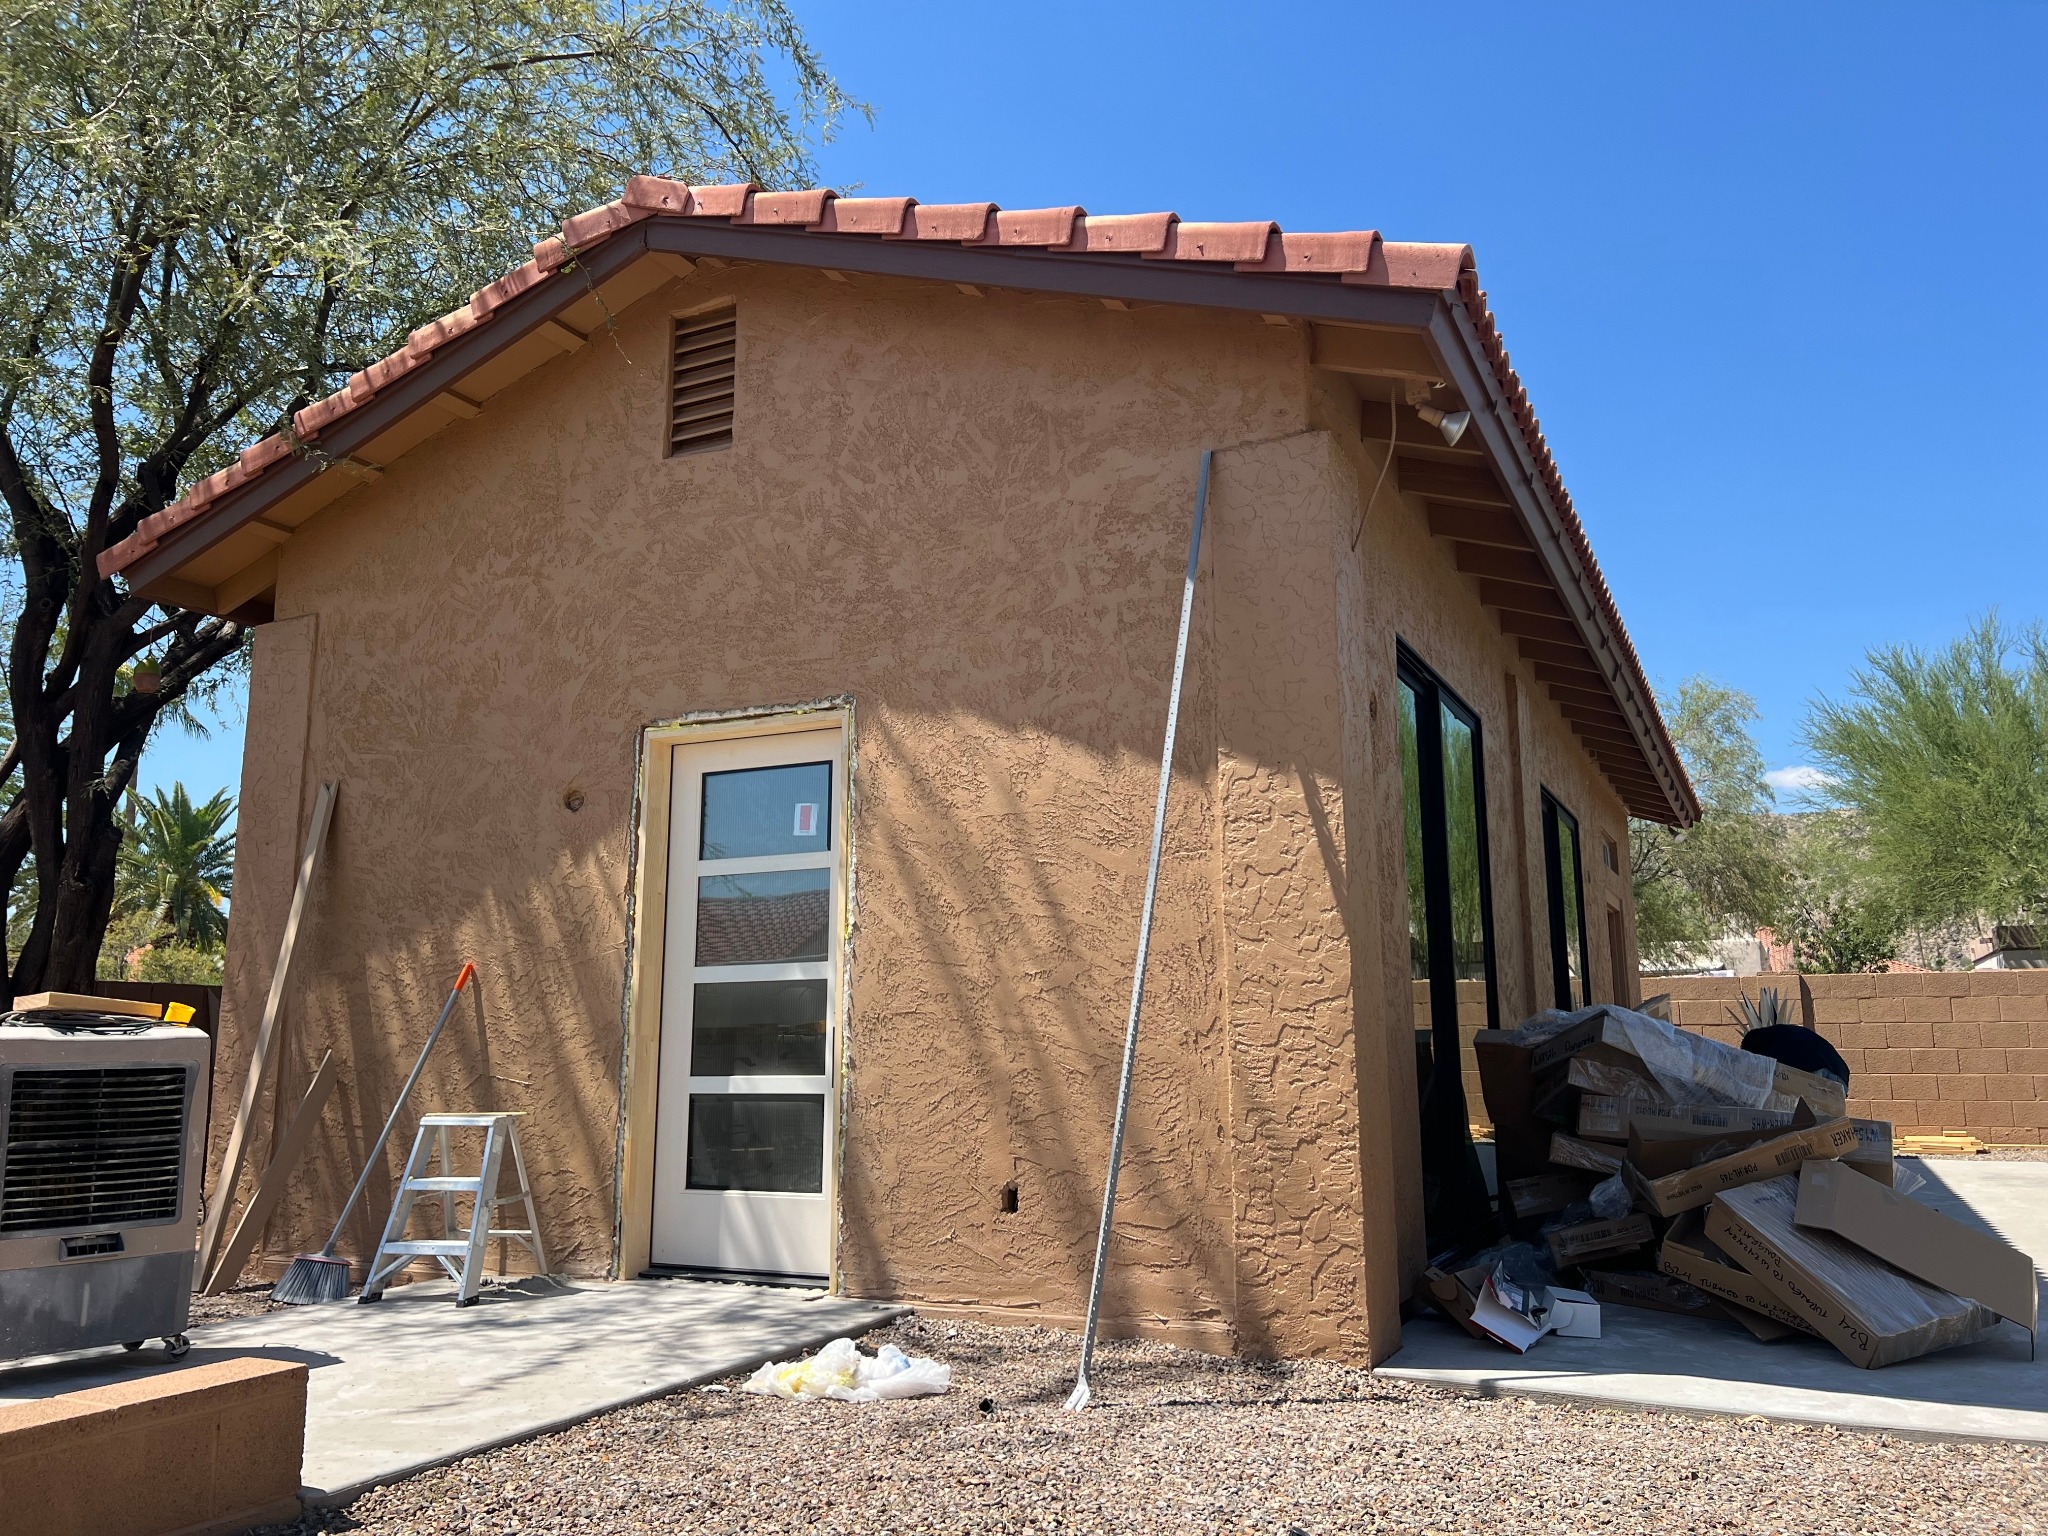
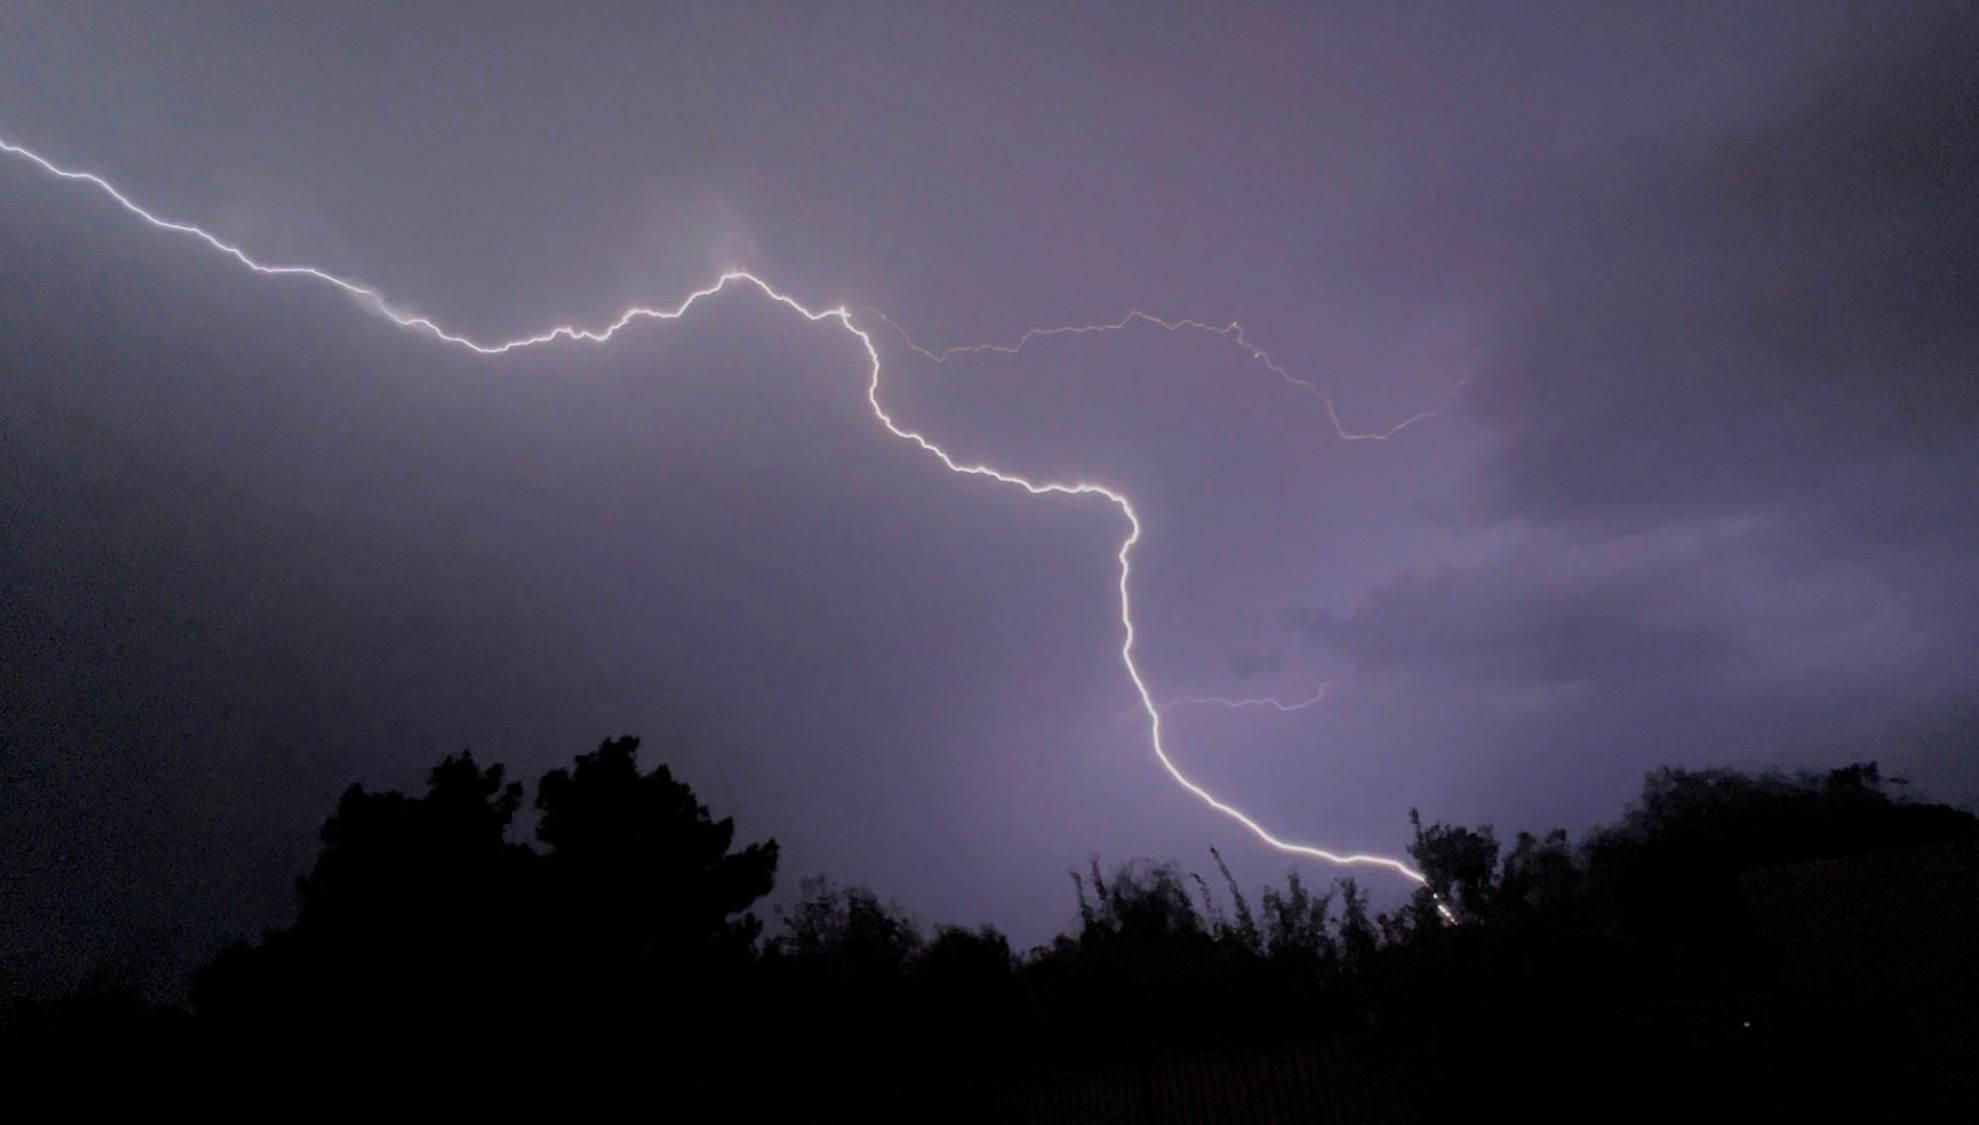
Drywall delivery before painting
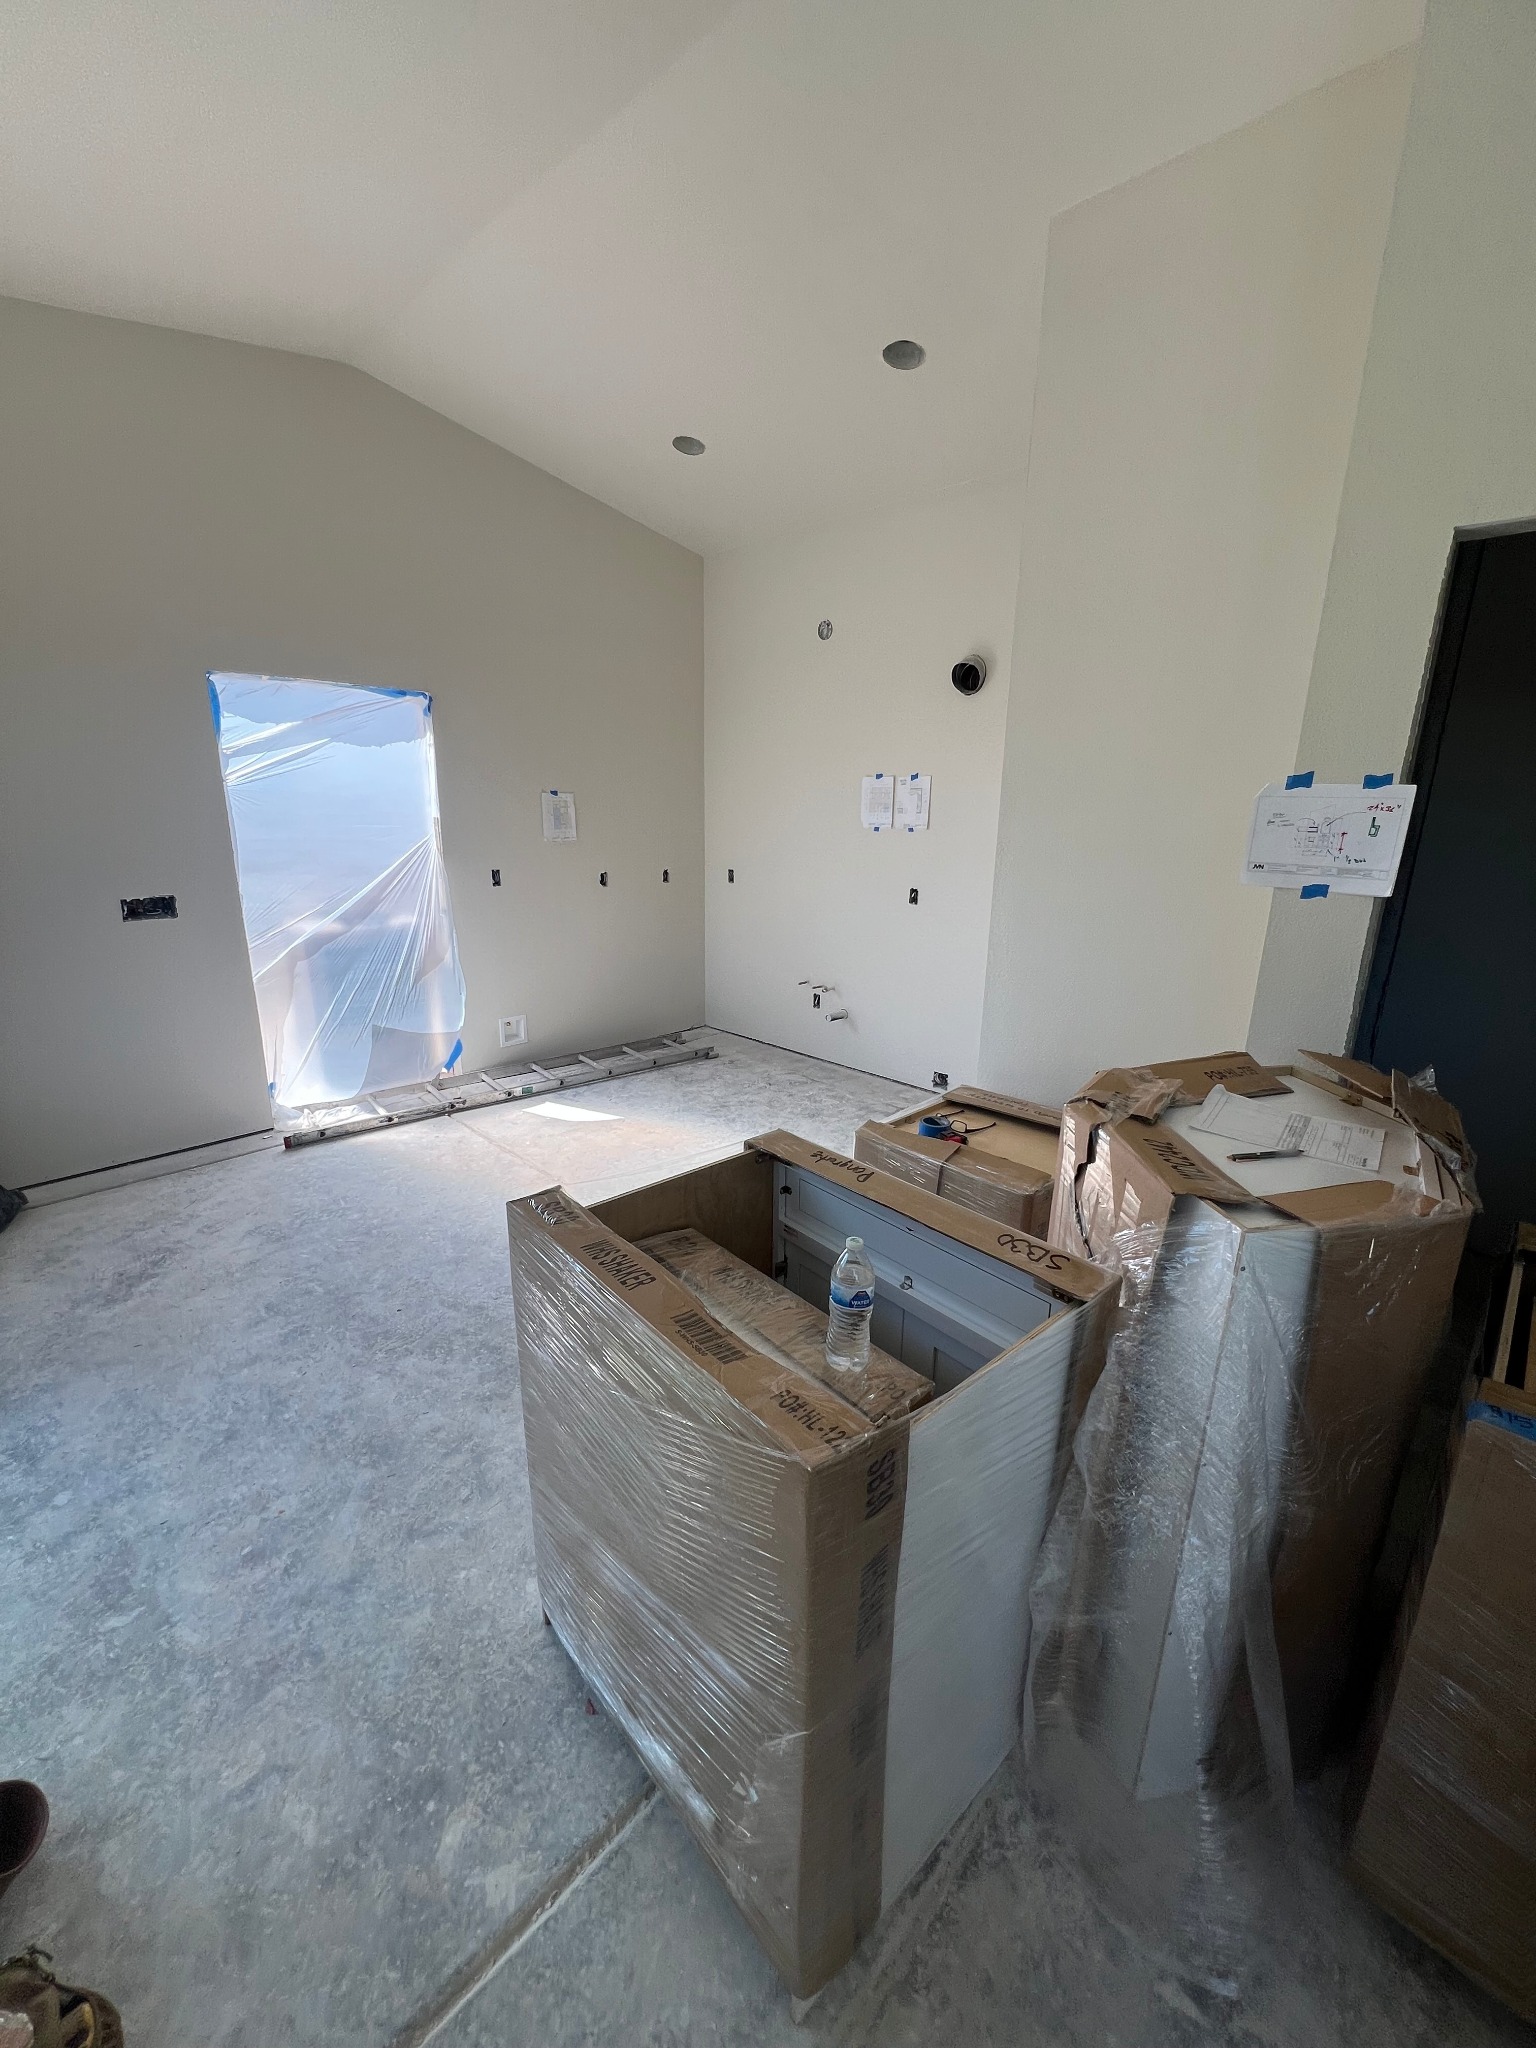
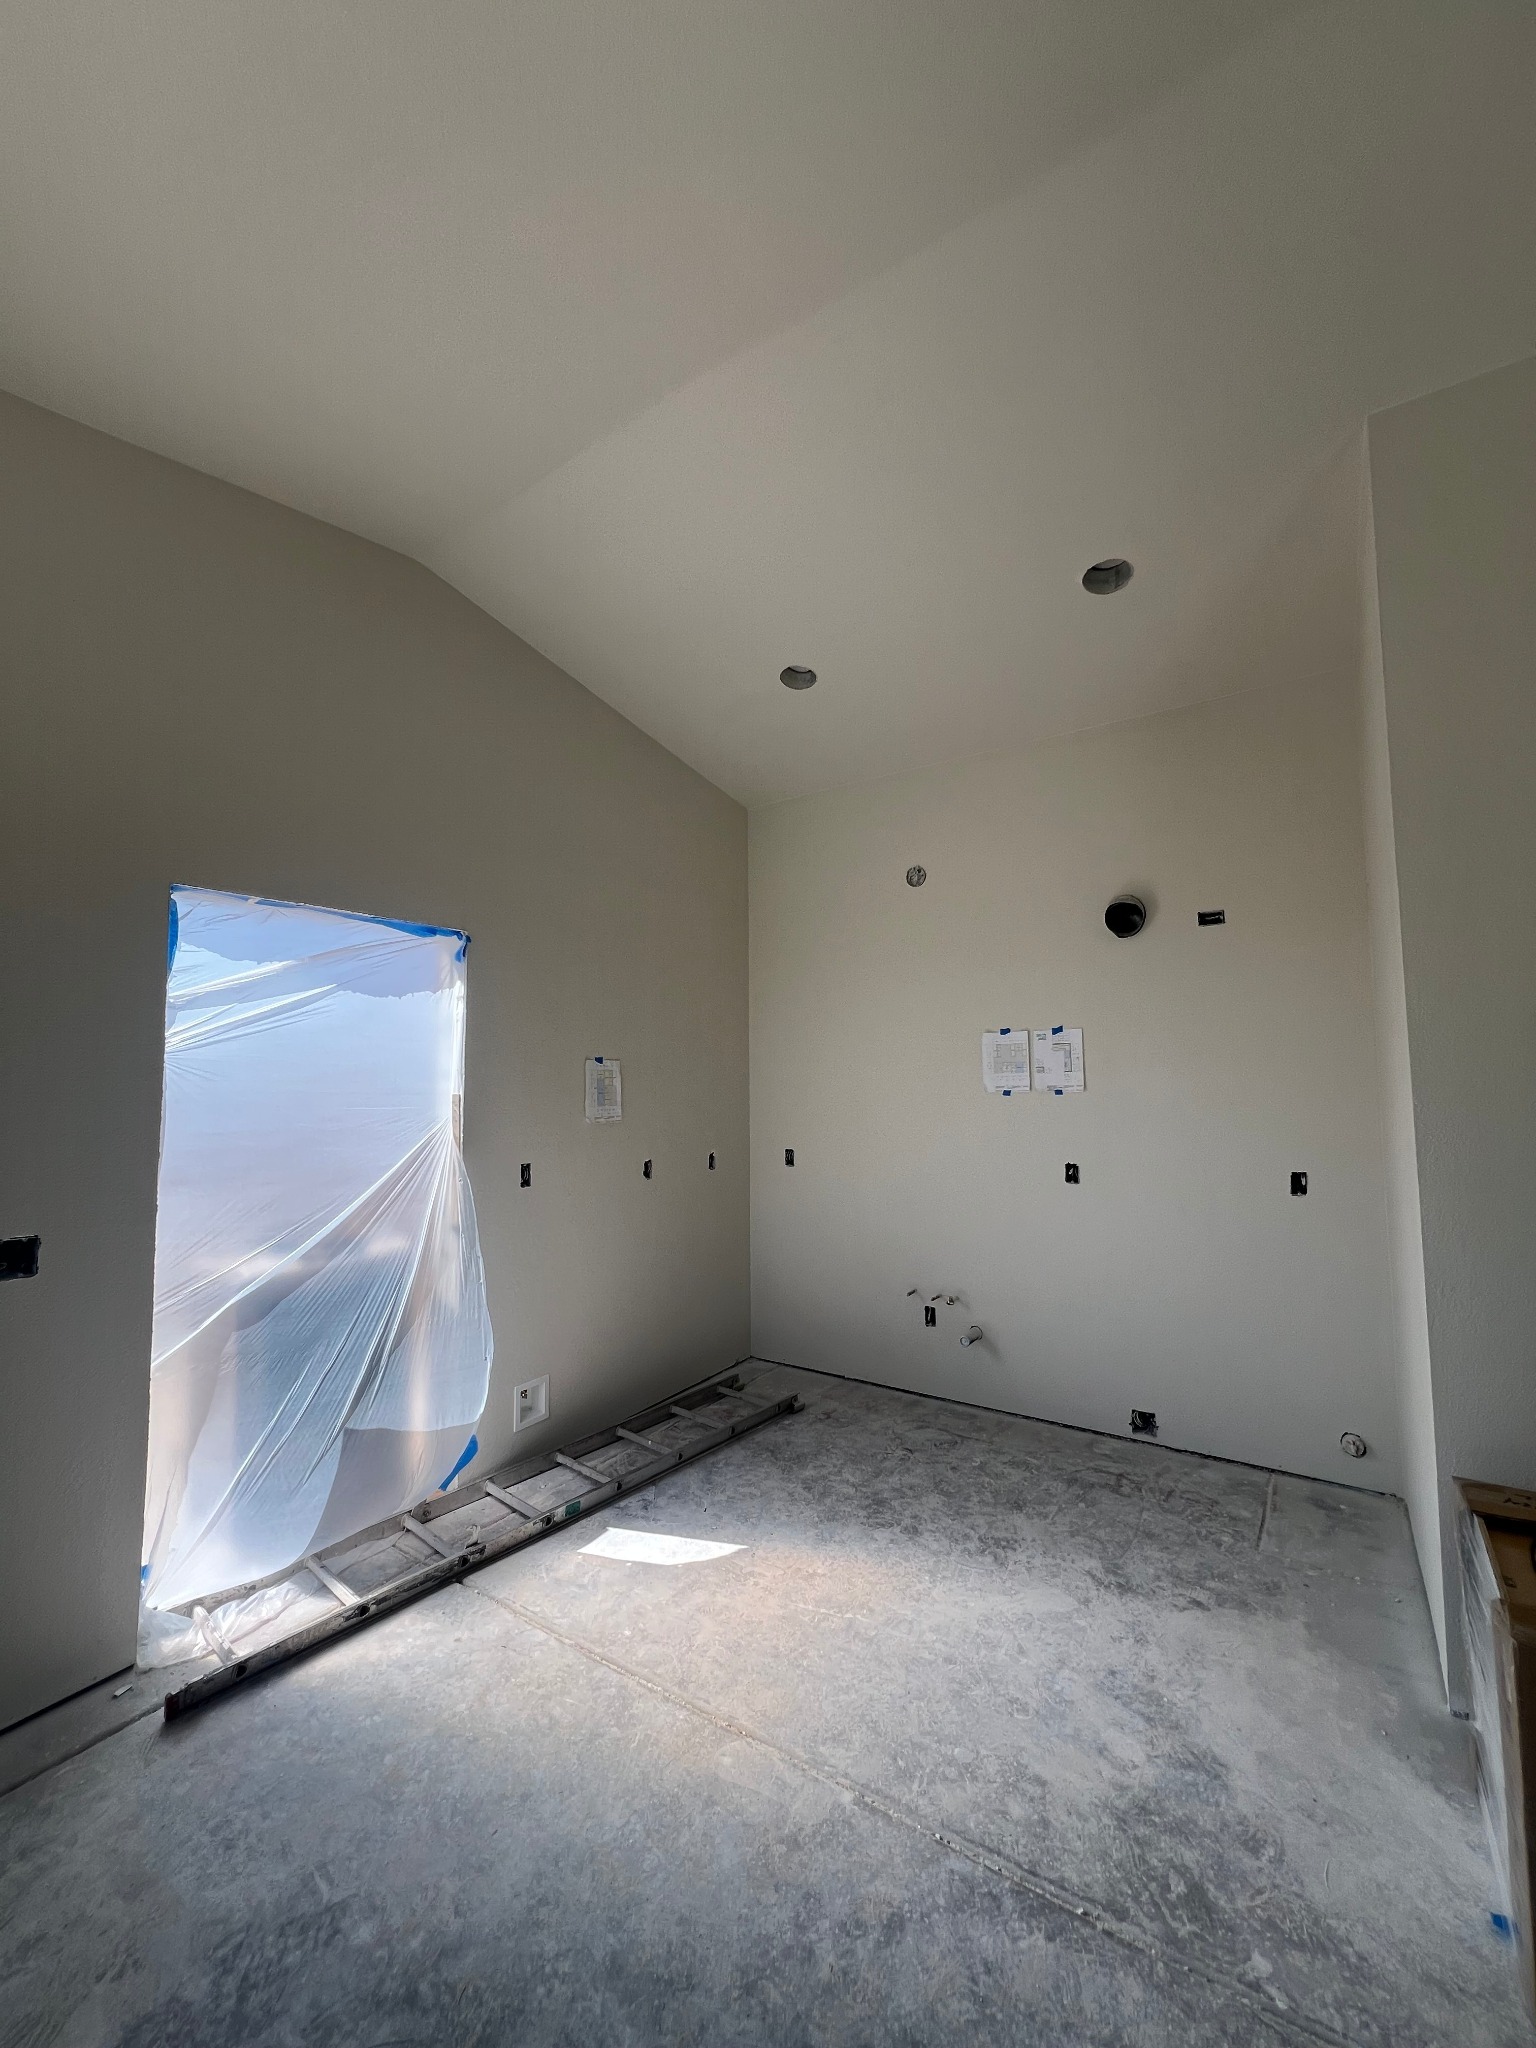
Drywall delivery with the boom, boom, boom! We watch Arizona weather carefully when scheduling materials. We do not want drywall delivered in the rain, and we put every effort into installing quality materials correctly the first time. The insulation and drywall nail inspections passed as the interior moved toward painting and finishes.
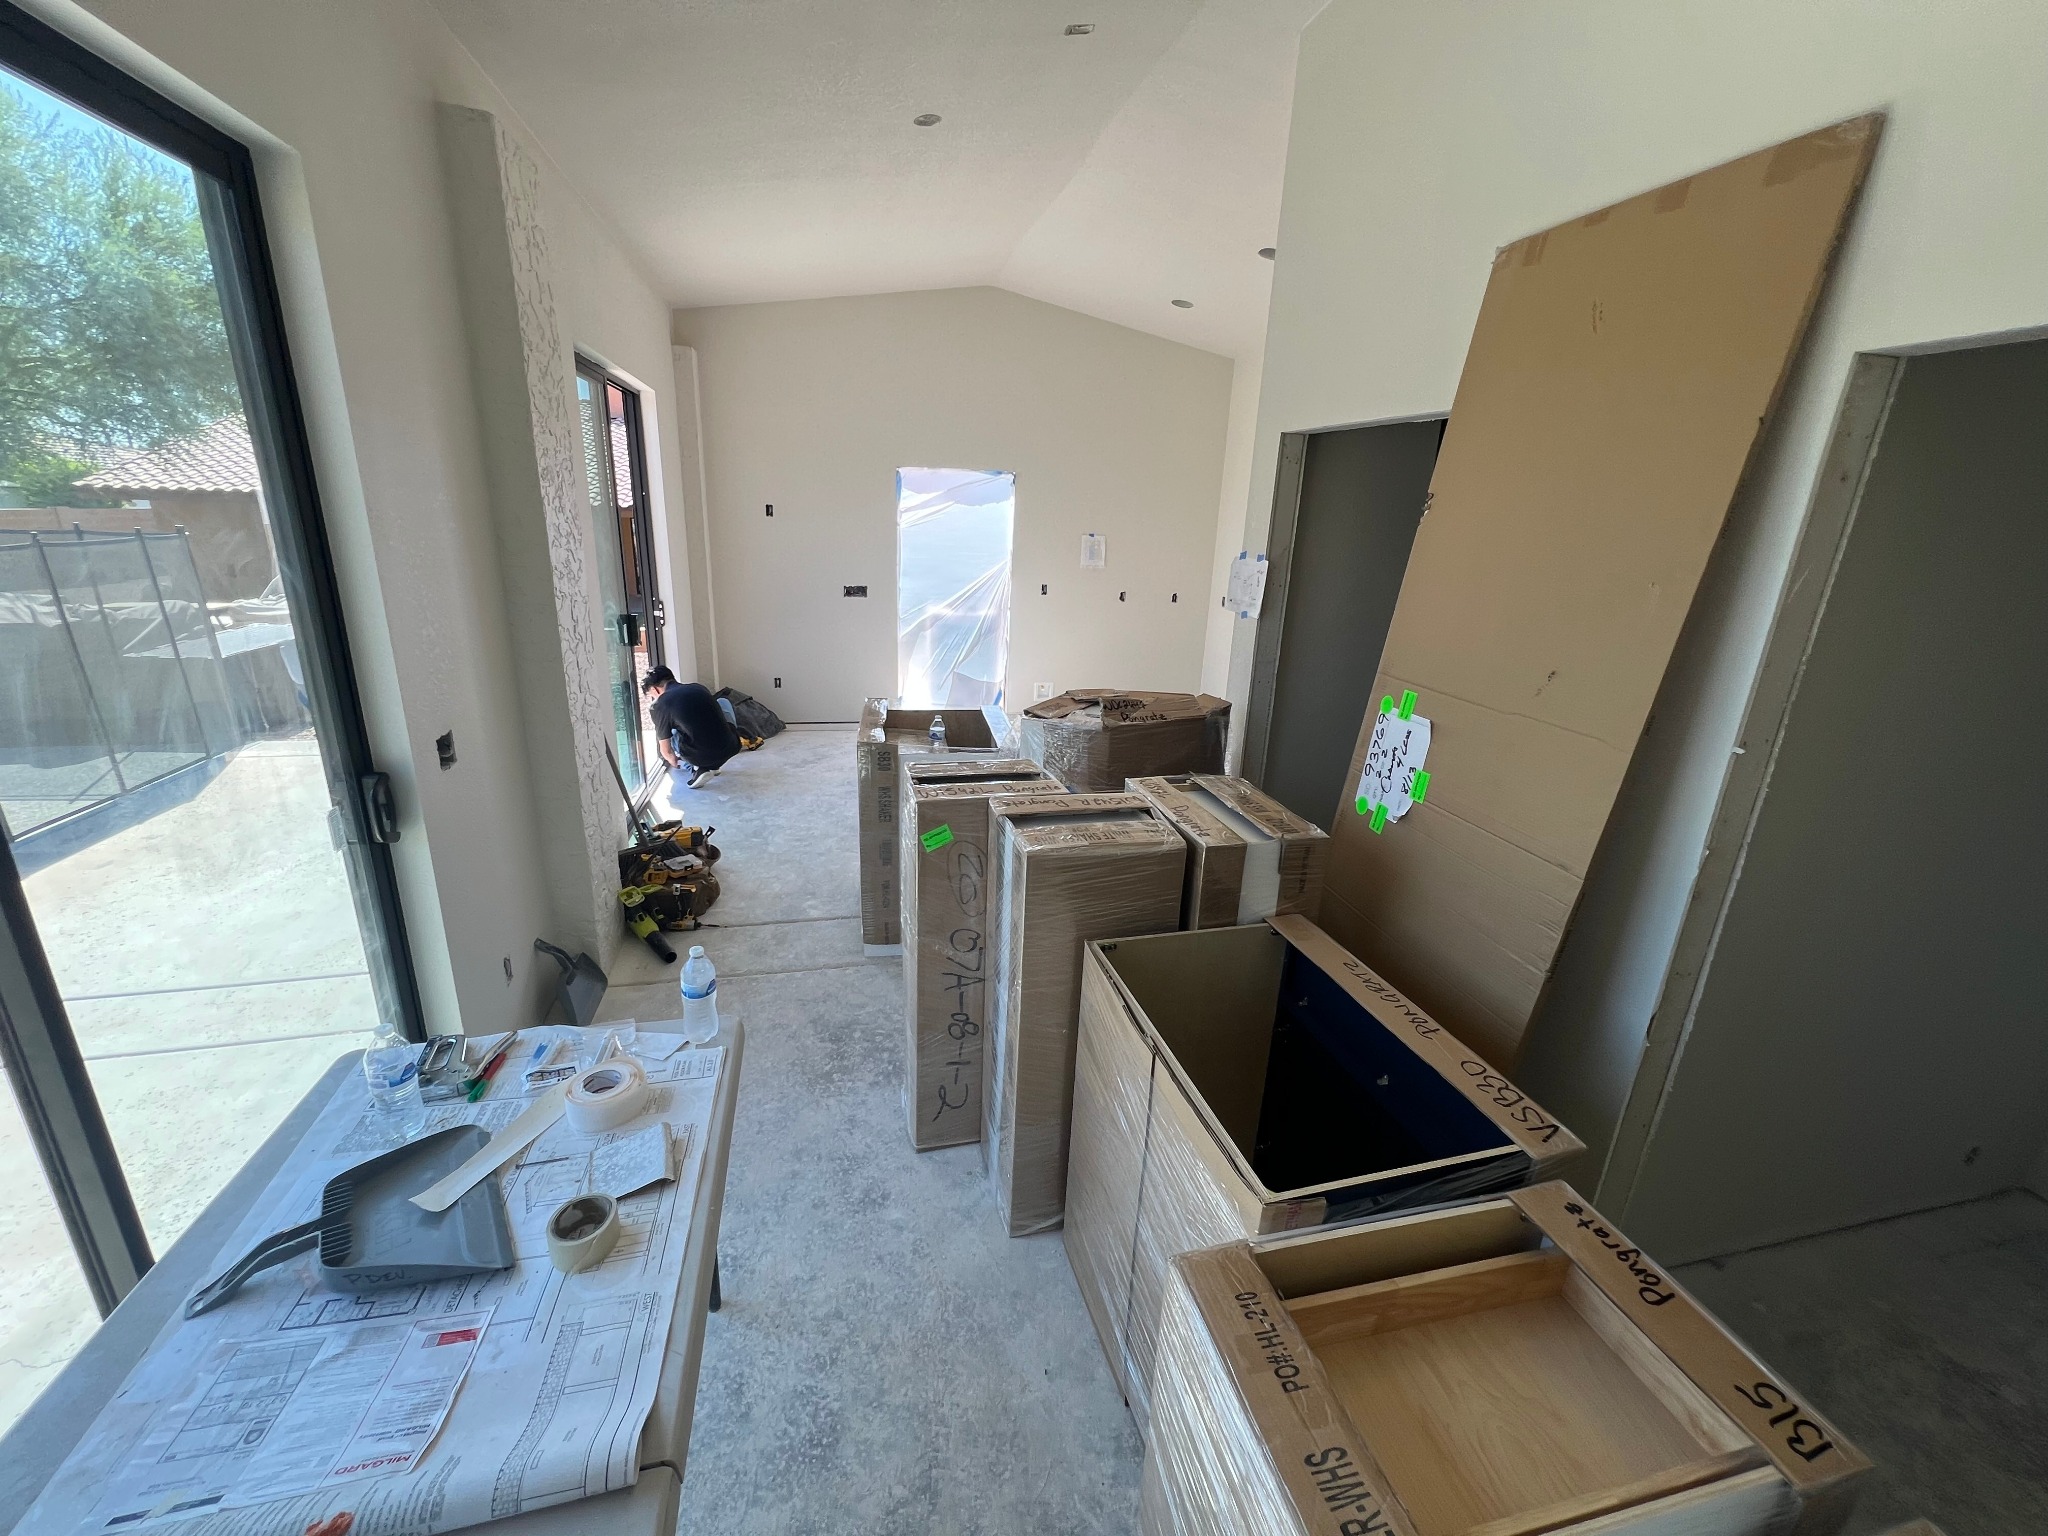
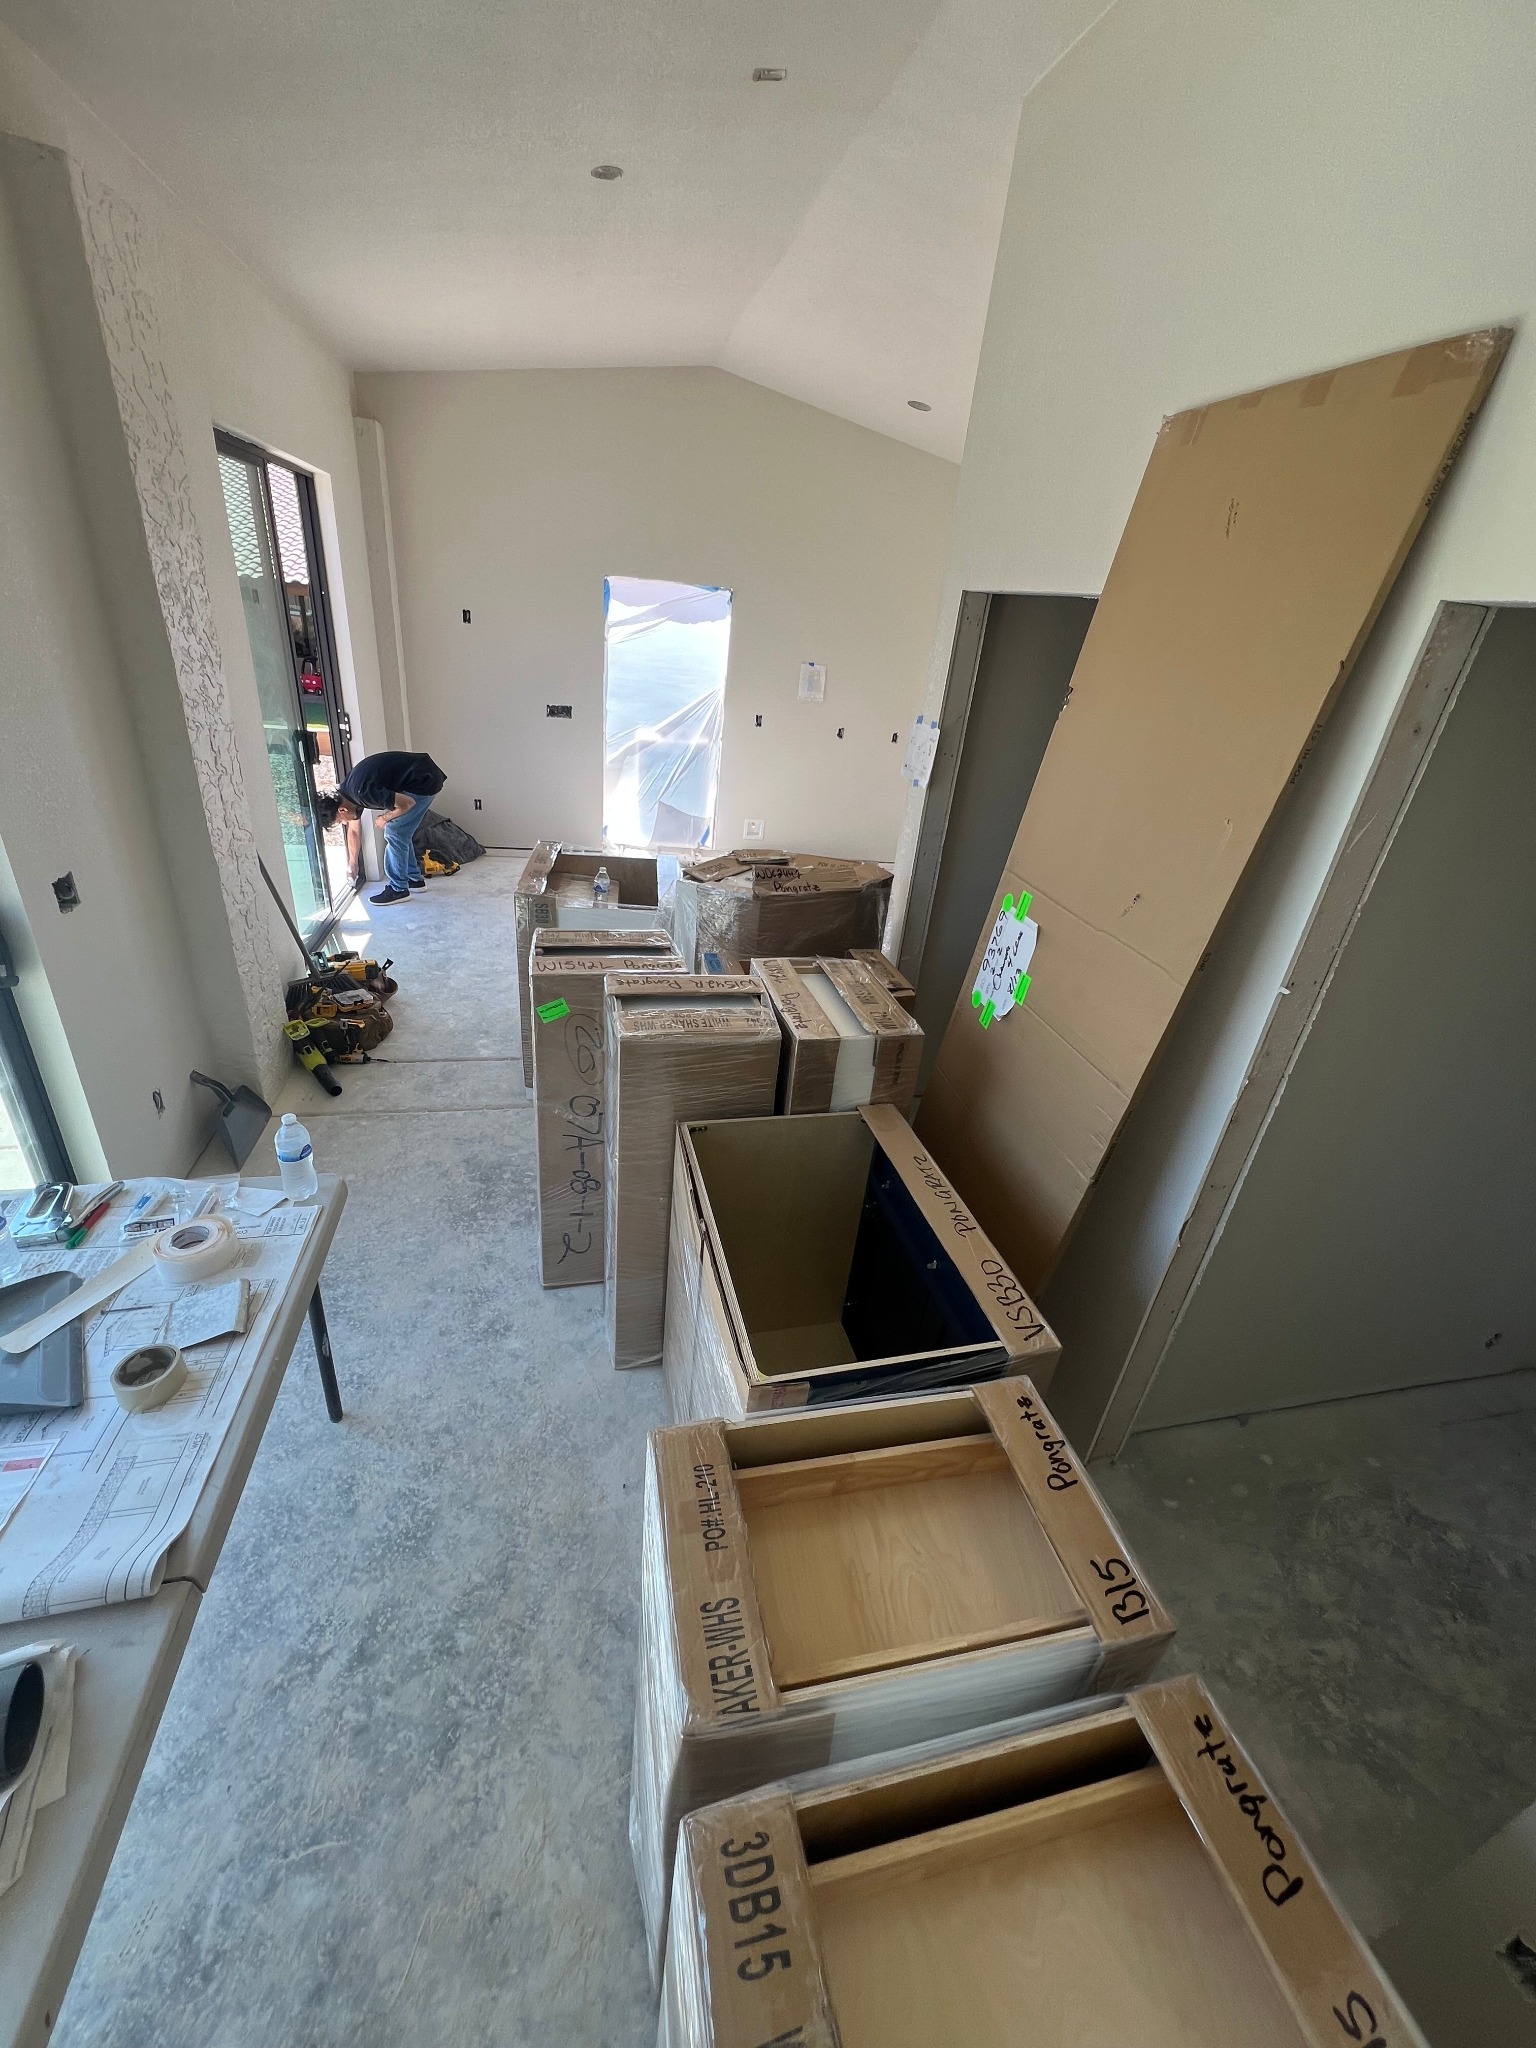
Cabinets, countertops and kitchen layout
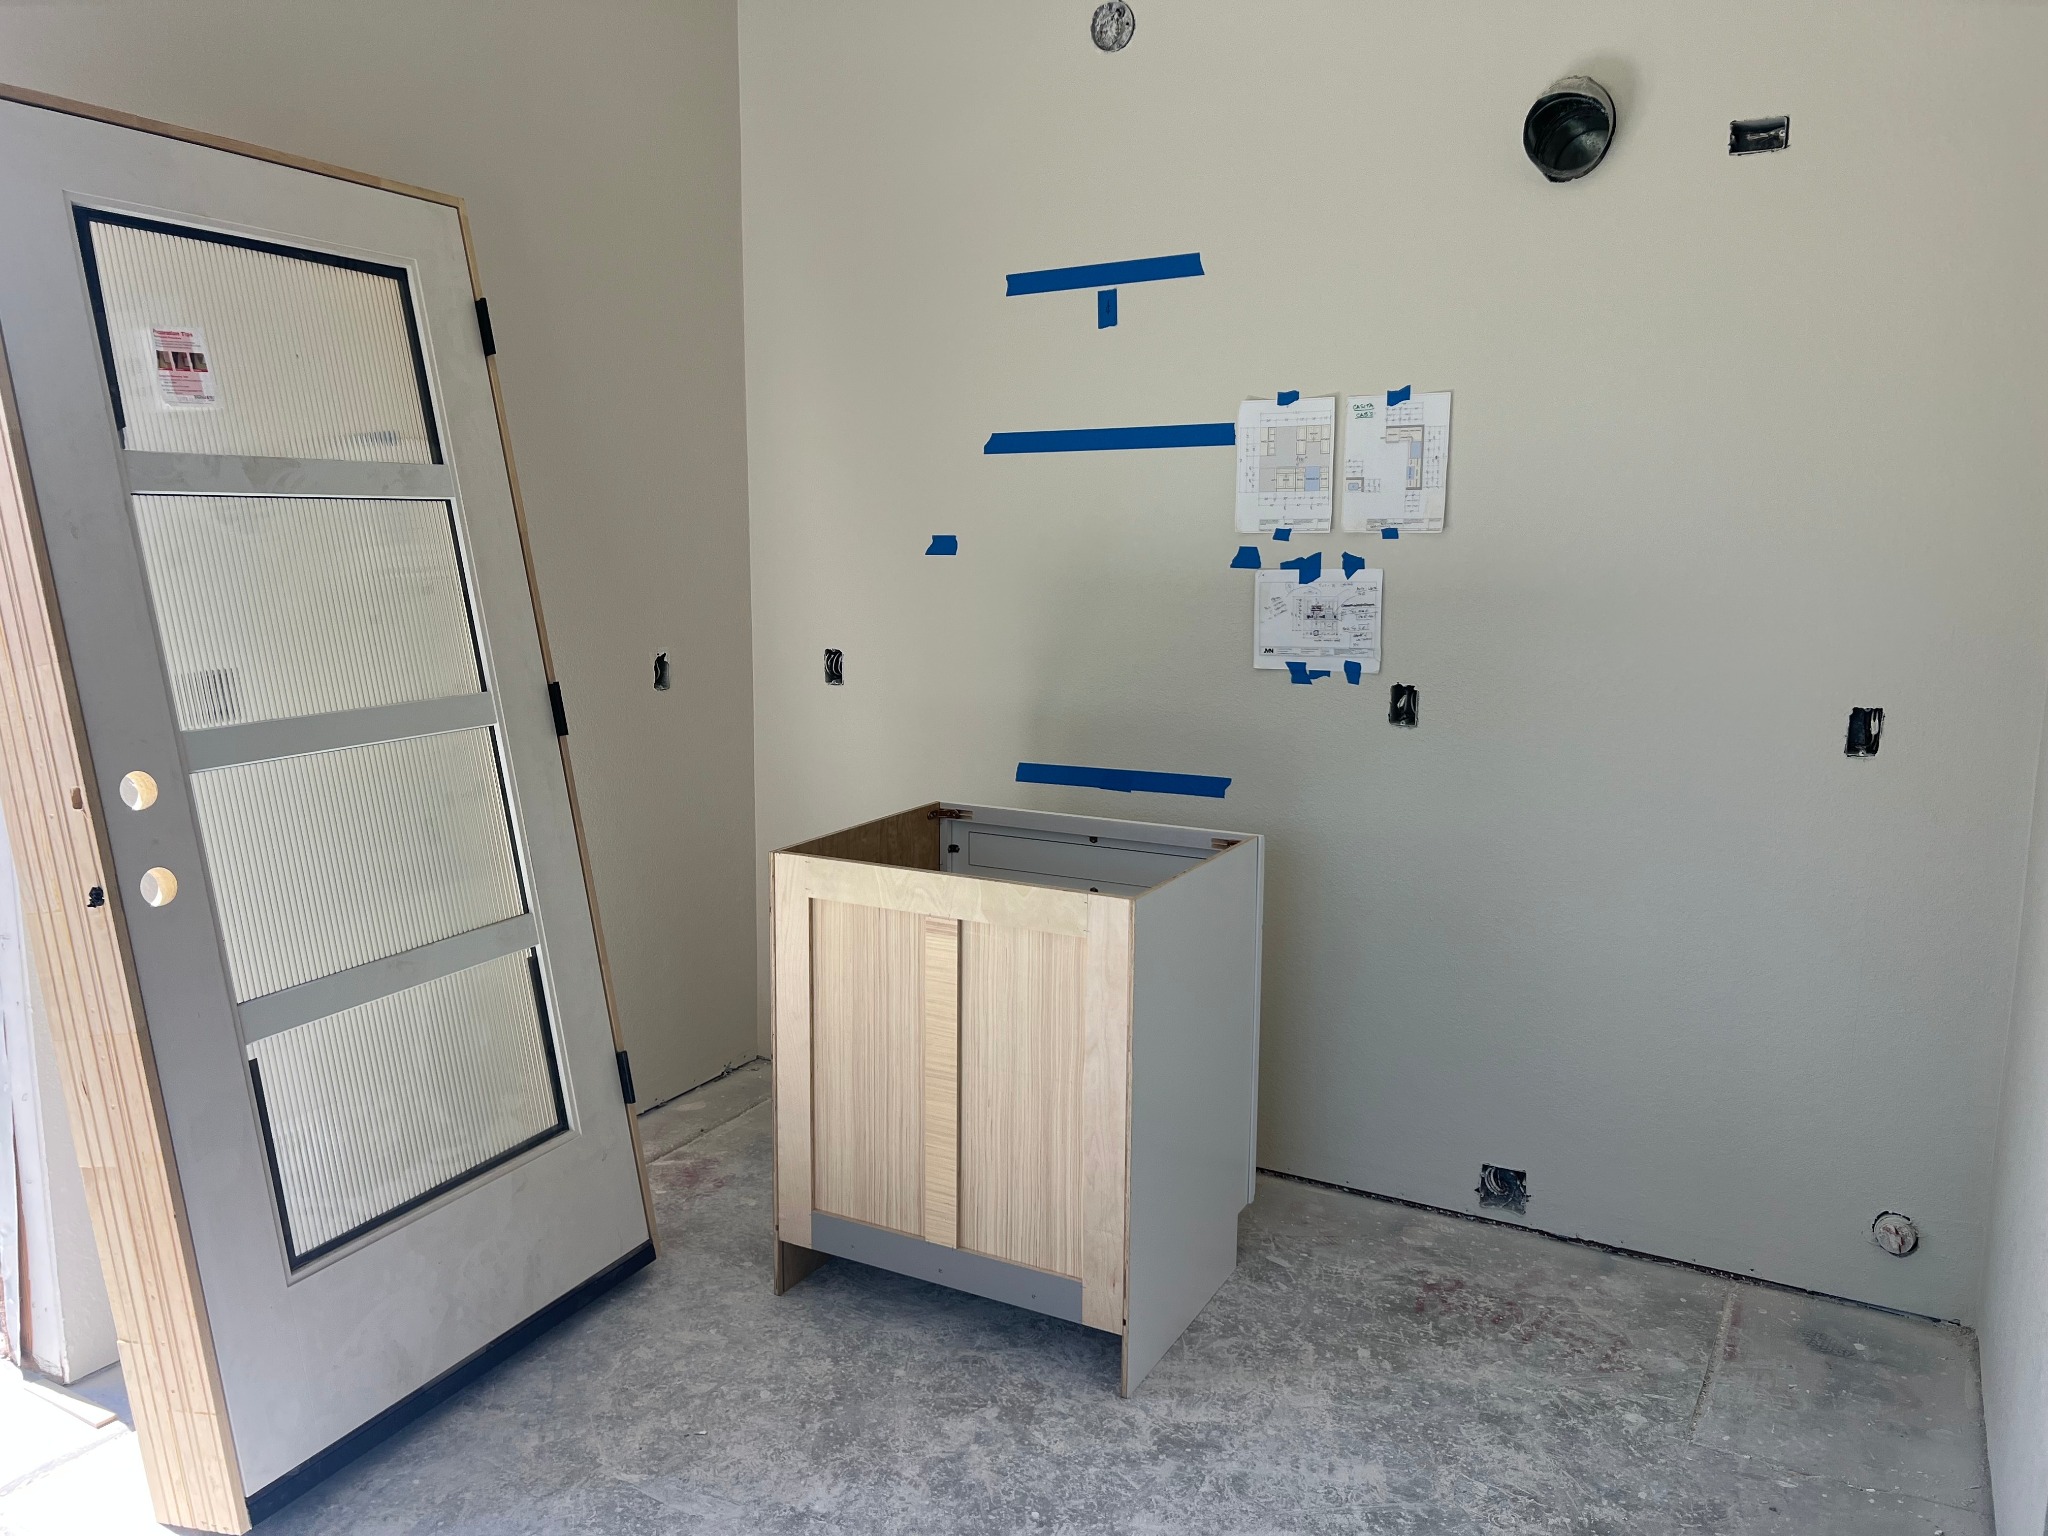
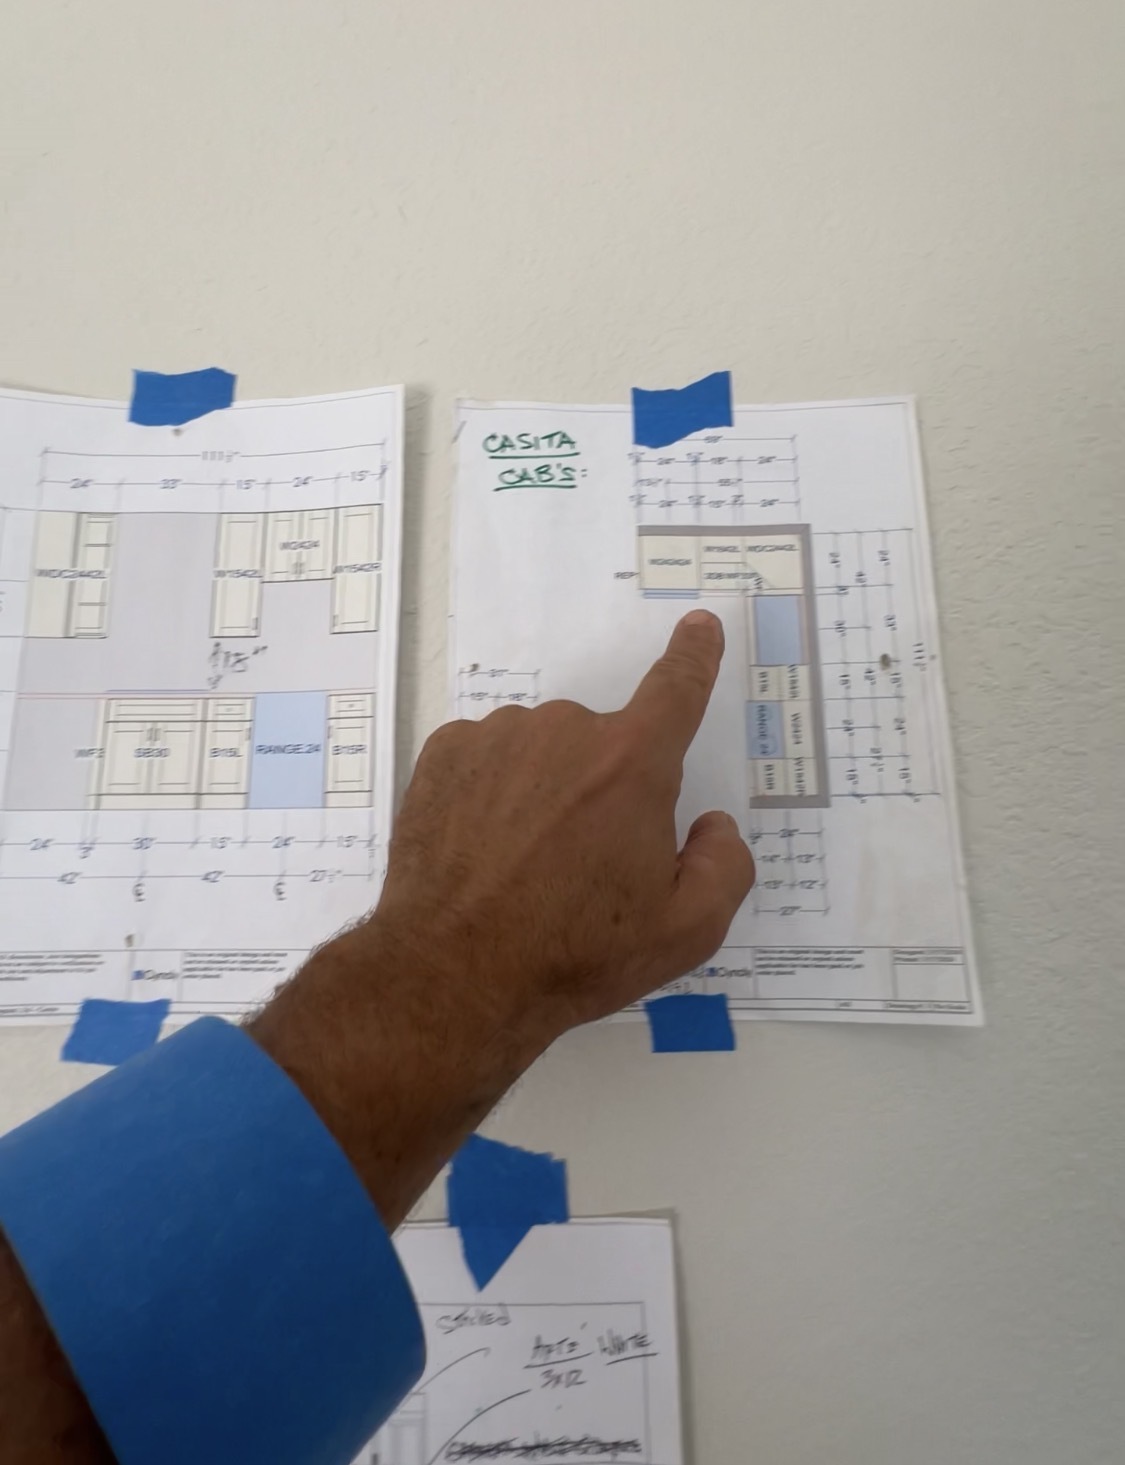
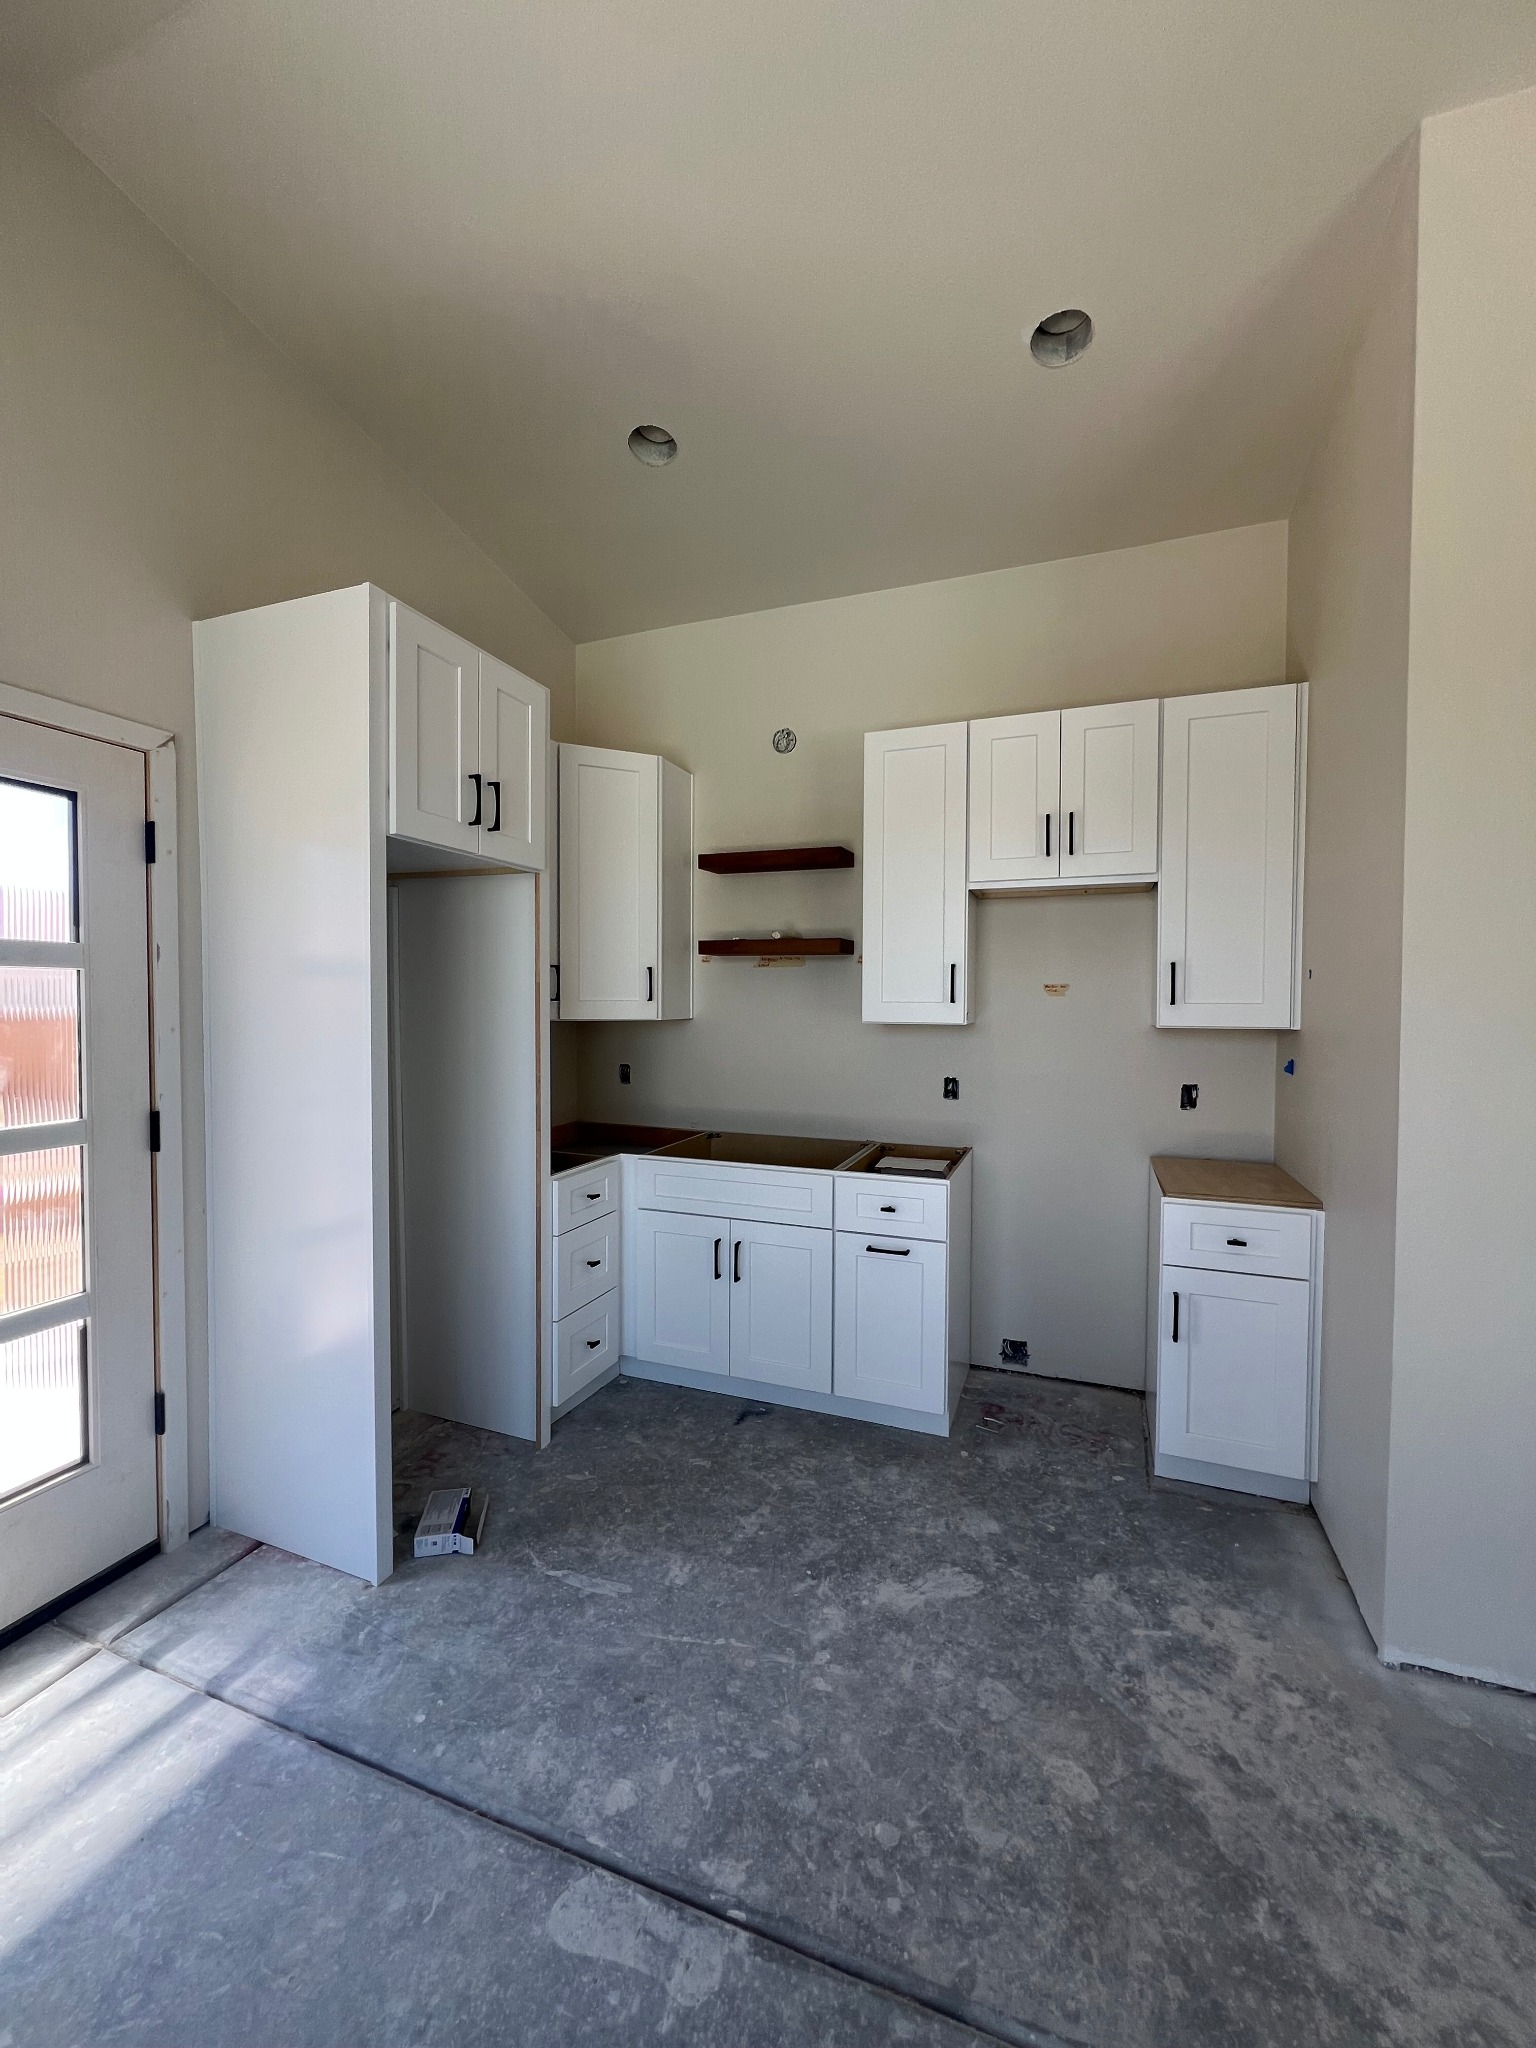
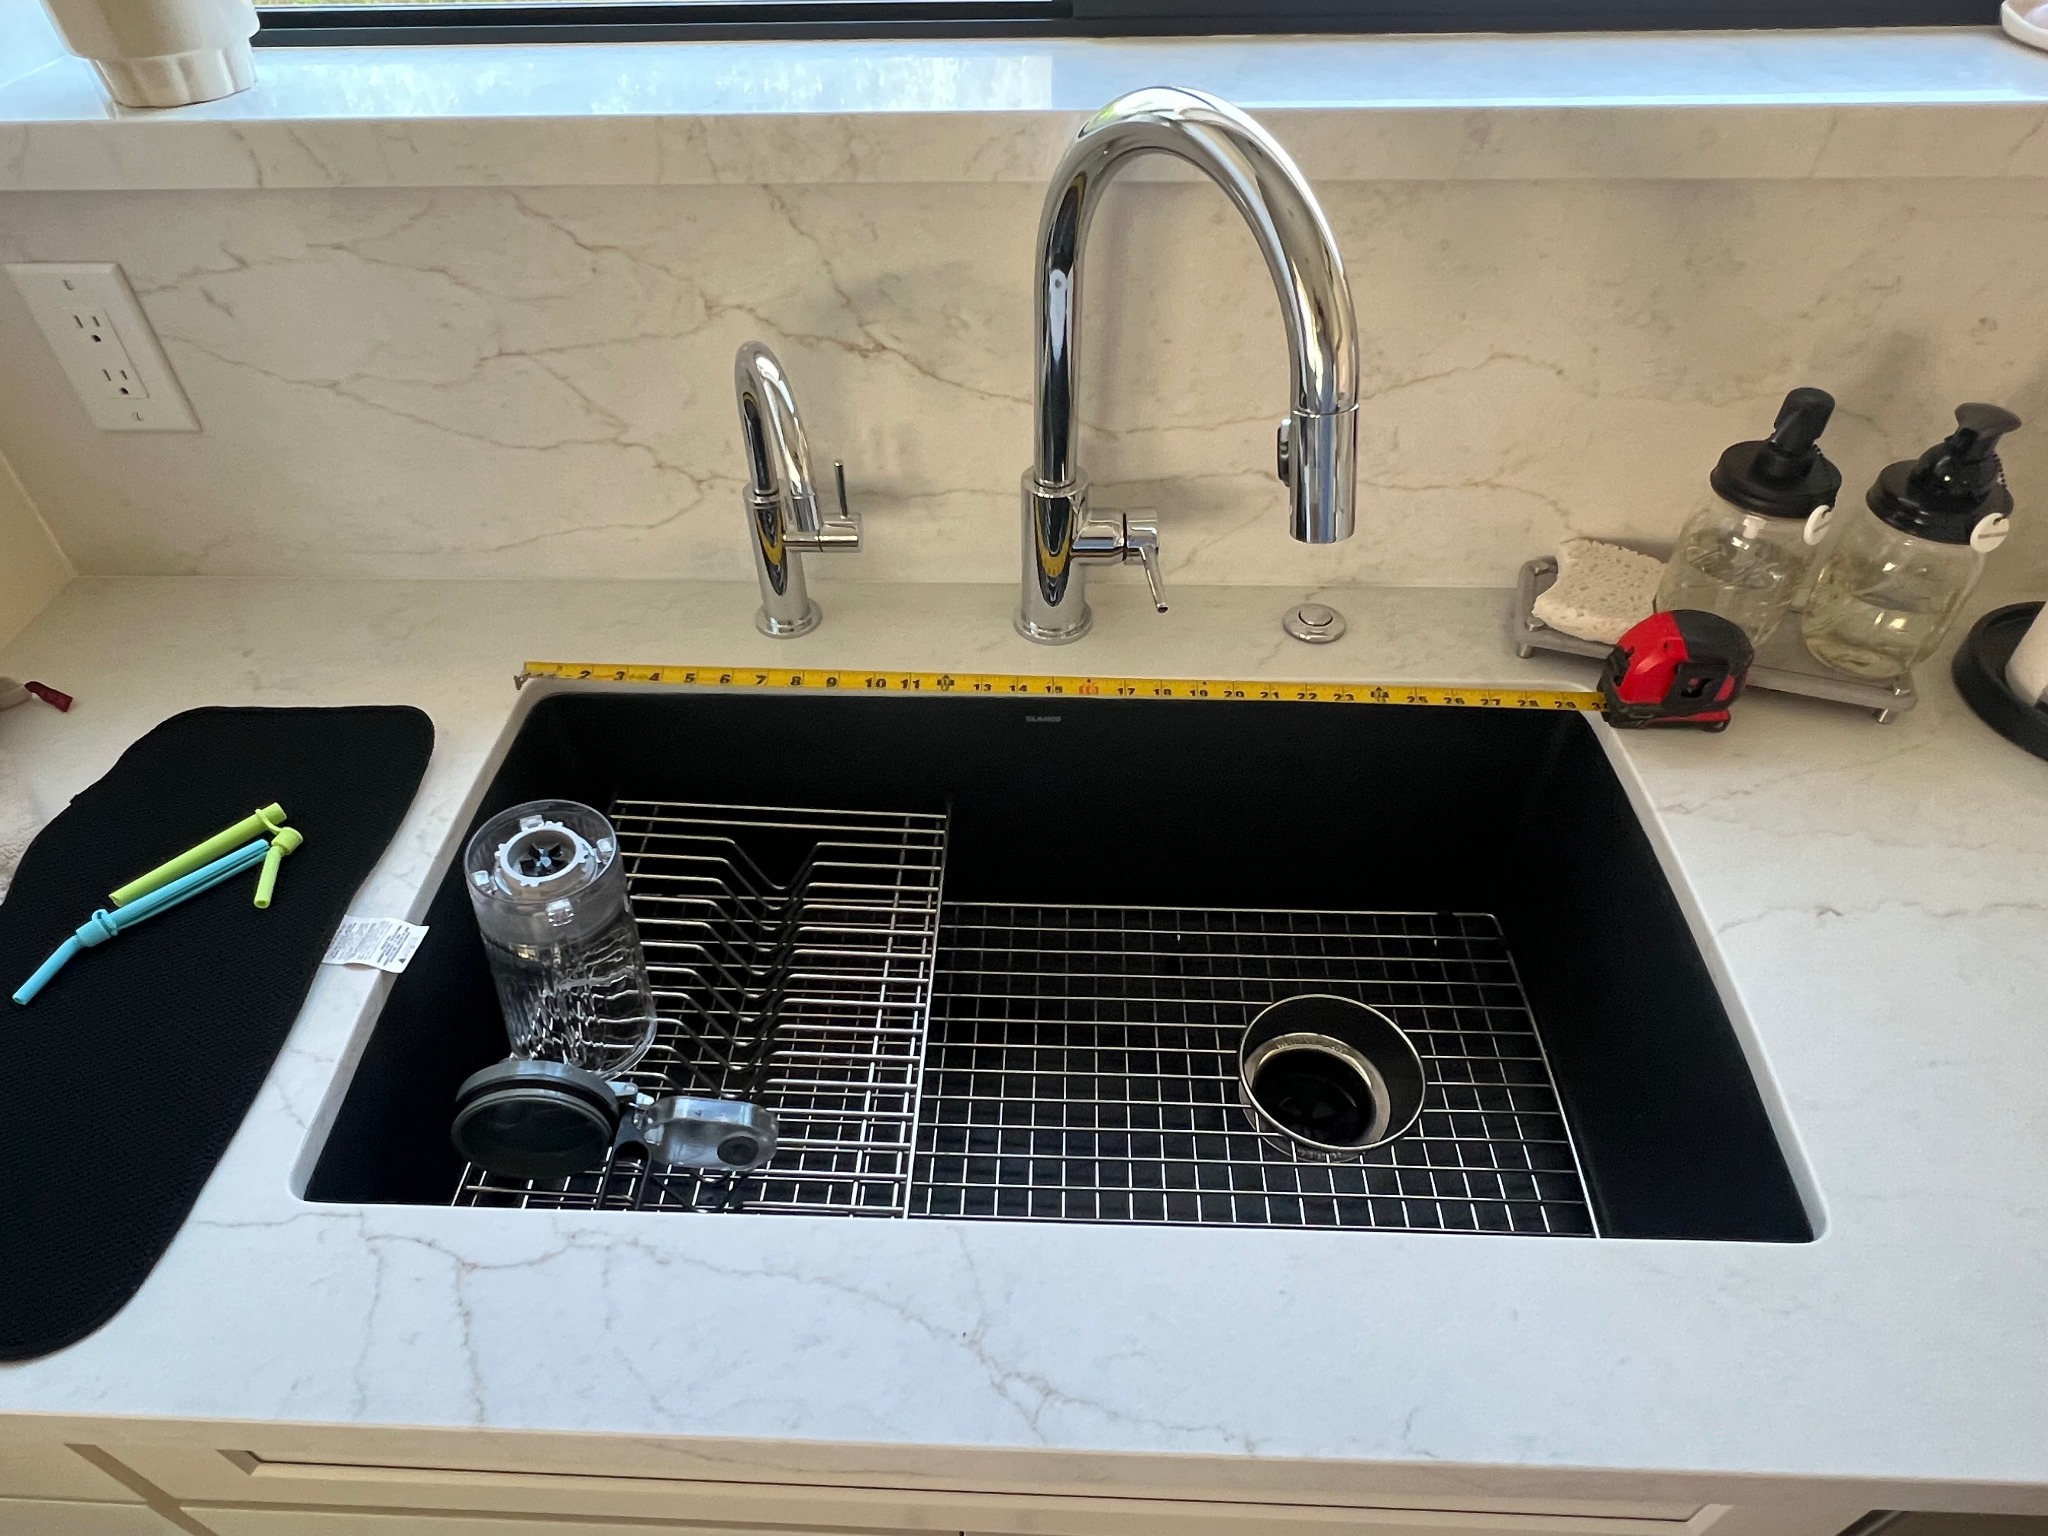
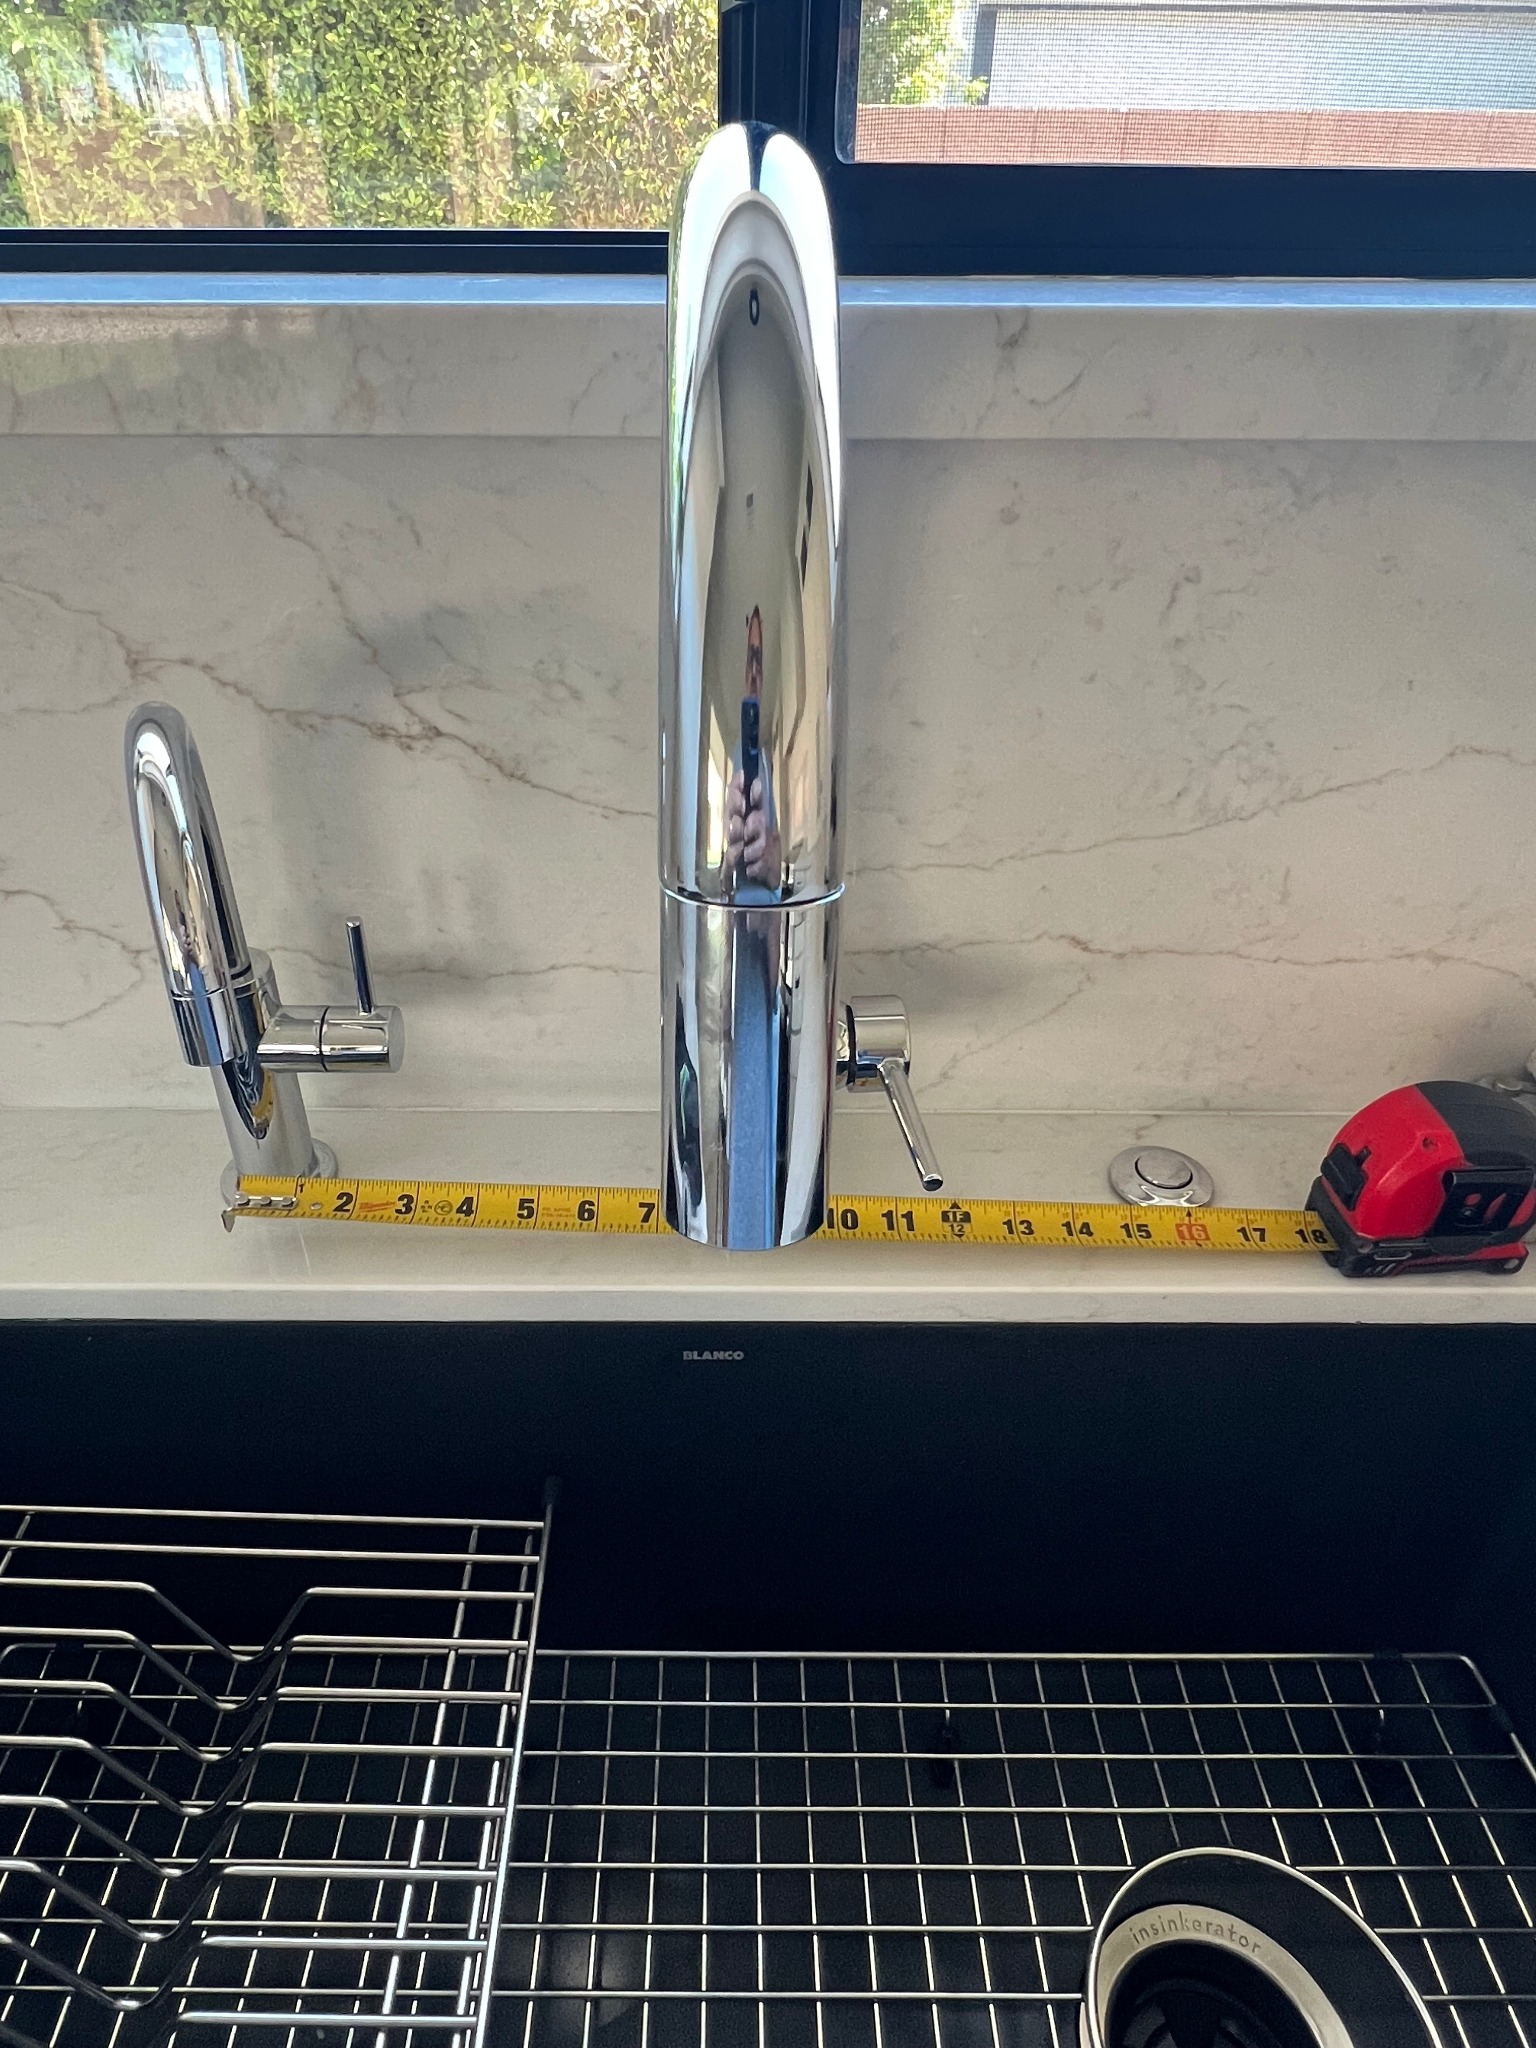
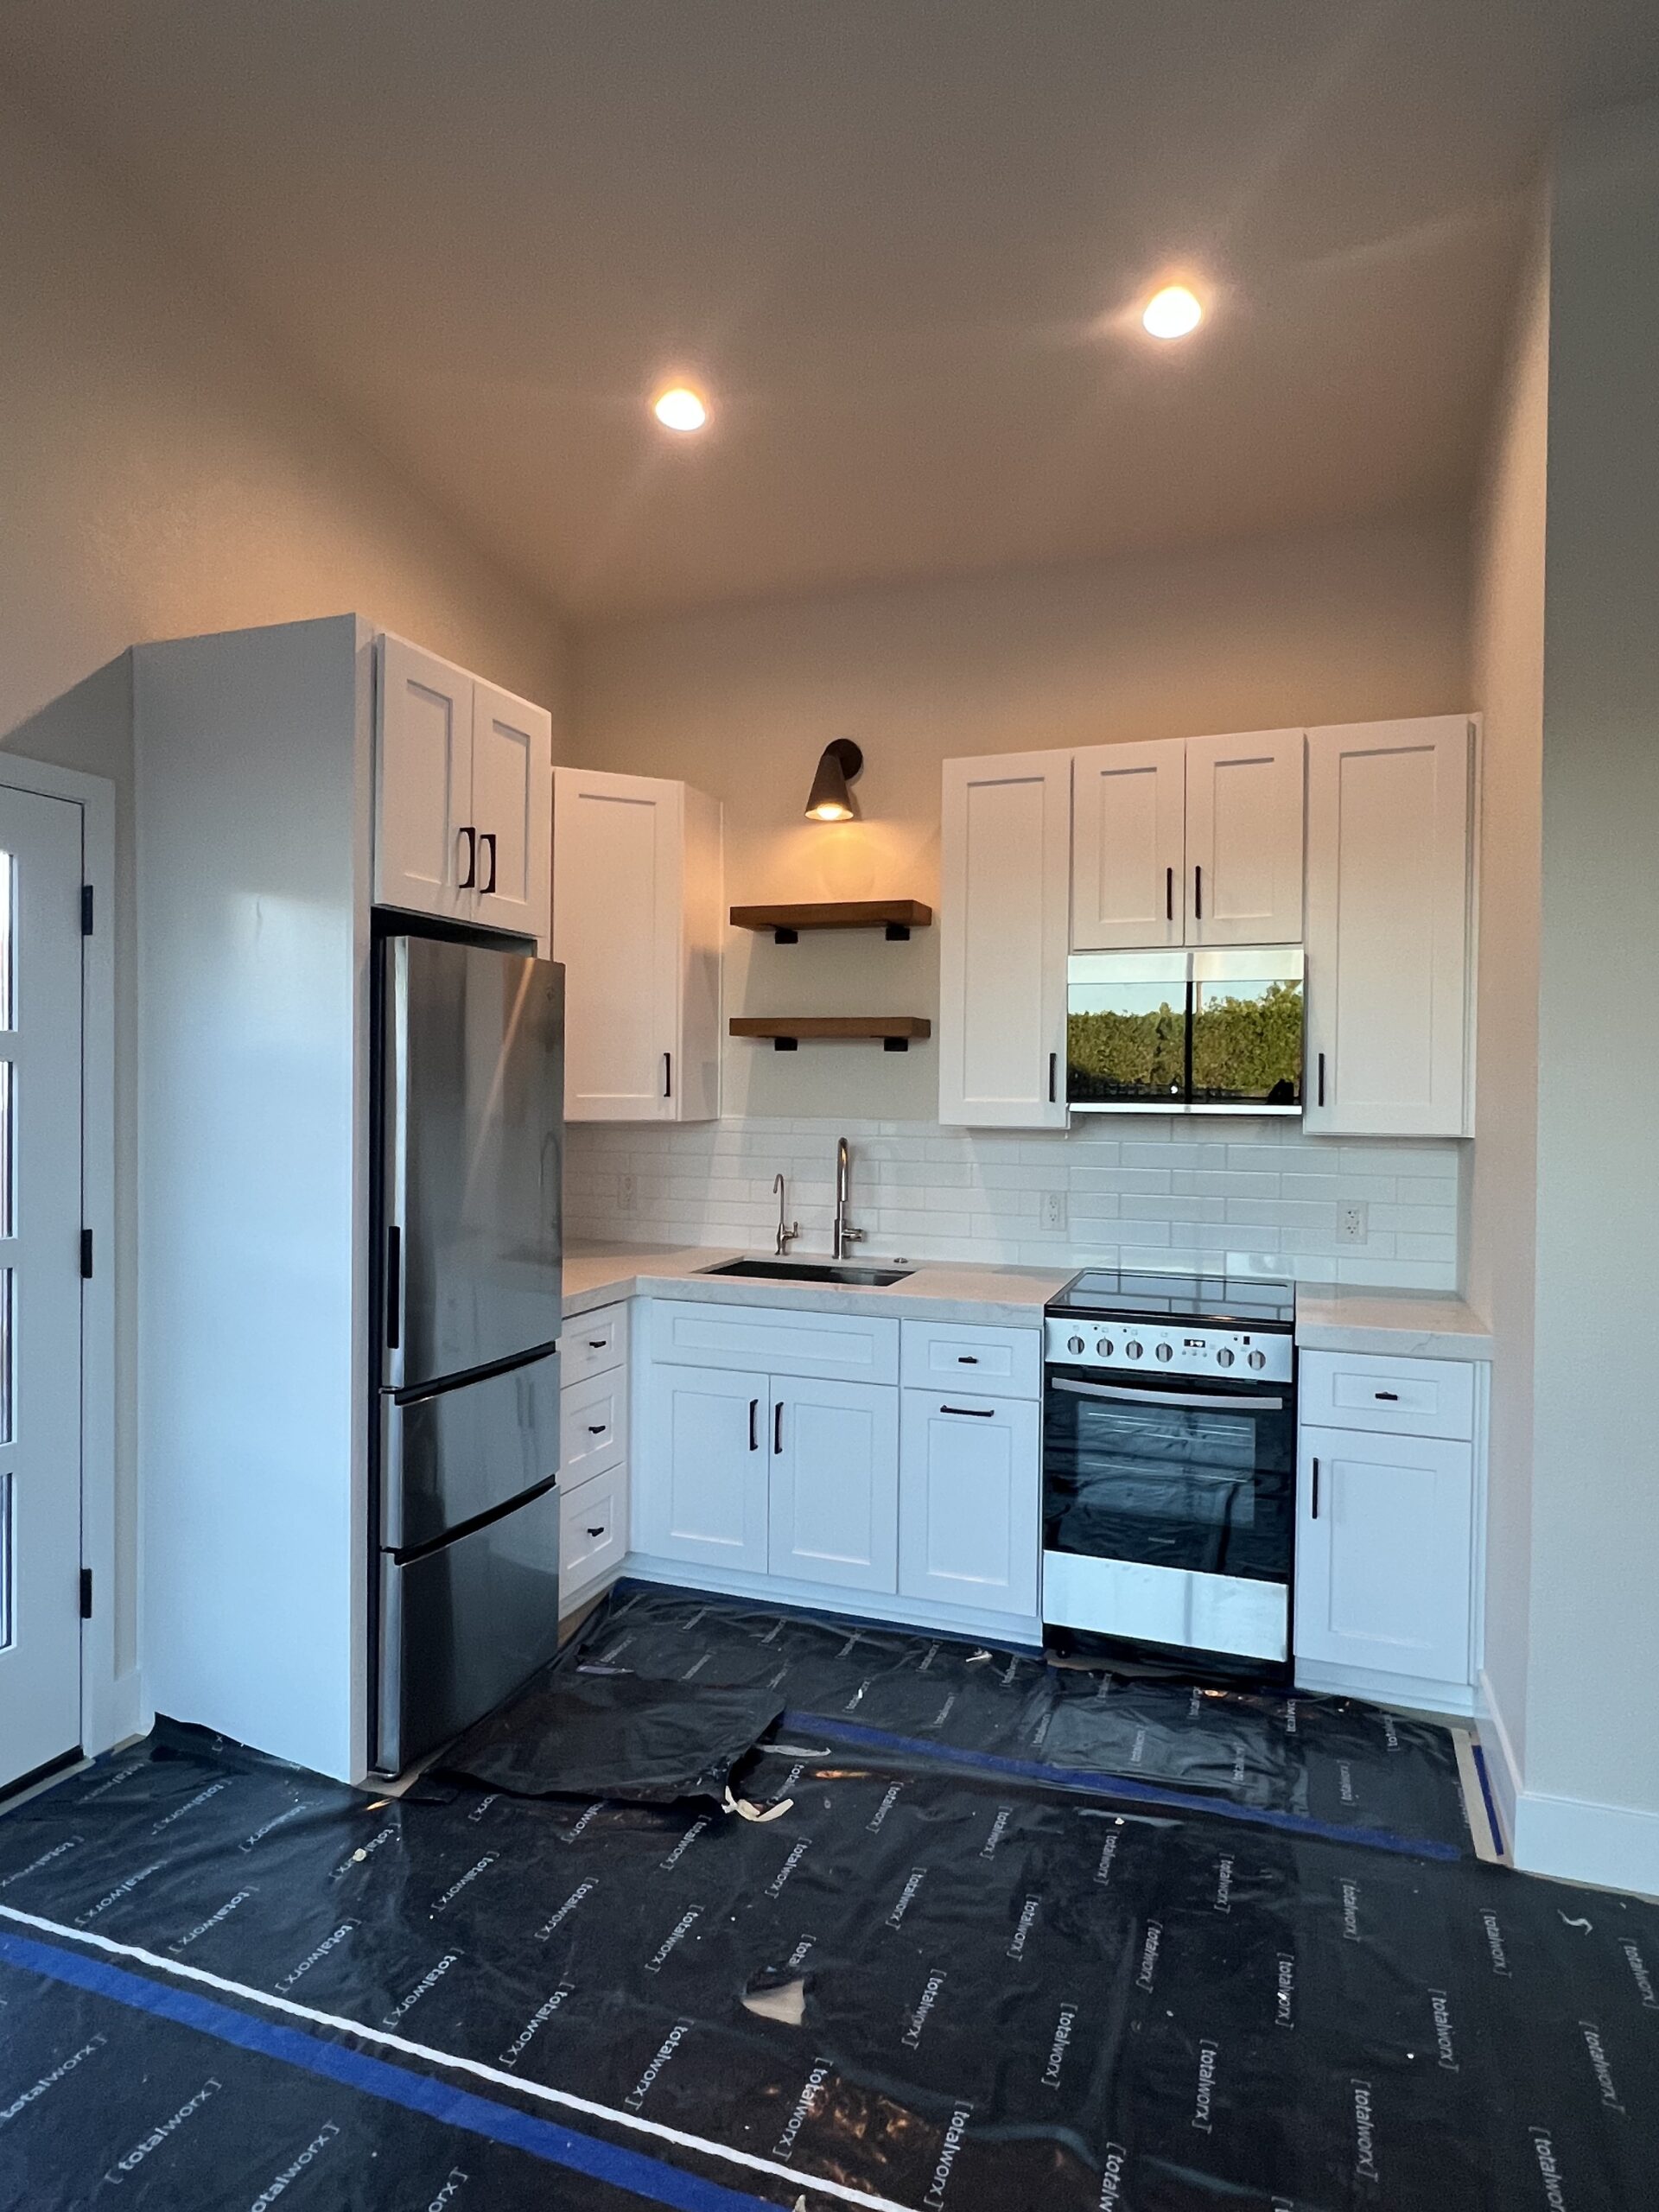
Cabinet delivery day kept the build moving on a tight daily schedule. Countertop templates and measurements were taken on the last day of cabinet installation because fabrication takes time; quality is never rushed. With the cabinets in place, we reviewed the homeowner’s preferred kitchen sink and faucet layout. We matched the main faucet, reverse-osmosis faucet and disposal push button to the kitchen we had installed in the main house a few months earlier.
Shower and finishing details
The City of Phoenix required a shower pan test to check for leaks. This pan held for three days and passed before shower tile work began. Shower preparation included HardieBacker, RedGard waterproofing and tile layout. Paint touch-ups continued while Montreal 2 cm quartz countertops with mitered edges, undermount sinks, a 4-inch lavatory splash, plumbing trim and shower and kitchen backsplash tile came next. The casita kept rolling.
The finished casita
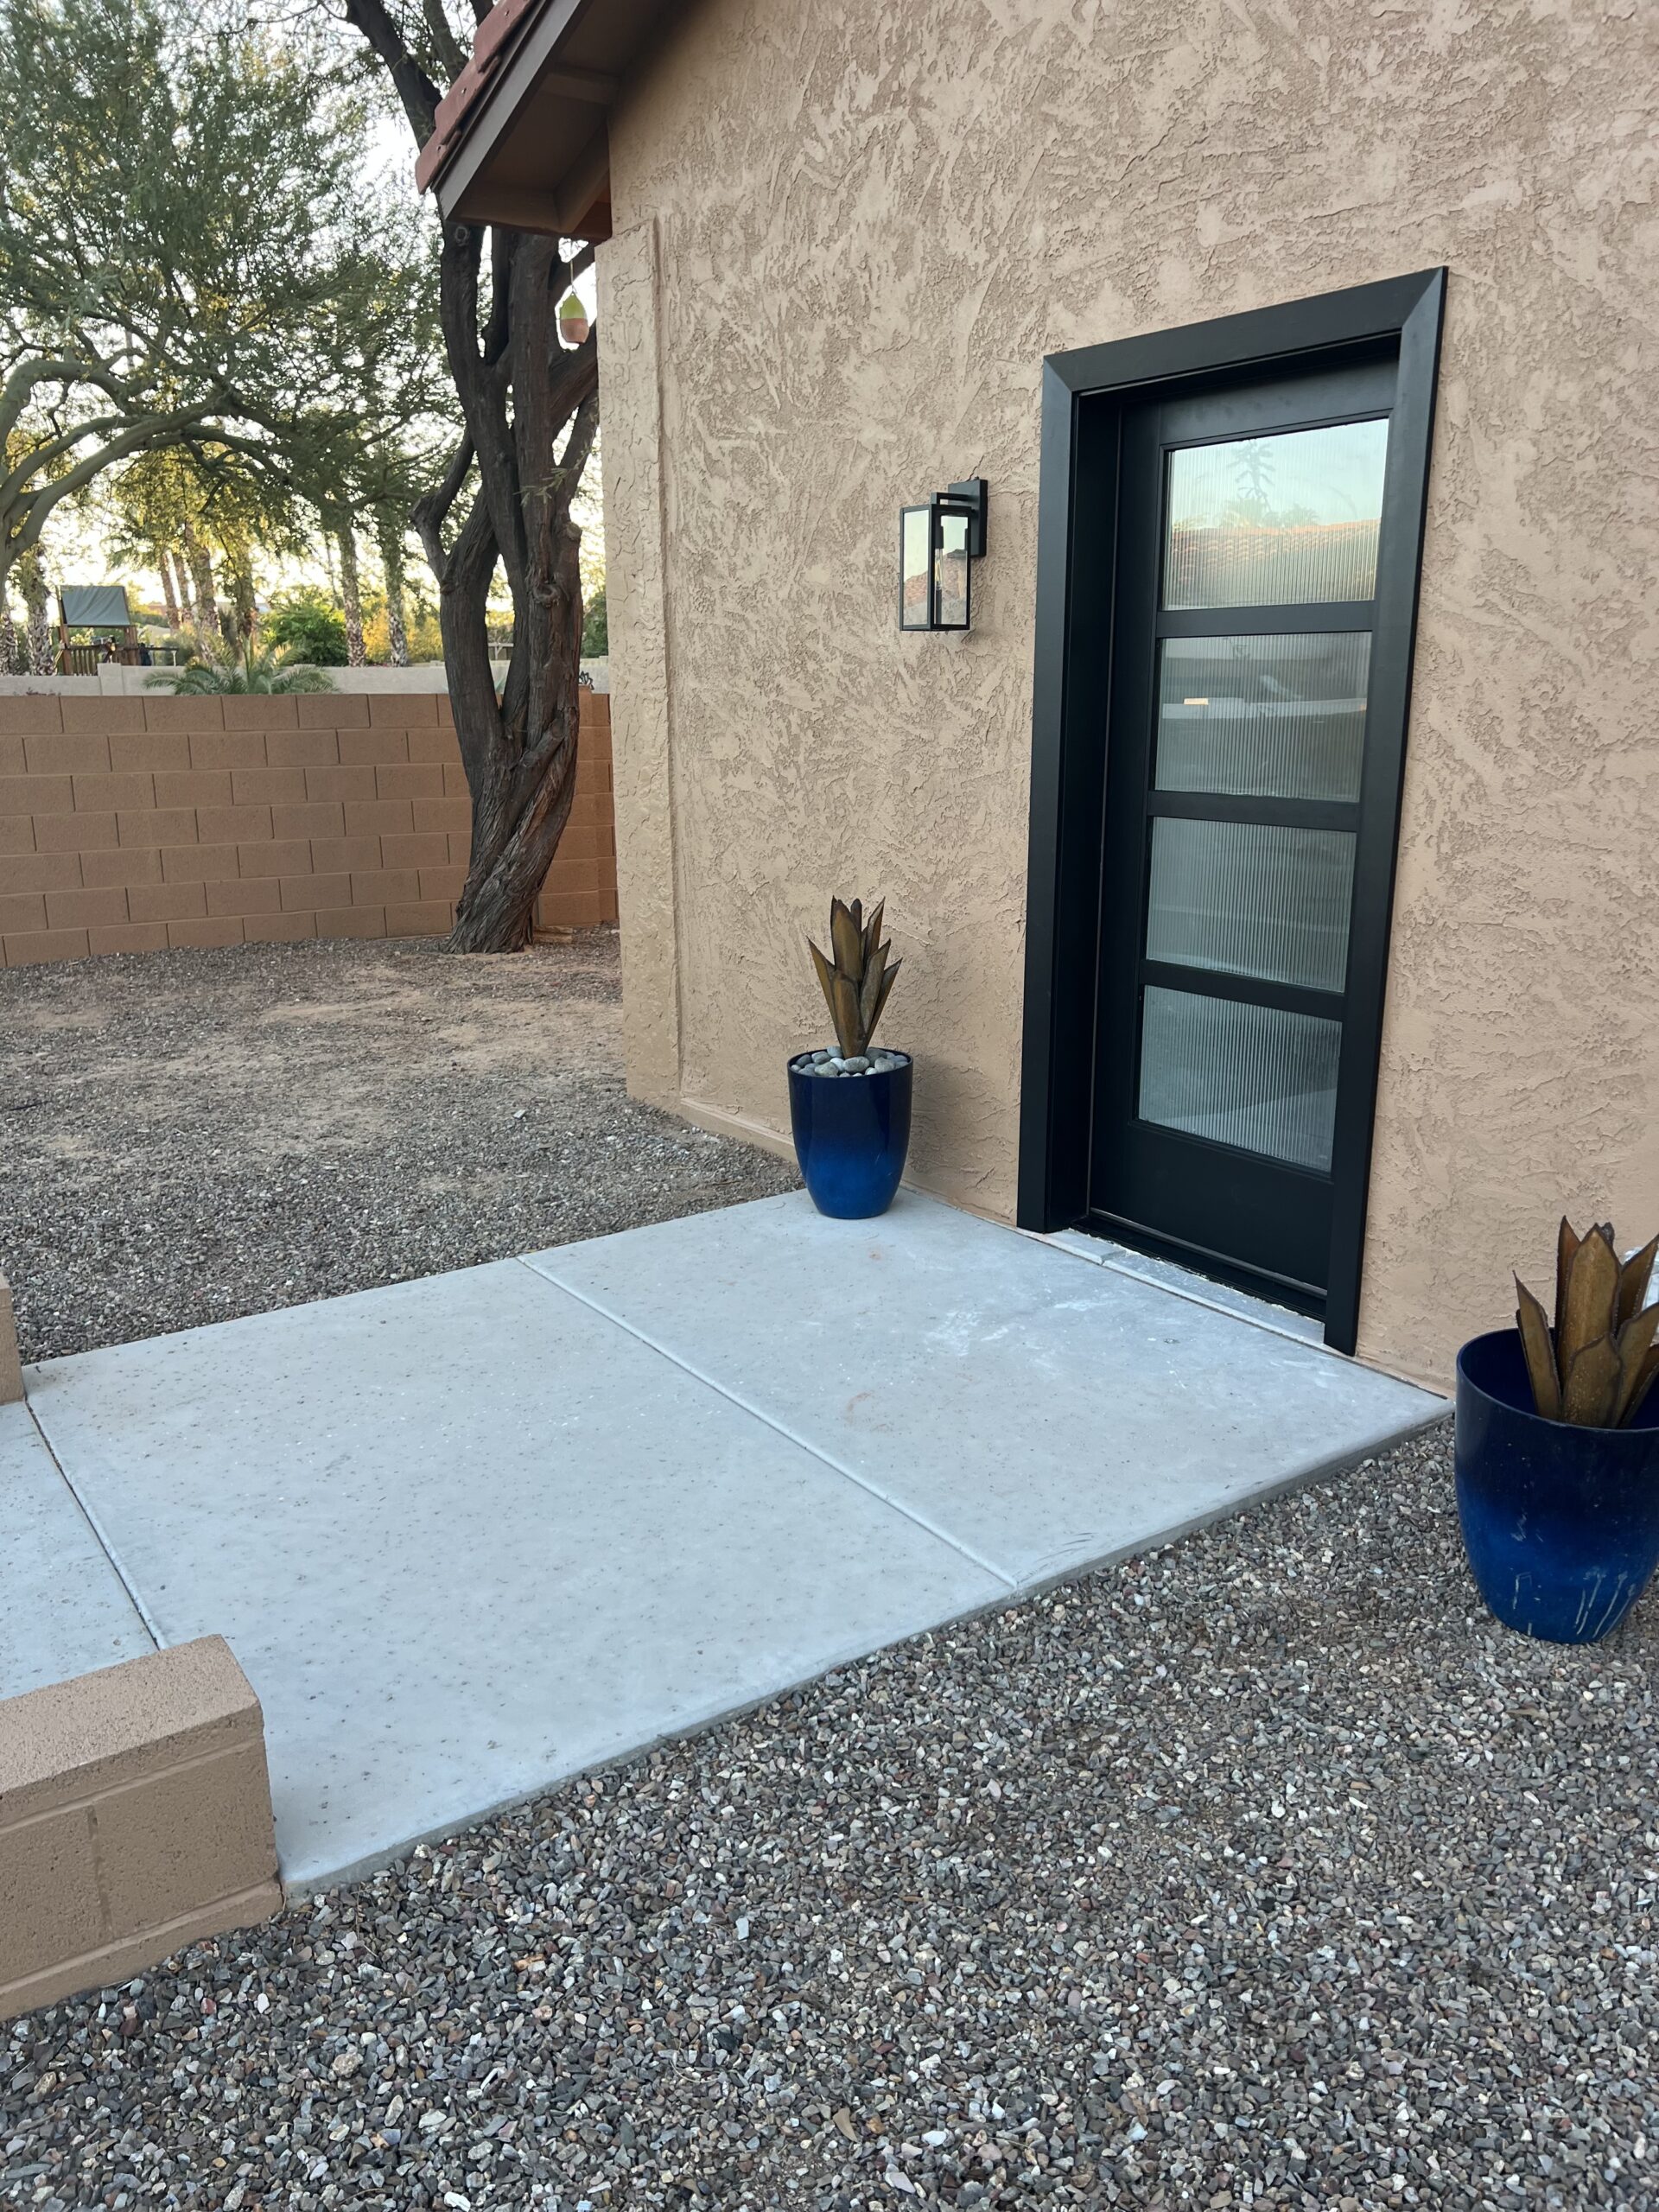
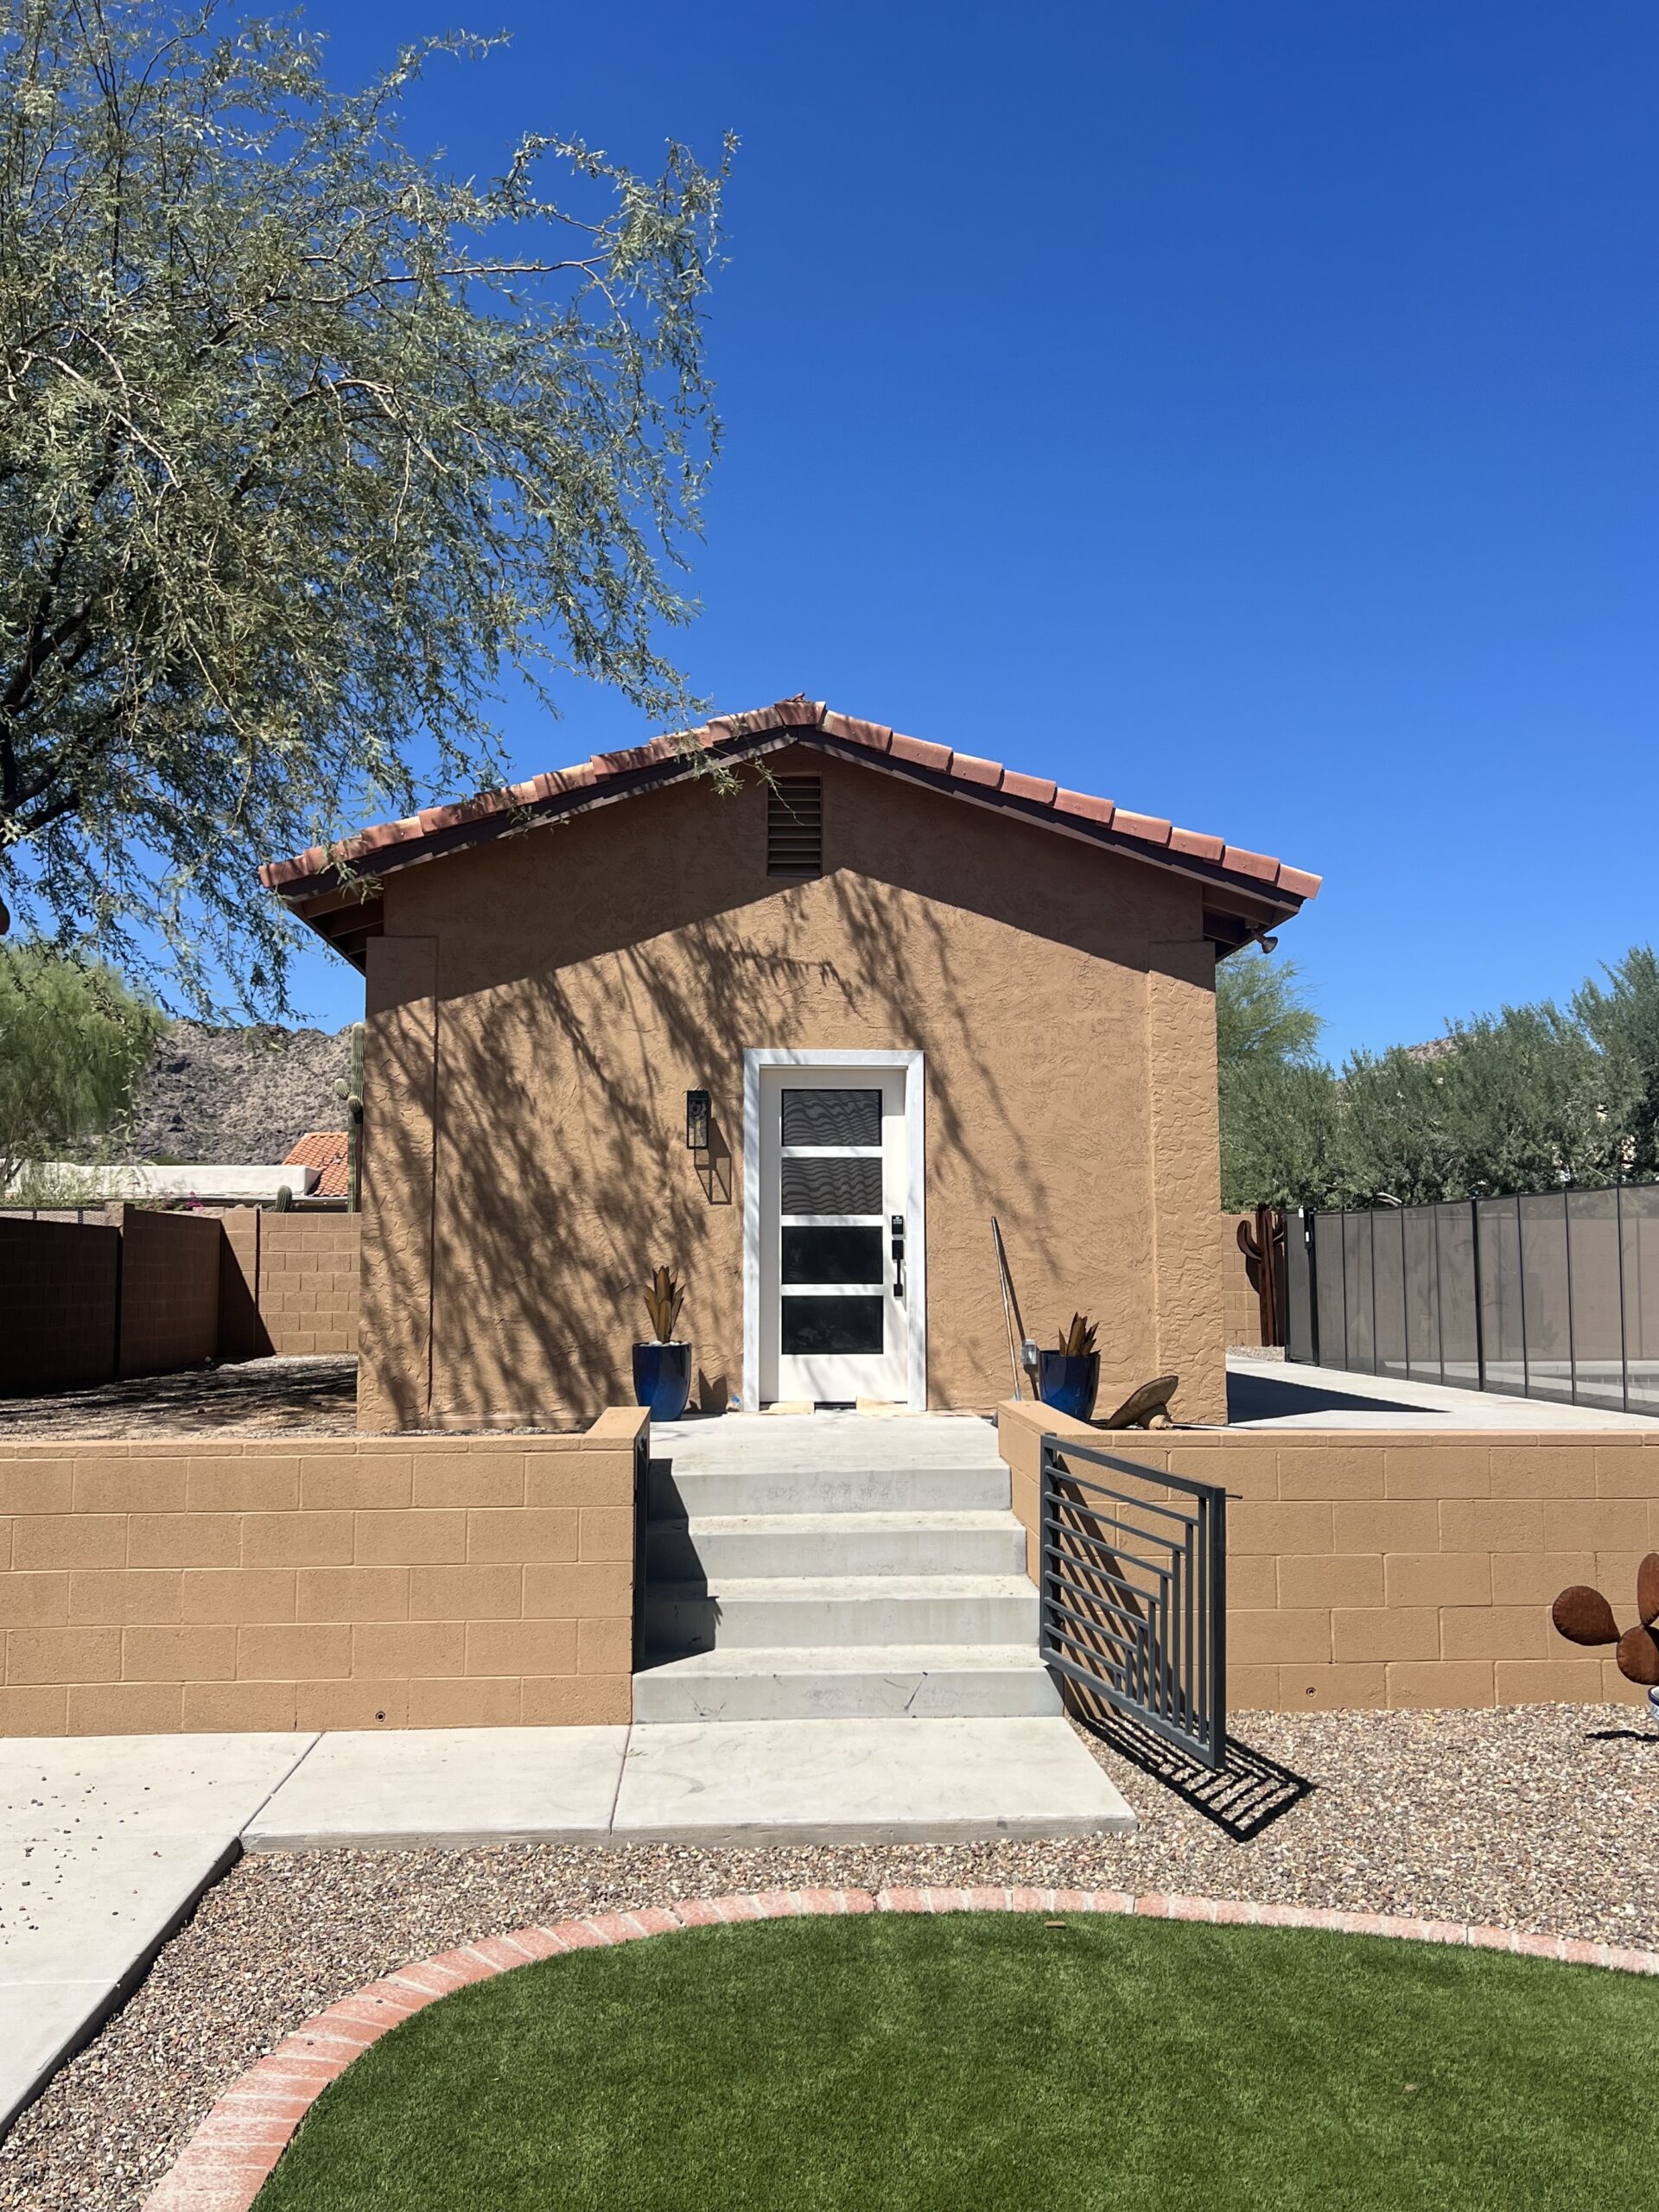
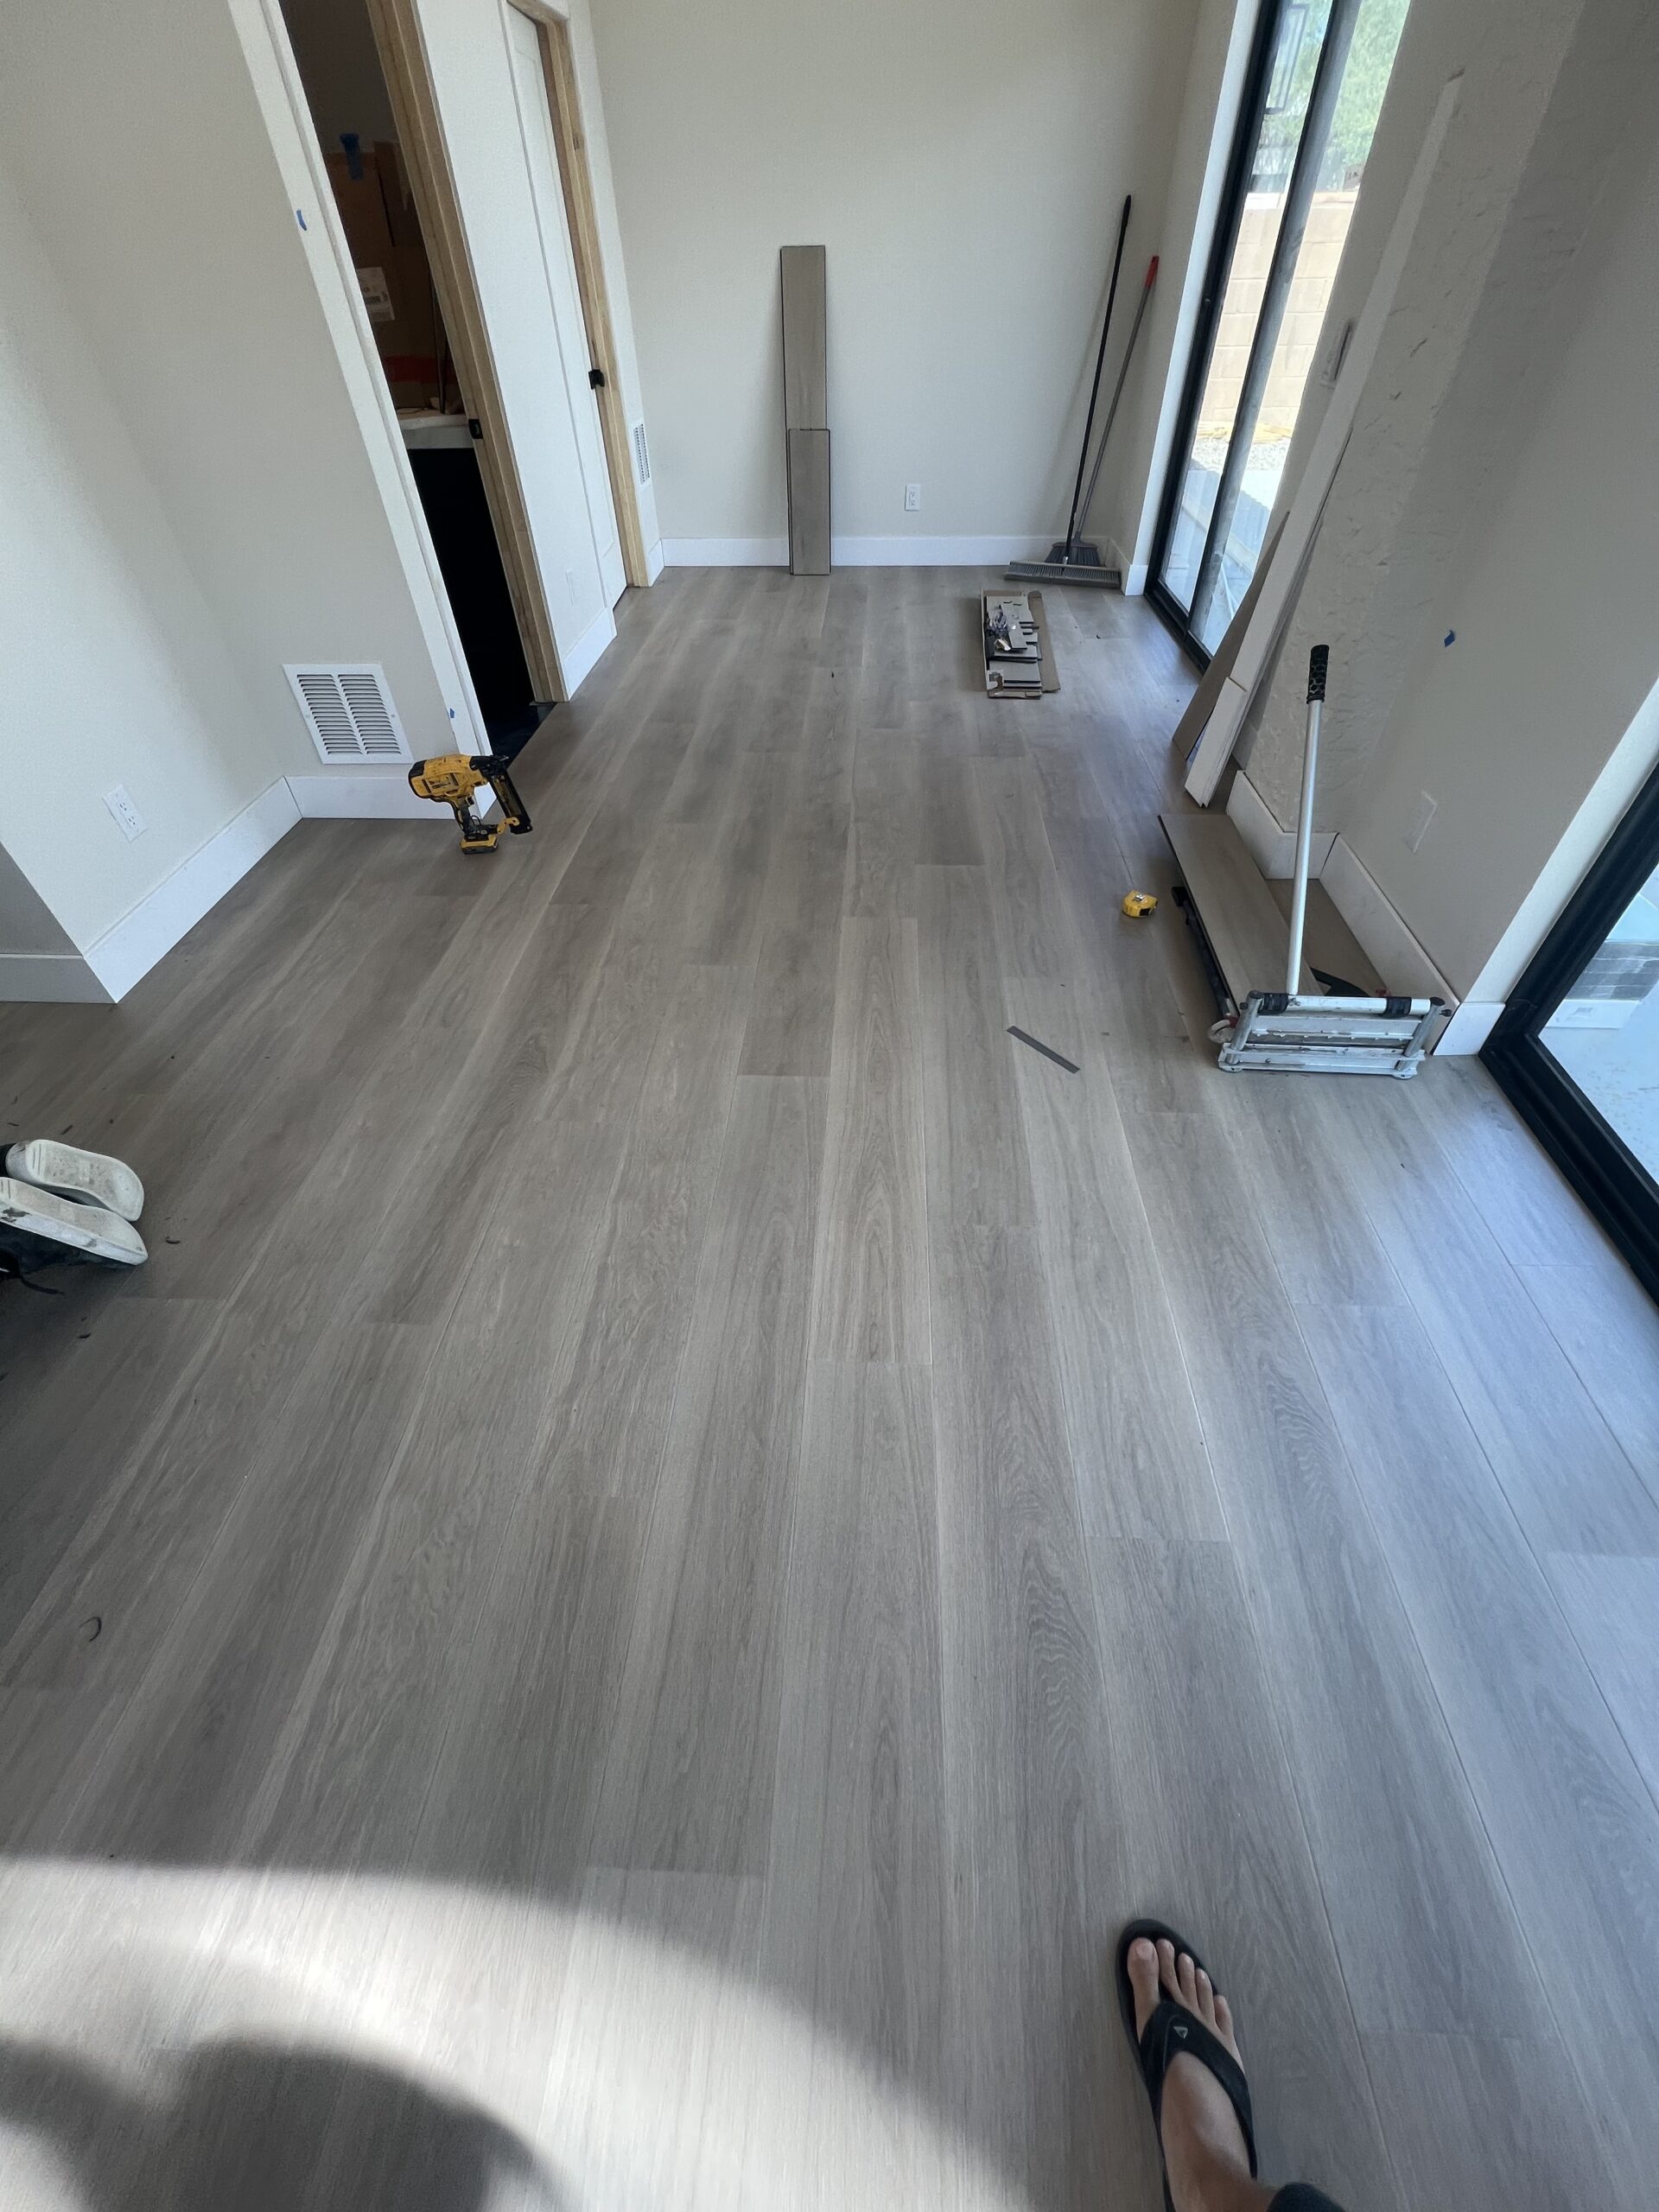
The kitchen cabinets, appliances and tile, wood-look flooring, stucco exterior, sliding doors, patio and landscaped entry bring the ADU together. These photos show the finished spaces and the final details taking shape.
Take a closer look at the kitchen and bath finishing details in this short walkthrough.
Thinking about an ADU or home renovation? Connect with our Phoenix, Arizona-based team. Contact Pongratz Development to talk through your plans.
